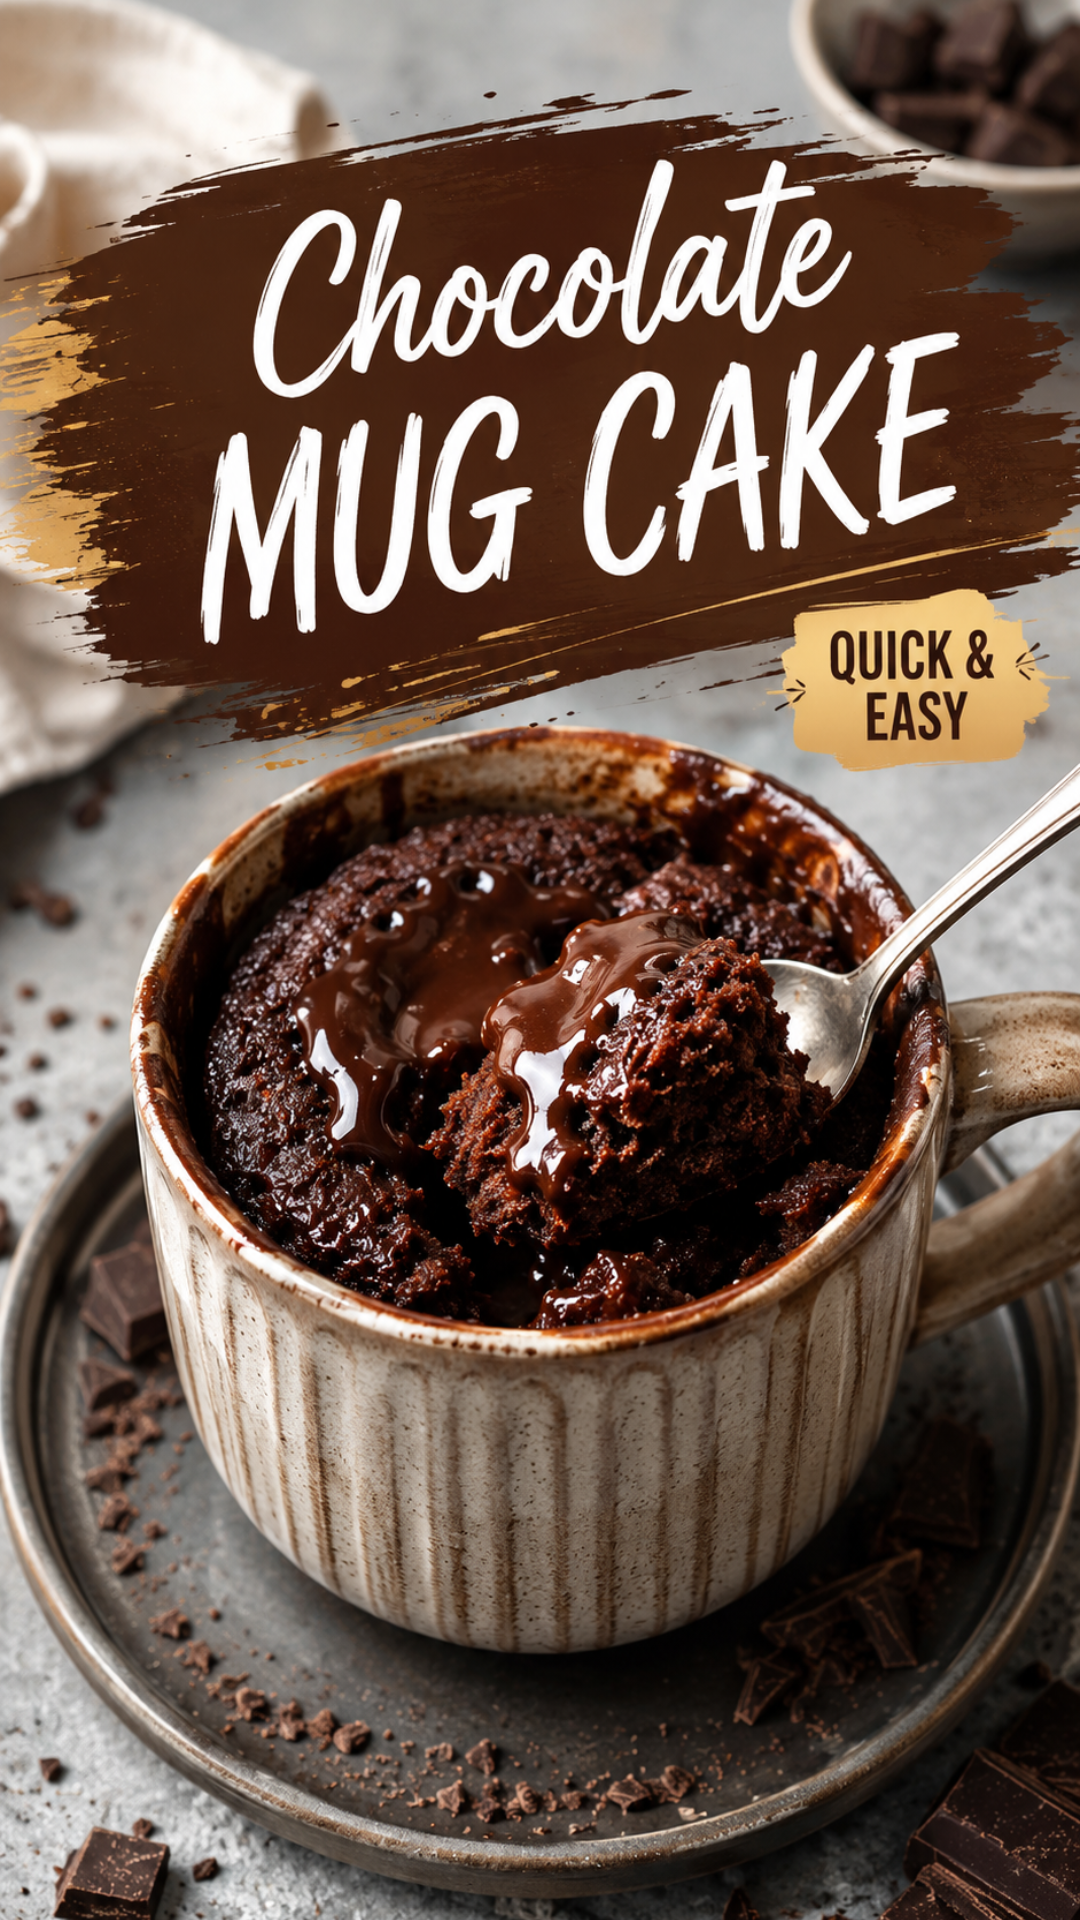
Can a cake made in a coffee mug actually taste good?
I asked myself that same question the first time a friend handed me a spoon and pointed at the microwave.
Turns out, yes. Very yes. 🍫
This chocolate mug cake is rich, fudgy in the middle, and done before your kettle even finishes boiling. No oven. No mixer. No twenty dishes to wash after.
Just one mug, one spoon, and a few pantry staples you probably already have.
Let’s get into it.
Recipe At a Glance
| Detail | Info |
|---|---|
| Prep time | 3 minutes |
| Cook time | 60-90 seconds |
| Total time | Under 5 minutes |
| Servings | 1 (easily doubled) |
| Equipment | 1 microwave-safe mug |
| Skill level | Beginner |
What You’ll Need
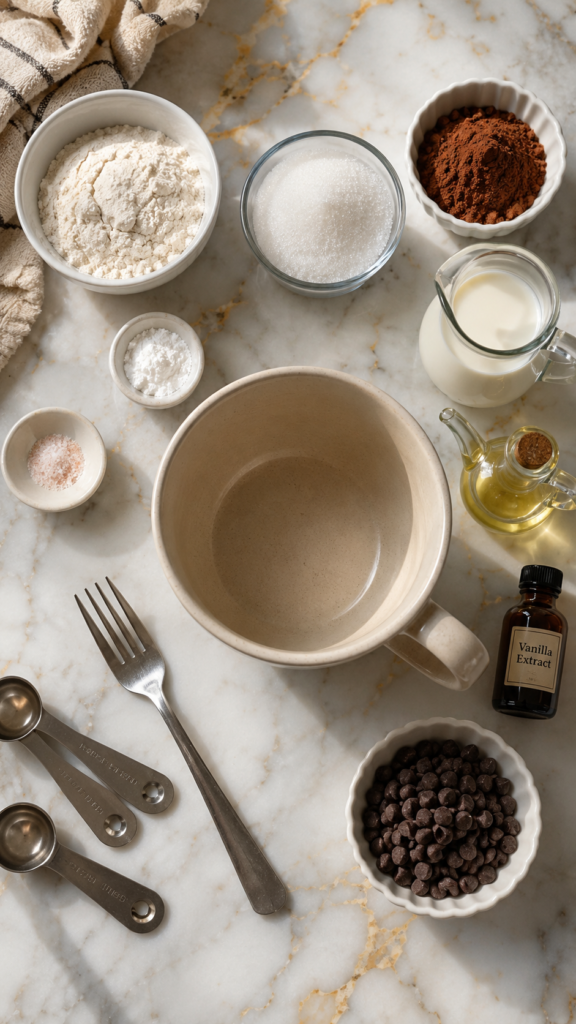
Here’s everything that goes into the batter:
- 4 tablespoons all-purpose flour
- 4 tablespoons granulated sugar
- 2 tablespoons unsweetened cocoa powder
- 1/8 teaspoon baking powder
- Pinch of salt
- 3 tablespoons milk
- 2 tablespoons vegetable oil
- 1/4 teaspoon vanilla extract
- 2 tablespoons chocolate chips (optional, but come on)
That’s it. Nine ingredients and most of them are already sitting in your cupboard right now.
Tools You’ll Need
- A large microwave-safe mug (12 oz or bigger)
- A fork or small whisk
- Measuring spoons
- A microwave
No bowls required. You’re mixing everything directly in the mug, which means less cleanup and more cake time.
How to Make It
- Whisk the dry ingredients. In your mug, combine the flour, sugar, cocoa powder, baking powder, and salt. Mix until there are no lumps.
- Add the wet ingredients. Pour in the milk, oil, and vanilla. Stir until the batter is smooth and no dry streaks remain.
- Fold in the chocolate chips. Save a few to press into the top of the batter right before microwaving.
- Microwave on high for 60-90 seconds. Every microwave is different, so start checking at 60 seconds. The cake is done when it’s puffed up and the top looks just barely set.
- Let it cool for a minute or two. This step matters more than people think.
- Grab a spoon and dig in, straight from the mug.
Pro Tips
I’ve made more of these than I’d like to admit, so here’s what actually makes a difference.
- Use a bigger mug than you think you need. This batter puffs up while it cooks. A small mug means a chocolate volcano all over your microwave.
- Don’t overcook it. The cake keeps cooking a bit after the microwave stops. Pull it when the top still looks slightly wet in the center.
- Whisk the dry ingredients first, before adding anything wet. It breaks up cocoa clumps way faster.
- Add the chocolate chips last and push a few into the center of the batter. They melt into a gooey pocket that feels like a bonus dessert inside your dessert.
- Let it rest 1-2 minutes after cooking. It goes from “too hot to touch” to “perfect fudgy texture” in that short window.
Substitutions and Variations
This recipe is forgiving, so feel free to play around.
- Gluten-free: swap the all-purpose flour for a 1:1 gluten-free baking blend.
- Dairy-free: use any plant-based milk. Oat and almond both work great here.
- Lower sugar: cut the sugar down to 3 tablespoons. It’s still plenty sweet, especially with chocolate chips mixed in.
- Nutty twist: add a tablespoon of peanut butter or Nutella on top before microwaving.
- Extra flavor: a pinch of cinnamon or espresso powder deepens the chocolate flavor without adding a new taste of its own.
- Egg version: if you prefer a slightly firmer, cake-like texture, add 1 tablespoon of beaten egg and reduce the milk to 2 tablespoons.
Make-Ahead Tips
Mug cakes are built for right now, but you can still prep ahead if mornings (or 2am cravings) are hectic.
- Pre-measure the dry ingredients into small jars or bags. When a craving hits, just add the wet ingredients and stir.
- Store the dry mix for up to a month in an airtight container.
- Label each one with the wet ingredient amounts so future you doesn’t have to think.
Leftovers and Storage
Honestly, this cake rarely survives long enough to become leftovers.
But if you do have extra batter or a half-eaten cake:
- Unbaked batter: store covered in the fridge for up to 24 hours. Give it a quick stir before microwaving.
- Baked cake: cover and store at room temperature for up to a day, or in the fridge for up to 3 days.
- Reheating: microwave for 10-15 seconds to bring back that fresh, gooey texture.
FAQ
Can I bake this in the oven instead of the microwave?
Not really, at least not in a mug. Mugs aren’t designed for oven heat and the texture won’t turn out the same. Stick to the microwave for this one.
Why did my cake turn out rubbery?
That usually means it was cooked too long. Microwaves vary a lot, so start checking at the 60 second mark and pull it as soon as the top looks set.
Can I double the recipe?
Yes, just use a much larger mug or split the batter between two mugs. Doubling in one mug usually means overflow.
Do I need eggs for this recipe?
No. This version skips eggs entirely and still turns out soft and fudgy thanks to the oil and milk combination.
Is this recipe kid-friendly to make?
Very much so. Kids can measure, stir, and watch it puff up through the microwave window, which honestly might be the best part of the whole process for them.
Can I make this in a bowl instead of a mug?
Yes, any microwave-safe container with tall sides works. Just make sure there’s room for the batter to rise.
Wrapping Up
A cake that goes from craving to spoon in under five minutes sounds almost too good to be real, but here we are.
This one’s forgiving, quick, and endlessly customizable, which makes it a solid recipe to keep on repeat for those nights when you want something sweet without the whole baking production.
Give it a try this week and let me know how it turns out for you.
Drop a comment below with any tweaks you made, or if you ran into any questions along the way. I read every one of them.




