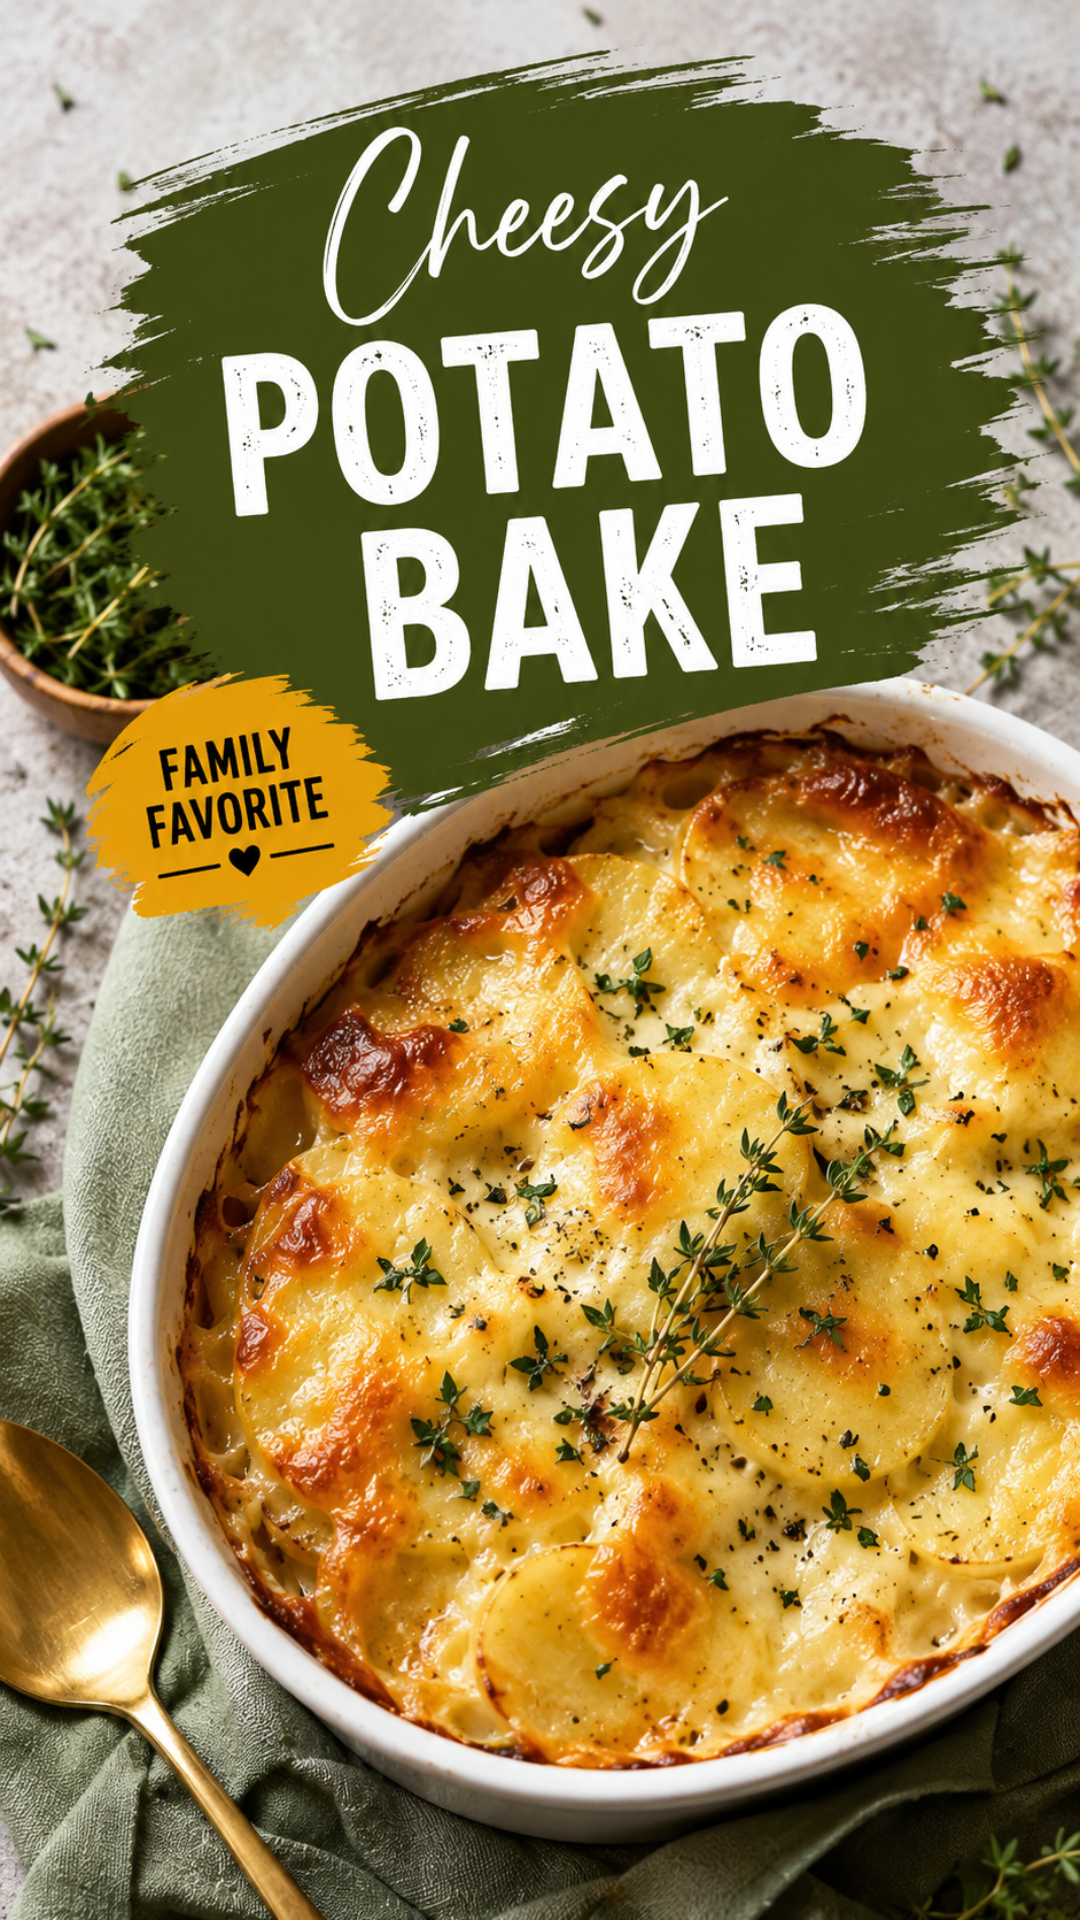
I’ve made this cheesy potato bake so many times, my husband asked if we could just add it to the weekly rotation permanently.
I said yes immediately. No hesitation.
There’s a reason this dish shows up at every potluck I bring food to. It’s crispy on top, ridiculously creamy underneath, and it takes about 15 minutes of actual hands-on work.
The rest of the time? The oven does the heavy lifting.
Let’s get into it.
Recipe at a Glance
| Detail | Info |
|---|---|
| Prep Time | 15 minutes |
| Cook Time | 45 minutes |
| Total Time | 1 hour |
| Servings | 6-8 people |
| Difficulty | Easy |
| Best For | Weeknight dinners, potlucks, holiday sides |
What You’ll Need
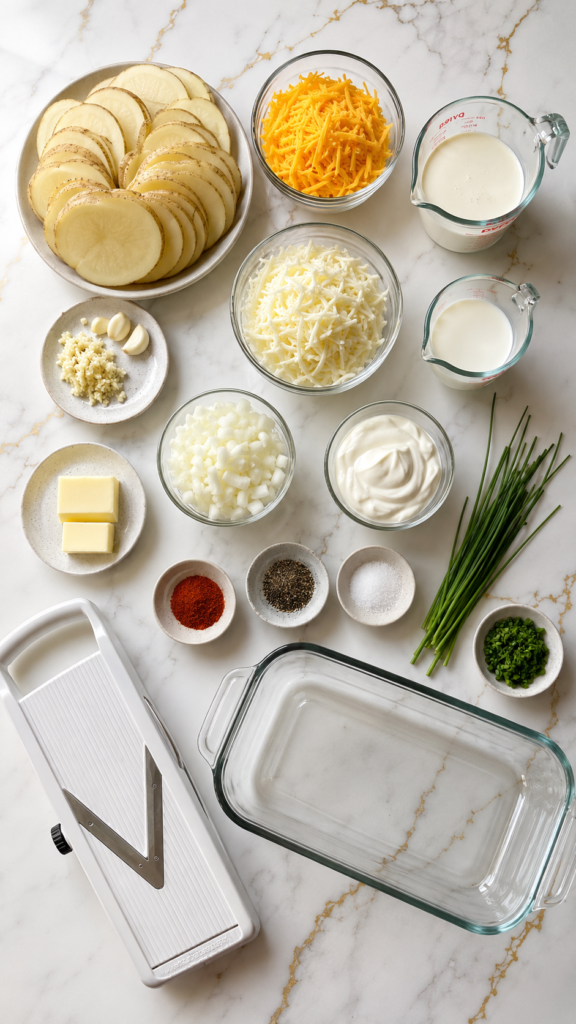
Here’s everything going into this bake:
- 3 lbs russet potatoes, thinly sliced (about 1/8 inch thick)
- 2 cups shredded sharp cheddar cheese
- 1 cup shredded mozzarella cheese
- 1 cup heavy cream
- 1/2 cup whole milk
- 3 garlic cloves, minced
- 2 tbsp butter
- 1 small yellow onion, diced
- 1/2 cup sour cream
- 1 tsp smoked paprika
- 1 tsp salt (plus more to taste)
- 1/2 tsp black pepper
- 1/4 cup chopped chives or green onions (for topping)
That’s it. Nothing fancy, nothing you can’t grab at a regular grocery store. 🧀
Tools You’ll Need
- A 9×13 baking dish
- A mandoline slicer (or a sharp knife and a lot of patience)
- A large mixing bowl
- A medium saucepan
- Aluminum foil
How to Make It
Step 1: Prep your potatoes.
Slice the potatoes thin and even. This matters more than you’d think.
Uneven slices mean uneven cooking, and nobody wants a bite of raw potato next to a bite of mush.
Step 2: Make the cream sauce.
Melt the butter in a saucepan over medium heat. Add the diced onion and cook until soft, about 4 minutes.
Toss in the garlic and cook another 30 seconds, just until it smells incredible.
Pour in the cream and milk. Add the paprika, salt, and pepper. Let it simmer for 2-3 minutes.
Step 3: Layer everything.
Grease your baking dish. Layer a third of the potatoes on the bottom, slightly overlapping like shingles.
Pour a third of the cream sauce over top. Sprinkle with a third of the cheddar and mozzarella.
Repeat this two more times, ending with a generous layer of cheese on top.
Step 4: Bake it.
Cover the dish tightly with foil and bake at 375°F for 30 minutes.
Remove the foil and bake for another 15 minutes, until the top is golden and bubbling.
Step 5: Rest before serving.
Let it sit for 10 minutes before cutting in. This step feels impossible to follow, but it’s what keeps everything from sliding apart when you serve it.
Top with chives and dig in.
Pro Tips
A few things I’ve learned from making this way too many times:
- Slice your potatoes the same day you bake them. If they sit too long, they start to turn gray or release too much starch, which messes with the texture.
- Use a mandoline if you have one. Consistent thickness is the difference between a good bake and a great one.
- Don’t skip the resting time. I know it’s tempting to cut in right away, but 10 minutes makes all the difference.
- Grate your own cheese. Pre-shredded cheese has anti-caking agents that keep it from melting as smoothly. It’s a small step that changes everything.
- Check it at the 40-minute mark. Every oven runs a little different, and you want that top golden, not burnt.
Substitutions and Variations
Want to switch things up? Here’s what works:
- Sweet potatoes instead of russets for a slightly sweeter, more colorful bake
- Gruyère or gouda swapped in for the mozzarella for a nuttier flavor
- Half-and-half instead of heavy cream if you want something a bit lighter
- Bacon bits folded into the layers for extra richness
- Fresh thyme or rosemary added to the cream sauce for an herby twist
Make-Ahead Tips
You can assemble the entire dish up to a day ahead. Just cover it tightly and store it in the fridge until you’re ready to bake.
Add about 10 extra minutes to the covered baking time since it’ll be starting cold.
You can also fully bake it, then reheat covered at 350°F for 20 minutes when you’re ready to serve.
Nutrition, Diet Swaps, and Pairings
Nutritional Breakdown (per serving, based on 8 servings):
| Nutrient | Amount |
|---|---|
| Calories | 340 |
| Protein | 12g |
| Carbs | 28g |
| Fat | 20g |
| Fiber | 2g |
Diet Swaps:
- Gluten-free: This recipe is naturally gluten-free as written
- Lower-fat version: Swap heavy cream for whole milk and use reduced-fat cheese
- Vegetarian: Already vegetarian, just double-check your cheese for rennet if that matters to you
What to Pair It With:
- Grilled chicken or a roasted whole chicken
- A simple green salad with a sharp vinaigrette to cut the richness
- Garlic green beans
- A glass of dry white wine, like Sauvignon Blanc
Time-Saving Tip: Slice your potatoes with a food processor attachment if you have one. It cuts the prep time nearly in half.
Leftovers and Storage
This bake keeps well for 3-4 days in the fridge, stored in an airtight container.
Reheat individual portions in the microwave for about 90 seconds, or reheat the whole dish covered in a 350°F oven for 15-20 minutes.
You can also freeze it for up to 2 months. Just thaw it in the fridge overnight before reheating.
FAQ
Can I use a different type of potato?
Yukon golds work great too. They’re a bit creamier and hold their shape well.
Why is my bake watery?
This usually happens if the potatoes weren’t sliced thin enough, or if the dish didn’t rest long enough before cutting.
Can I make this dairy-free?
You can try full-fat coconut milk and a dairy-free cheese blend, though the texture will be noticeably different.
Do I need to peel the potatoes?
Nope. The skin adds texture and nutrients, and honestly, most people can’t even tell once it’s baked.
Can I add meat to this?
Absolutely. Cooked, crumbled bacon or diced ham folded into the layers works really well.
Wrapping Up
This cheesy potato bake has earned a permanent spot in my recipe rotation, and once you make it, I think it’ll earn one in yours too.
It’s simple enough for a random Tuesday and impressive enough for a holiday table.
Give it a try this week, and let me know in the comments how it turned out. I’d love to hear if you tried any of the variations, and if you have any questions along the way, drop them below. I read every comment. 🥔




