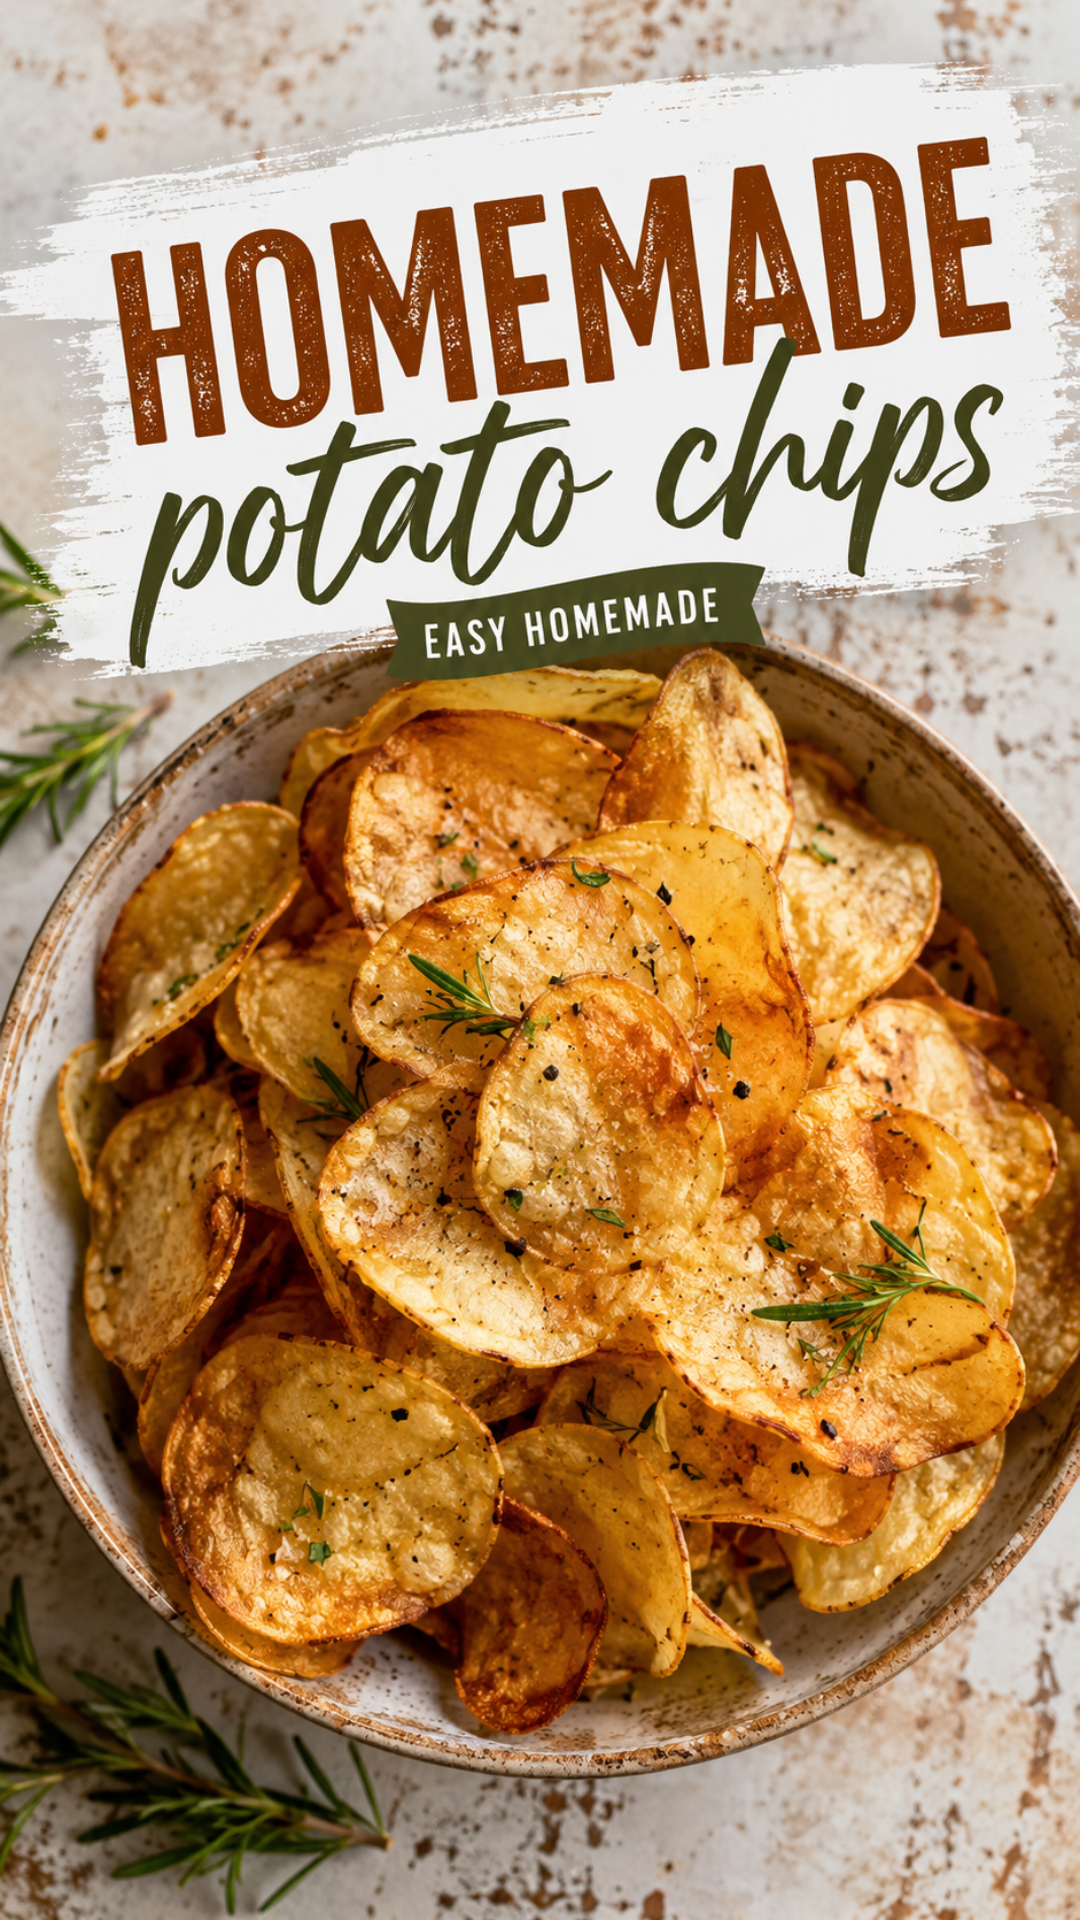
I used to think potato chips were a “buy them, don’t make them” kind of food.
Then I made a batch myself on a random Tuesday, mostly out of boredom, and I haven’t bought a bag since.
Turns out three ingredients and a pot of oil get you something crunchier, saltier, and honestly more addictive than anything in the snack aisle. 🥔
Here’s exactly how I make them at home, plus everything I learned the hard way so you don’t have to.
Recipe at a Glance
| Detail | Info |
|---|---|
| Prep time | 20 minutes |
| Cook time | 25 minutes |
| Total time | 45 minutes |
| Servings | 4 |
| Difficulty | Easy |
| Best for | Snacking, parties, sandwiches on the side |
What You’ll Need
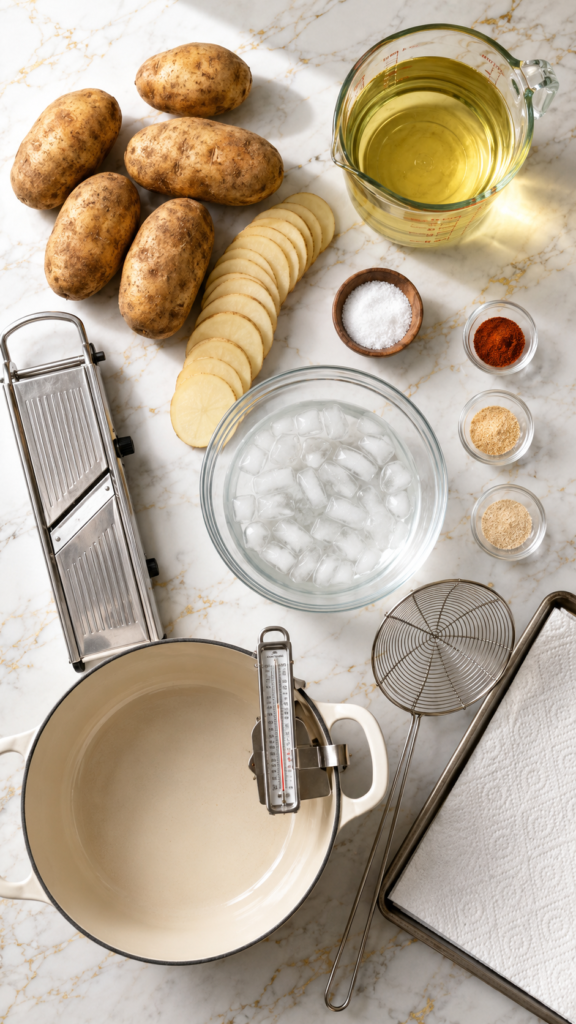
- 4 large russet potatoes
- 4 cups vegetable oil (or peanut oil)
- 1 to 2 teaspoons fine sea salt
- Ice water (for soaking)
- Optional: smoked paprika, garlic powder, or malt vinegar powder for seasoning
That’s it. No weird ingredients, no trip to a specialty store.
Tools You’ll Need
- A mandoline slicer (a sharp knife works too, just slower)
- A large heavy-bottomed pot or Dutch oven
- A candy or deep-fry thermometer
- A spider strainer or slotted spoon
- A baking sheet lined with paper towels
Why Homemade Chips Actually Taste Better
Here’s the part that surprised me the first time I made these.
Bagged chips are fried once, then they sit on a shelf for weeks losing crunch before you even open the bag.
Homemade chips go from the oil to your mouth in under a minute.
That’s the whole secret. Freshness beats everything.
How to Make Homemade Potato Chips
Step 1: Slice the Potatoes
Wash your potatoes well. You can peel them or leave the skin on, both work.
Using a mandoline set to about 1/8 inch, slice the potatoes into thin, even rounds.
Even thickness matters more than thinness. Uneven slices cook at different speeds, which means some burn while others stay soft.
Step 2: Soak Them
Drop the sliced potatoes into a large bowl of ice water.
Let them soak for 20 to 30 minutes.
This pulls out extra starch, which is the difference between a crispy chip and a soggy one.
Step 3: Dry Them Completely
Drain the potatoes and lay them out on a clean kitchen towel or paper towels.
Pat them dry. Really dry.
Any leftover water will make the oil pop and spit when the potatoes hit it, so don’t rush this part.
Step 4: Heat the Oil
Pour your oil into a heavy pot until it’s about 2 inches deep.
Heat it to 325°F using your thermometer.
Going in too hot burns the outside before the inside cooks. Too cool and you get greasy, limp chips.
Step 5: Fry in Small Batches
Add a small handful of potato slices to the oil at a time. Don’t overcrowd the pot.
Fry for 3 to 5 minutes, stirring occasionally, until they turn golden and the bubbling slows down.
Bubbling slowing down means the water has cooked out, which is your cue they’re almost done.
Step 6: Drain and Salt Immediately
Use your spider strainer to lift the chips out and set them on the paper towel-lined baking sheet.
Salt them right away, while they’re still hot and glistening.
Salt sticks best to hot oil, so timing here actually matters.
Step 7: Repeat and Cool
Work through the rest of your potatoes in batches, letting the oil come back to 325°F between each one.
Let the finished chips cool for 5 minutes before diving in. They crisp up even more as they cool.
Pro Tips
- Use a thermometer, not a guess. Oil temperature makes or breaks this recipe, and eyeballing it almost always ends in either burnt or soggy chips.
- Don’t skip the soak. I tried rushing this once and the chips came out chewy instead of crisp. Big mistake.
- Salt while hot. Waiting even 2 minutes means the salt won’t stick properly.
- Slice potatoes just before frying. Sliced potatoes brown fast once exposed to air, so don’t prep them hours ahead.
- Save the used oil. Strain it through a coffee filter and reuse it once or twice more for frying.
Substitutions and Variations
- Sweet potatoes work beautifully here and add a slightly sweet edge.
- Air fryer version: toss slices in a tablespoon of oil and air fry at 350°F for 12 to 15 minutes, shaking halfway.
- Baked version: bake at 400°F for 20 minutes, flipping once. Less crunchy, but lighter.
- Flavor twists: try sea salt and vinegar, smoked paprika, or a sprinkle of parmesan right after frying.
Make-Ahead Tips
Chips are genuinely best eaten the same day.
If you want to prep ahead, you can slice and soak the potatoes up to 24 hours in advance. Keep them submerged in the fridge in ice water and dry them thoroughly right before frying.
Nutritional Snapshot
| Per serving (about 1 cup) | Amount |
|---|---|
| Calories | 210 |
| Fat | 12g |
| Carbs | 24g |
| Protein | 3g |
| Sodium | 290mg |
Numbers will shift a bit depending on how much oil the chips soak up and how heavy-handed you are with salt.
For a lighter version, the air fryer method above cuts fat by more than half.
Meal Pairing Ideas
- Alongside a classic burger or sandwich instead of fries
- With a cold beer or lemonade for a lazy afternoon snack
- Next to a bowl of French onion dip or homemade guacamole
- Crushed on top of a loaded baked potato (yes, really)
Leftovers and Storage
Homemade chips lose their crunch within a few hours, which is honestly the one downside of making them fresh.
If you do have leftovers, store them in an airtight container at room temperature for up to 2 days.
To re-crisp them, pop them in a 350°F oven for 3 to 5 minutes. Skip the microwave, it makes them chewy instead of crispy.
FAQ
Why are my chips soggy instead of crispy?
Usually it’s either water still on the potatoes before frying, or the oil temperature dropped too low. Both let the chips soak up oil instead of crisping.
Can I use a different potato variety?
Russets are ideal because of their higher starch content, but Yukon Golds work in a pinch with a slightly creamier texture.
Do I need a mandoline?
Not required, but it makes slicing much faster and far more even, which really does affect the final crunch.
Can I make these without a thermometer?
You can test the oil by dropping in one slice. If it sizzles immediately and steadily, you’re close to the right temperature.
How long do homemade chips last?
Best within a few hours of frying, and edible for up to 2 days if stored airtight and re-crisped in the oven.
Wrapping Up
Once you make chips at home, it’s genuinely hard to go back to the bag.
There’s real satisfaction in pulling golden, crackling chips straight out of the oil, still warm, still salty, still better than anything store-bought.
Give this recipe a try this week and let me know how it goes in the comments below.
And if you run into any questions along the way, drop them there too. I read every single one.




