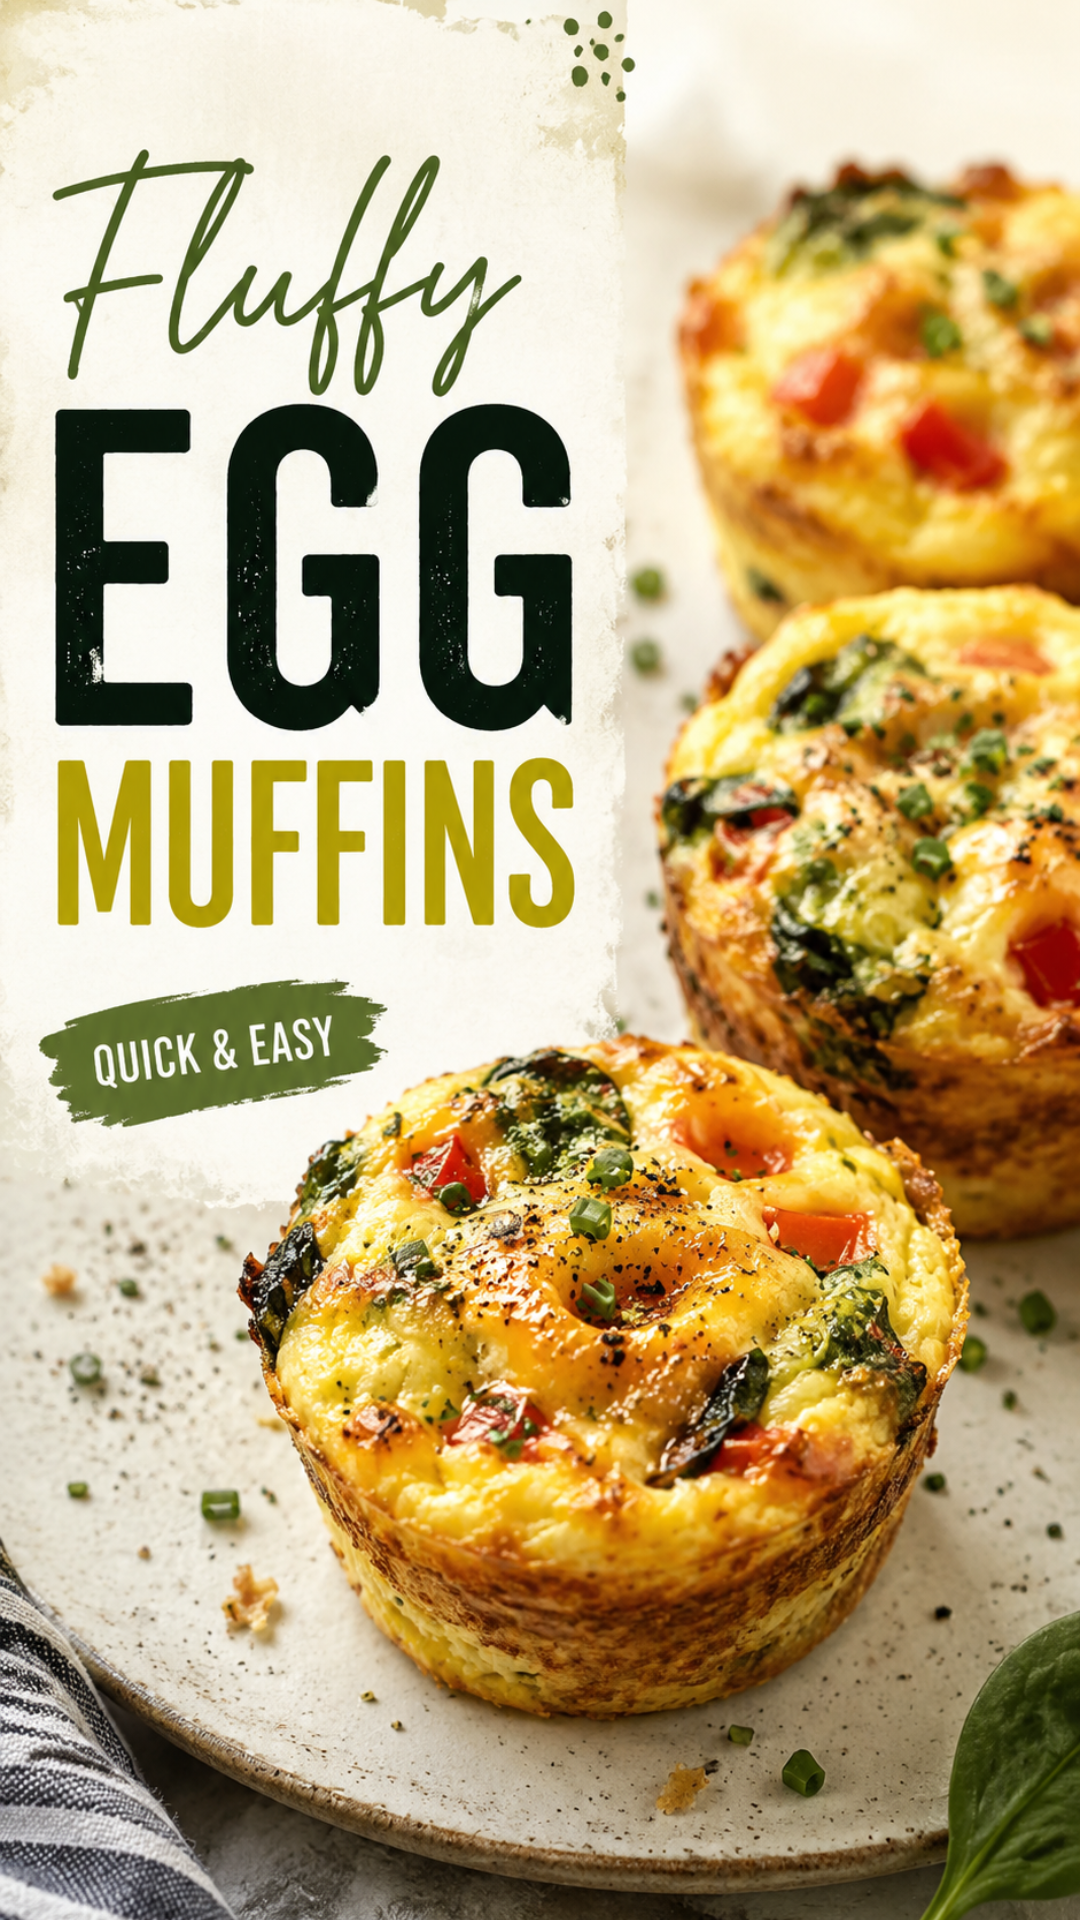
I used to think egg muffins were one of those “meal prep foods” that taste like sad cardboard by day three.
Then I made a batch that came out so fluffy, so light, they honestly reminded me of little clouds you could eat for breakfast. 🥚
That’s when I realized the trick isn’t the recipe everyone shares. It’s a couple tiny details nobody talks about.
I’m sharing all of them below.
Recipe At a Glance
| Detail | Info |
|---|---|
| Prep time | 10 minutes |
| Cook time | 20 minutes |
| Total time | 30 minutes |
| Yield | 12 muffins |
| Best for | Breakfast meal prep, quick snacks, lunchboxes |
| Diet friendly | Gluten-free, low-carb, vegetarian (easily) |
What You’ll Need
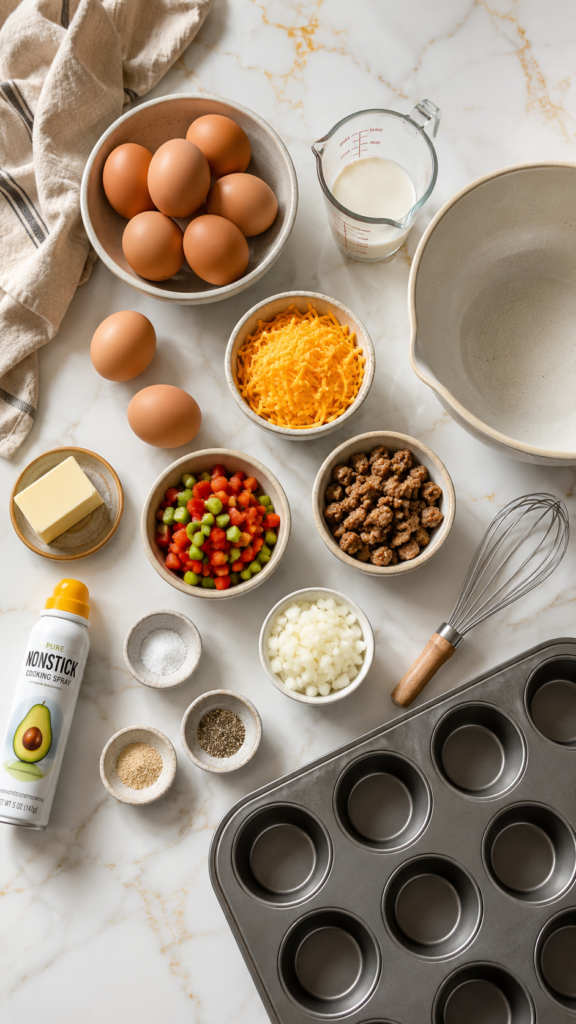
Here’s everything that goes into the mix:
- 8 large eggs
- 1/4 cup milk (whole milk works best)
- 1/2 cup shredded cheddar cheese
- 1/2 cup diced bell peppers
- 1/4 cup diced onion
- 1/2 cup cooked, crumbled breakfast sausage (or bacon bits)
- 1/2 teaspoon salt
- 1/4 teaspoon black pepper
- 1/4 teaspoon garlic powder
- Nonstick spray or butter for greasing
That’s it. Nothing fancy, nothing you can’t find at a regular grocery store.
Tools You’ll Need
- A 12-cup muffin tin
- A mixing bowl
- A whisk
- A ladle or measuring cup (for pouring the egg mixture)
- A small skillet (for cooking the sausage and veggies beforehand)
How to Make Fluffy Egg Muffins
Step 1: Preheat your oven to 350°F.
Grease your muffin tin really well. This part matters more than people think, so don’t rush it.
Step 2: Cook your fillings first.
Sauté the onion and bell pepper in a little butter until soft, about 3 minutes. If you’re using raw sausage, cook it now too.
Step 3: Whisk the eggs and milk together.
Whisk until the mixture looks a little foamy on top. That foam is where the fluffiness starts.
Step 4: Season the eggs.
Add the salt, pepper, and garlic powder directly into the egg mixture.
Step 5: Divide the fillings.
Spoon the cooked veggies, sausage, and cheese evenly into each muffin cup.
Step 6: Pour the egg mixture over the fillings.
Fill each cup about 3/4 of the way. They’ll puff up in the oven, so don’t overfill.
Step 7: Bake for 18 to 20 minutes.
You’ll know they’re done when the centers are set and the tops are just barely golden.
Step 8: Let them cool for 5 minutes before removing.
This is the step almost everyone skips. And it’s the reason so many egg muffins collapse the second they come out.
Pro Tips From Someone Who’s Made a Lot of These
1. Room temperature eggs make a real difference.
Cold eggs straight from the fridge don’t whisk as well, and you’ll lose some of that fluff.
2. Don’t skip the resting time.
Letting the muffins sit for 5 minutes lets the steam settle instead of escaping all at once and deflating everything.
3. Grease the tin like you mean it.
Even nonstick pans need a generous coat. Eggs stick more than almost anything else you’ll bake.
4. A splash of milk (not too much) is what gives you that soft, custardy texture.
Too much milk though, and they turn rubbery. Stick to 1/4 cup for 8 eggs.
5. Fill your cups evenly.
Uneven filling means uneven cooking, and some muffins finish way before others.
Substitutions and Variations
Want to switch things up? Here are some easy swaps:
- Dairy-free: Swap milk for unsweetened almond milk and skip the cheese, or use a dairy-free shred.
- Vegetarian: Leave out the sausage and add spinach, mushrooms, or diced tomatoes instead.
- Spicy version: Add diced jalapeños and a pinch of cayenne.
- Low-carb boost: Add avocado on top after baking instead of extra starchy fillings.
- Different cheese: Feta, pepper jack, or gouda all work great here.
Make-Ahead Tips
These are honestly one of the best make-ahead breakfasts out there.
You can prep the veggies and sausage the night before and store them in the fridge. In the morning, all that’s left is whisking the eggs and baking.
You can also bake a full batch on Sunday and portion them out for the whole week.
A Few Extra Details Worth Knowing
Nutritional breakdown (per muffin, approximate):
| Nutrient | Amount |
|---|---|
| Calories | 90 |
| Protein | 7g |
| Fat | 6g |
| Carbs | 1g |
Diet-friendly swaps:
- Keto: use full-fat cheese and skip any starchy veggies
- Whole30: skip cheese entirely and use compliant sausage
- High-protein: add an extra egg white or two per batch
Meal pairing ideas:
Pair these with roasted breakfast potatoes, a side of fruit, or avocado toast for a fuller plate.
Time efficiency tip:
Cook your fillings in bulk once a week (like Sunday meal prep) so mornings only need the whisking and baking part.
Leftovers and Storage
These store really well, which is half the reason I love them.
- Fridge: Store in an airtight container for up to 5 days.
- Freezer: Freeze in a single layer first, then transfer to a freezer bag for up to 2 months.
- Reheating: Microwave for 20 to 30 seconds, or reheat in the oven at 300°F for about 8 minutes.
They taste just as good reheated, which is honestly rare for eggs.
FAQ
Why did my egg muffins deflate?
This usually happens from overbaking or skipping the resting time. Pull them out as soon as the centers are set.
Can I make these without a muffin tin?
You can use a mini loaf pan or ramekins, though baking time may need a small adjustment.
Can I use egg whites instead of whole eggs?
Yes, though the texture will be a bit less rich. A mix of whole eggs and egg whites works nicely too.
Why are my muffins watery?
This usually means too much milk was added, or the veggies weren’t cooked down enough before adding them.
Can kids help make these?
Definitely. Whisking the eggs and adding the fillings are both great tasks for little hands.
Wrapping Up
Fluffy egg muffins are one of those recipes that feels almost too simple for how good the result is.
Once you get the ratio of eggs to milk right, and remember not to rush the resting step, you’ll have a breakfast that actually holds up all week.
Give this one a try this weekend, and let me know in the comments how yours turned out. I’d love to hear what fillings you used, and if you run into any questions along the way, just drop them below. 🍳




