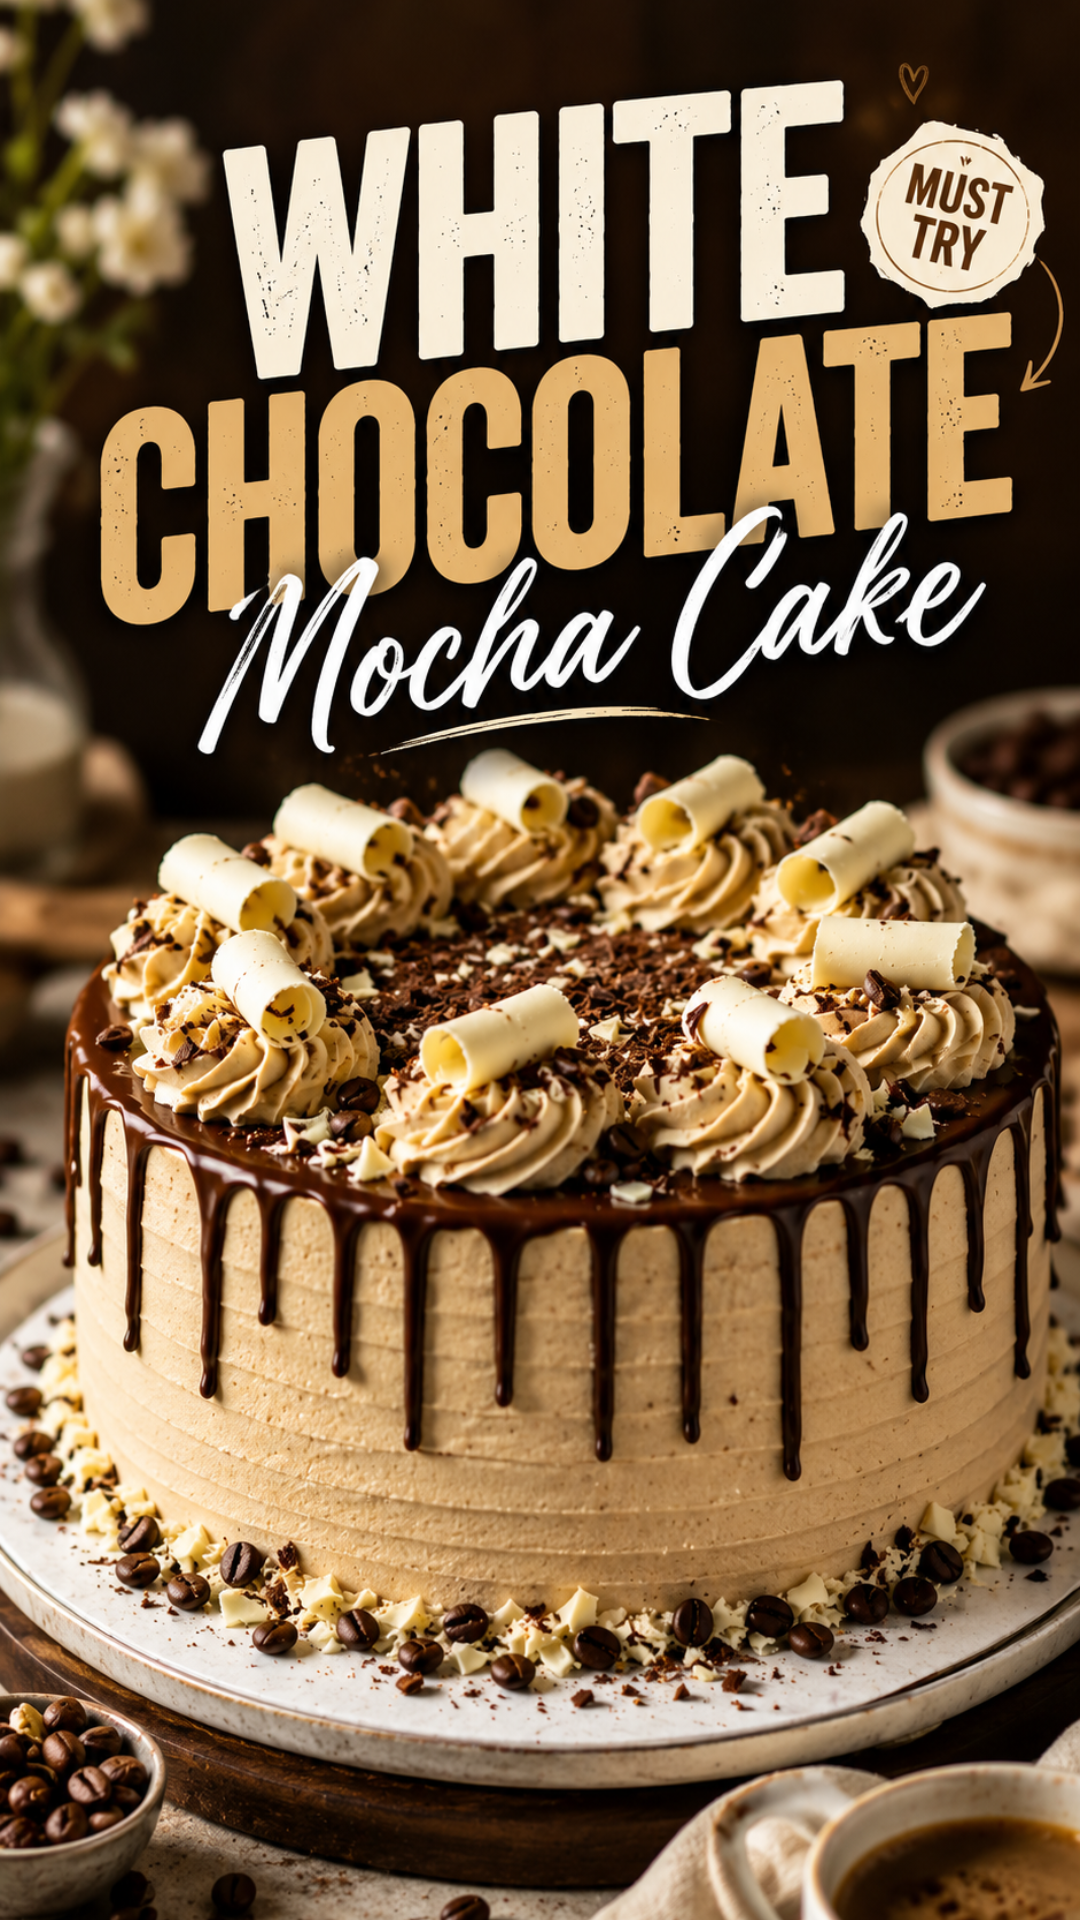
Coffee and chocolate cake have been flirting for years. This recipe is where they finally get married. 🍰
I made this cake for a Sunday brunch and watched three people ask for the recipe before they even finished their slice.
It’s a rich chocolate cake, soaked in real coffee flavor, and covered in a white chocolate mocha buttercream that tastes like your favorite latte decided to become frosting.
No fancy pastry degree needed. Just a mixing bowl, two pans, and about two hours of your afternoon.
Here’s everything you need to make it happen.
Recipe At a Glance
| Detail | Info |
|---|---|
| Prep time | 30 minutes |
| Bake time | 35 minutes |
| Cool + frost time | 45 minutes |
| Total time | About 2 hours |
| Servings | 12 slices |
| Difficulty | Intermediate |
| Best for | Birthdays, coffee lovers, weekend baking projects |
What You’ll Need
For the cake:
- 2 1/4 cups all-purpose flour
- 2 cups granulated sugar
- 3/4 cup unsweetened cocoa powder
- 2 tsp baking soda
- 1 tsp baking powder
- 1 tsp salt
- 2 large eggs
- 1 cup buttermilk
- 1 cup strong brewed coffee, hot
- 1/2 cup vegetable oil
- 2 tsp vanilla extract
For the white chocolate mocha buttercream:
- 1 cup unsalted butter, softened
- 8 oz white chocolate, melted and cooled slightly
- 4 cups powdered sugar
- 3 to 4 tbsp heavy cream
- 2 tbsp instant espresso powder, dissolved in 1 tbsp hot water
- Pinch of salt
That’s it. Nothing exotic, nothing you have to hunt down at a specialty store.
Tools You’ll Need
- Two 9-inch round cake pans
- Parchment paper
- Stand mixer or hand mixer
- Two mixing bowls (one large, one medium)
- Whisk
- Rubber spatula
- Cooling rack
- Offset spatula for frosting
- Measuring cups and spoons
- Cake turntable (optional, but it makes frosting so much easier)
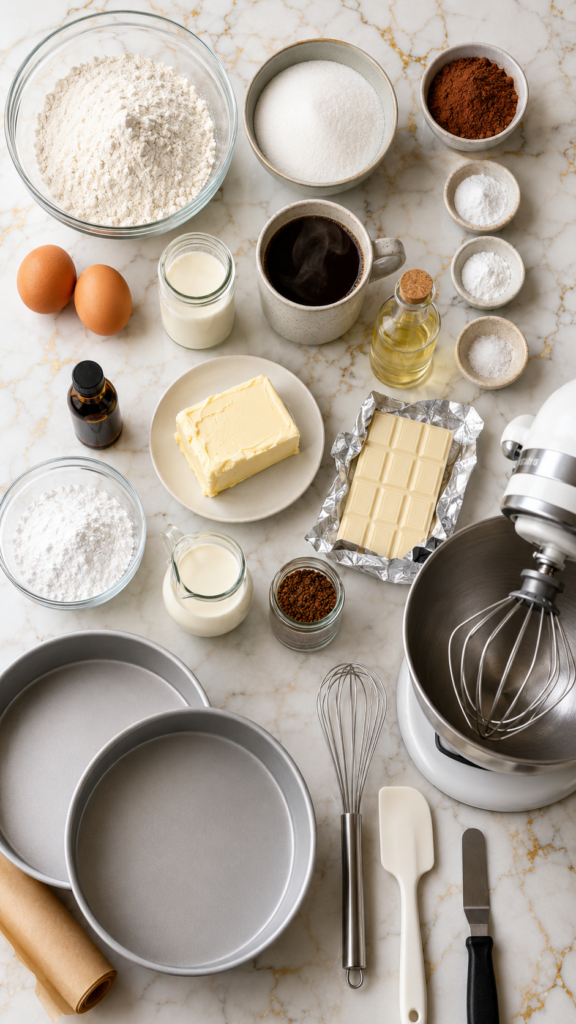
How to Make White Chocolate Mocha Cake
Step 1: Prep your pans and oven
Preheat your oven to 350°F.
Grease your two cake pans and line the bottoms with parchment paper. This step feels small, but it’s the difference between a cake that pops out clean and one that fights you.
Step 2: Mix the dry ingredients
In your large bowl, whisk together the flour, sugar, cocoa powder, baking soda, baking powder, and salt.
Get it fully combined so you don’t end up with cocoa clumps later.
Step 3: Add the wet ingredients
Add the eggs, buttermilk, oil, and vanilla to the dry mix.
Beat on medium speed for about 2 minutes, until smooth.
Step 4: Add the hot coffee
Slowly pour in the hot coffee while mixing on low speed.
The batter will turn thin. Almost too thin. That’s exactly what you want, since it’s what keeps this cake so moist.
Step 5: Bake
Divide the batter evenly between your two pans.
Bake for 30 to 35 minutes, until a toothpick comes out clean.
Let the cakes cool in the pans for 10 minutes, then move them to a cooling rack to cool completely. Do not skip this part. Frosting a warm cake is a rookie mistake that ends in a melty mess.
Step 6: Make the buttercream
Beat the softened butter until pale and fluffy, about 3 minutes.
Add the melted white chocolate and mix until fully combined.
Add the powdered sugar one cup at a time, mixing on low so it doesn’t fly everywhere.
Pour in the espresso mixture and a pinch of salt. Beat on high for 2 minutes until light and fluffy.
Step 7: Assemble
Place one cake layer on your plate or turntable.
Spread a generous layer of buttercream on top.
Add the second layer, then frost the top and sides of the whole cake.
Use your offset spatula to smooth it out, or go rustic with swoops and swirls. Both look great.
Pro Tips
- Use real brewed coffee, not instant granules mixed with water. The flavor difference is noticeable, and this cake is all about that coffee depth.
- Room temperature butter is non-negotiable for the buttercream. Too cold and it won’t blend smoothly. Too warm and your frosting turns soupy.
- Do a crumb coat first. A thin layer of frosting to seal in crumbs, chilled for 15 minutes, makes your final frosting layer look clean and professional.
- Melt your white chocolate low and slow. White chocolate scorches fast. Use short bursts in the microwave, stirring often, or a double boiler if you want zero risk.
- Let your cakes cool completely before frosting. I know it’s tempting to rush this part. Don’t. Warm cake plus buttercream equals a melty situation nobody wants.
Substitutions and Variations
- No buttermilk? Mix 1 cup milk with 1 tbsp white vinegar or lemon juice and let it sit for 5 minutes.
- Dairy-free version: Swap the buttermilk for a plant milk plus vinegar mix, use dairy-free butter, and grab dairy-free white chocolate.
- Extra mocha kick: Add another tablespoon of espresso powder to the buttercream if you want a stronger coffee punch.
- No espresso powder? Strong instant coffee dissolved in a small amount of hot water works in a pinch.
- Cupcake version: This batter makes about 24 cupcakes. Bake at 350°F for 18 to 20 minutes.
- Layer it up: Split each cake layer in half for a taller four-layer cake if you want extra drama for a birthday.
Make-Ahead Tips
You can bake the cake layers up to two days ahead. Wrap them tightly in plastic wrap once fully cooled and store at room temperature.
The buttercream can be made 3 days ahead and kept in the fridge. Just bring it to room temperature and re-whip before frosting.
You can also freeze the unfrosted cake layers for up to 2 months. Thaw overnight in the fridge before frosting.
Nutrition and Serving Notes
One slice (based on 12 servings) comes in around 520 calories, with roughly 24g of fat and 68g of carbs, mostly from the sugar in the frosting.
This cake pairs beautifully with a cup of black coffee or a cold brew, since the drink cuts through the sweetness of the buttercream.
If you’re serving a crowd with mixed diets, a dairy-free version made with the swaps above holds up just as well texture-wise.
Leftovers and Storage
Store leftover cake in an airtight container at room temperature for up to 2 days.
For anything longer, keep it in the fridge for up to 5 days. Just let slices sit out for 20 minutes before eating so the buttercream can soften back up.
Freezing works too. Wrap individual slices tightly in plastic wrap, then foil, and freeze for up to 3 months. Thaw in the fridge overnight.
FAQ
Can I make this cake without a stand mixer?
Yes. A hand mixer works perfectly fine for both the cake batter and the buttercream. It just takes a little more arm effort.
Why is my cake batter so thin?
That’s normal. The hot coffee thins out the batter significantly, and it’s exactly what keeps this cake so moist once baked.
Can I use white chocolate chips instead of a bar?
You can, though bars tend to melt smoother since chips often have stabilizers added that keep them from melting as easily.
My buttercream looks grainy. What happened?
Your butter or white chocolate was probably too cold when combined. Let the buttercream sit at room temperature for a few minutes, then beat again on high until smooth.
Can I turn this into a sheet cake?
Yes. Pour the batter into a 9×13 pan and bake for about 35 to 40 minutes, checking with a toothpick around the 35 minute mark.
Wrapping Up
This White Chocolate Mocha Cake is the kind of dessert that turns an average afternoon into something worth remembering.
It’s rich without being heavy, sweet without being overwhelming, and it smells like a coffee shop while it bakes.
Give it a try this weekend, and when you do, come back and leave a comment. I want to hear how it turned out, what you paired it with, and any tweaks you made along the way.
If you have questions before you start baking, drop them below too. I’ll get back to you.




