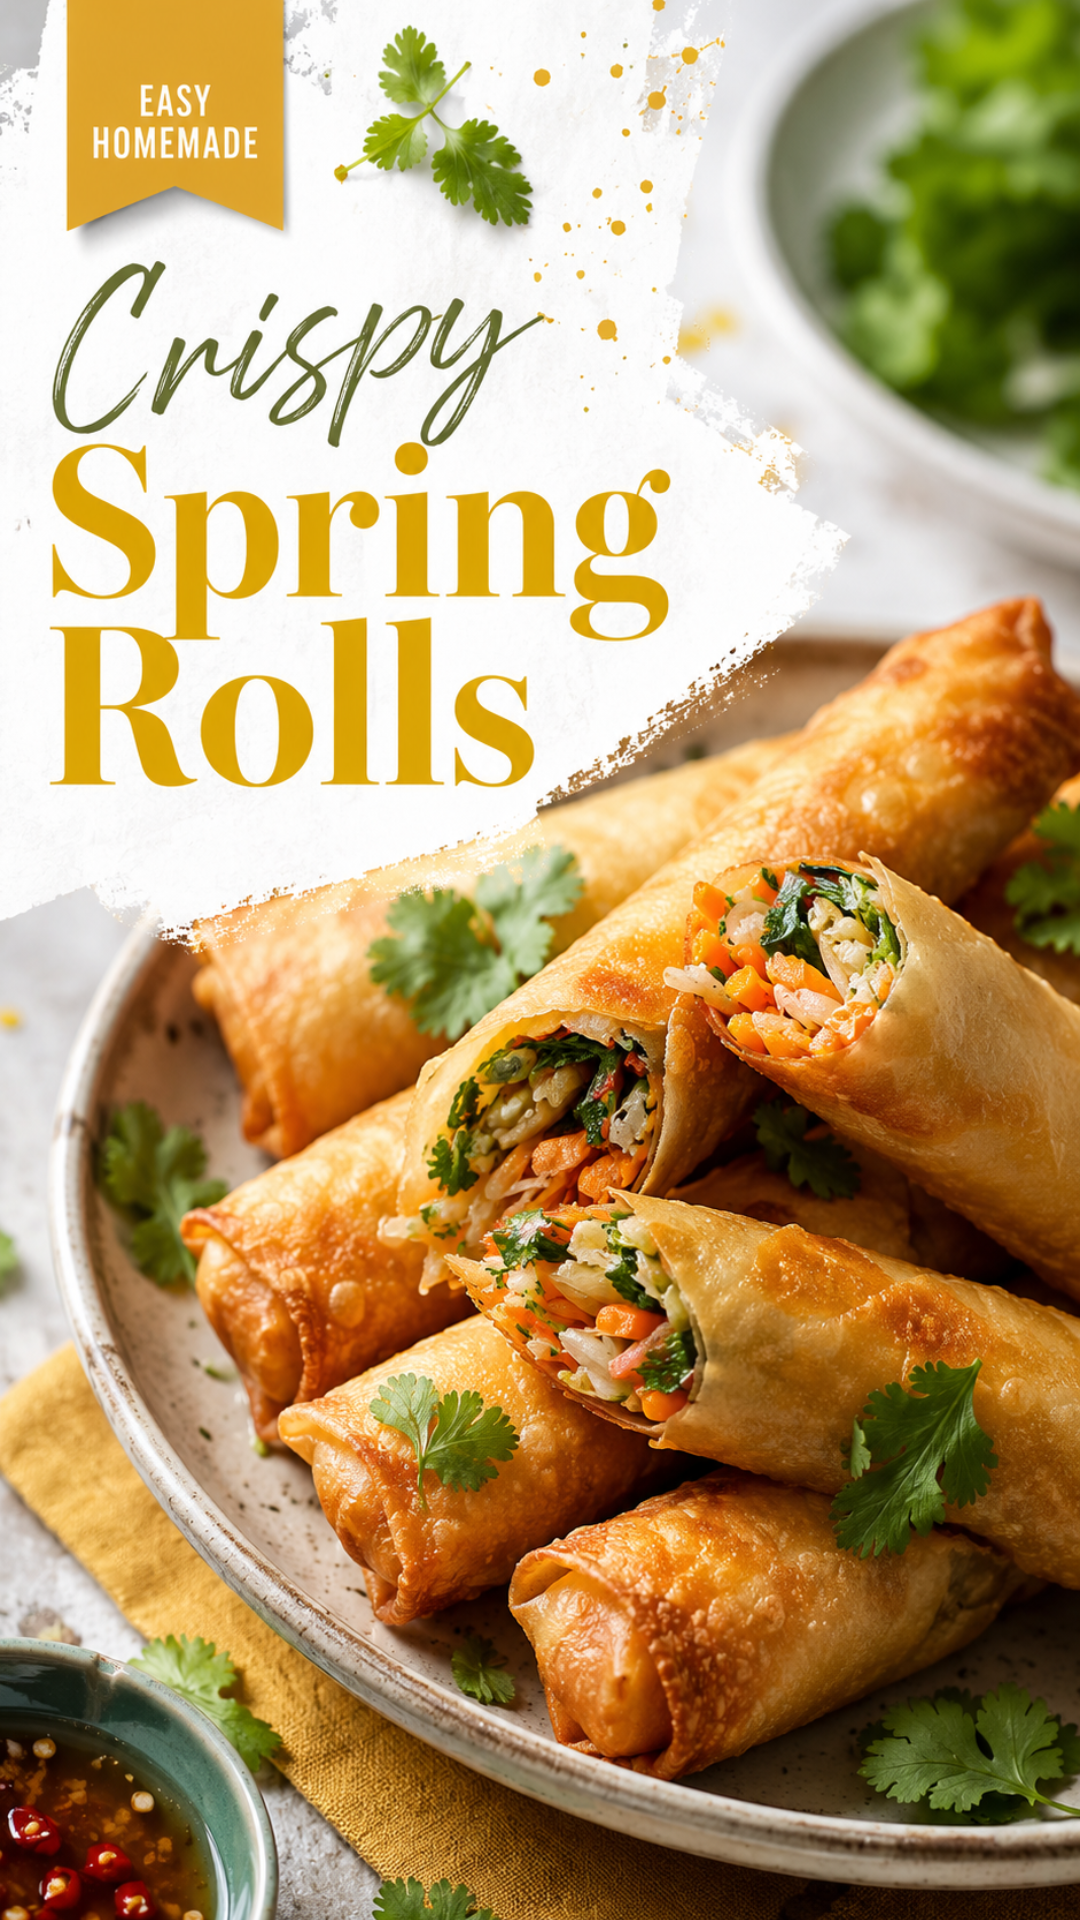
I used to think spring rolls were a “leave it to the restaurant” kind of food.
Then I made a batch at home on a random Tuesday and genuinely stood at my counter eating them straight off the tray like a raccoon. 🦝
Turns out the crunch everyone loves so much? It comes down to like 3 things you’re probably already doing wrong.
I’ll fix that for you today.
Recipe At a Glance
| Detail | Info |
|---|---|
| Prep Time | 20 minutes |
| Cook Time | 15 minutes |
| Total Time | 35 minutes |
| Servings | 4 (about 12 rolls) |
| Difficulty | Easy |
| Best For | Appetizers, party snacks, “I need a win tonight” dinners |
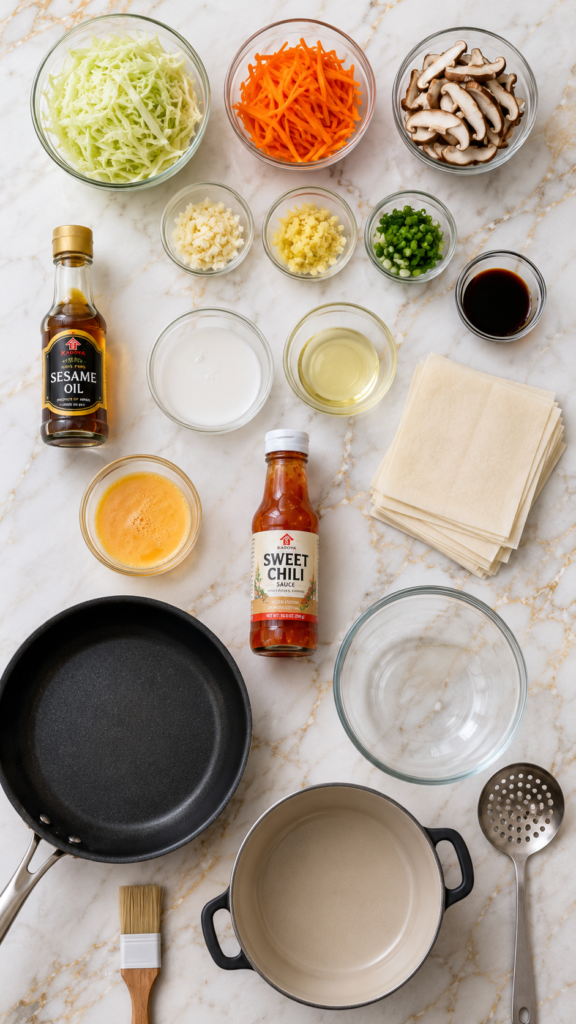
What You’ll Need
For the filling:
- 2 cups green cabbage, shredded
- 1 cup carrots, julienned
- 1 cup shiitake mushrooms, thinly sliced
- 3 cloves garlic, minced
- 1 tbsp fresh ginger, minced
- 2 green onions, chopped
- 2 tbsp soy sauce
- 1 tsp sesame oil
- 1 tsp cornstarch (mixed with 1 tbsp water)
- 1 tbsp vegetable oil (for cooking the filling)
For the rolls:
- 12-15 spring roll wrappers (the thin, square kind — not egg roll wrappers)
- 1 egg, beaten (or a cornstarch slurry if you want it egg-free)
- Vegetable oil, for frying (about 2-3 cups depending on your pot)
For dipping:
- Sweet chili sauce, or your favorite soy-vinegar mix
I know that ingredient list looks long. It’s mostly stuff you toss in a bowl and don’t think about again.
Tools You’ll Need
- Large skillet or wok
- Mixing bowl
- Small bowl (for the cornstarch slurry)
- Pastry brush (or just your finger, no judgment)
- Deep pot or Dutch oven for frying
- Slotted spoon or spider strainer
- Wire rack or paper towel-lined plate
How to Make Crispy Spring Rolls
Step 1: Cook the Filling
Heat the vegetable oil in your skillet over medium-high heat.
Add the garlic and ginger first. Just 30 seconds, until it smells amazing and your kitchen basically becomes a restaurant.
Toss in the cabbage, carrots, and mushrooms. Stir-fry for 4-5 minutes until everything softens but still has a little bite.
Add the soy sauce and sesame oil.
Pour in the cornstarch slurry and stir until everything thickens up slightly and coats the veggies. This step matters more than people think — it keeps your filling from turning into soup inside the wrapper.
Stir in the green onions, then pull it off the heat and let it cool. Do not skip the cooling step. Hot filling on wrappers is a recipe for a soggy, torn mess.
Step 2: Roll Them Up
Lay a wrapper in a diamond shape in front of you.
Add about 2 tablespoons of filling near the bottom corner.
Fold the bottom corner over the filling, then fold in the two sides like you’re wrapping a burrito.
Brush the top corner with the beaten egg, then roll it all the way up and press to seal.
Repeat until you’re out of filling or wrappers, whichever comes first.
Step 3: Fry Until Golden
Heat your oil to 350°F. If you don’t have a thermometer, drop a tiny piece of wrapper in — if it sizzles and floats up right away, you’re good.
Fry the rolls in small batches (don’t crowd the pot) for 3-4 minutes, turning occasionally, until they’re deep golden brown.
Pull them out with your slotted spoon and set them on a wire rack.
Skip the paper towels if you can. A wire rack keeps the bottoms from getting steamy and soft.
Step 4: Serve
Let them cool for 2 minutes (they’re lava-hot inside).
Serve with sweet chili sauce and watch them disappear.
Pro Tips
Here’s what I wish someone told me the first time I made these:
- Keep your wrappers under a damp towel. They dry out and crack shockingly fast, and a cracked wrapper means a spring roll blowout in the fryer.
- Don’t overfill. I know, more filling feels like more value. But an overstuffed roll won’t seal properly and will burst open in the oil.
- Oil temperature is everything. Too low, and your rolls soak up oil and turn greasy instead of crispy. Too high, and the outside burns before the inside cooks. 350°F is the number to remember.
- Let the filling cool completely before rolling. Steam trapped inside a rolled wrapper is basically guaranteed sogginess.
- Fry in small batches. Crowding the pot drops the oil temperature fast, and that’s how you end up with pale, oily rolls instead of crispy ones.
Substitutions and Variations
- Protein add-in: Shredded chicken, ground pork, or small shrimp all work great mixed into the filling.
- Gluten-free: Use rice paper wrappers instead (though the texture will be chewier, not crispy-fried the same way) or find a gluten-free spring roll wrapper brand.
- Egg-free seal: A cornstarch-water slurry seals just as well as egg.
- Vegan version: Skip the egg wash, use the cornstarch slurry, and you’re already vegan since the filling has none.
- Baked version: Brush rolls with oil and bake at 425°F for 15-20 minutes, flipping halfway. Less crispy, but a solid lighter option.
- Spice it up: Add a small spoon of chili paste or sriracha right into the filling while cooking.
Make-Ahead Tips
You can prep the filling up to 2 days ahead and store it in the fridge in an airtight container.
You can also roll the spring rolls completely, then freeze them before frying. Lay them on a baking sheet so they don’t stick together, freeze until solid, then transfer to a freezer bag.
When you’re ready to fry, go straight from frozen. No need to thaw. Just add an extra minute or two to the fry time.
Leftovers and Storage
Already-fried spring rolls keep in the fridge for up to 3 days.
The best way to reheat them and actually get the crunch back is in an air fryer at 375°F for about 5 minutes. The microwave will make them sad and chewy, so avoid that if you can.
For longer storage, freeze cooked rolls for up to 2 months and reheat straight from frozen in the air fryer or oven.
FAQ
Why do my spring rolls turn out soggy?
Usually one of three things: the filling wasn’t cooled before rolling, the oil wasn’t hot enough, or the pot was too crowded during frying.
Can I bake instead of fry?
Yes, though you’ll trade some crispiness for convenience. Brush with oil and bake at 425°F, flipping halfway through.
What’s the difference between spring roll and egg roll wrappers?
Spring roll wrappers are thinner and made mostly from flour and water, which gives that light, delicate crunch. Egg roll wrappers are thicker and, as the name suggests, contain egg — they fry up bubblier and heartier.
Can I make these ahead for a party?
Definitely. Roll them the day before and keep them covered in the fridge, or freeze them uncooked for longer prep windows.
Why did my wrapper tear while rolling?
It probably dried out. Keep unused wrappers under a damp towel while you work through the stack.
Wrapping Up
Homemade spring rolls sound like a whole production until you actually make a batch and realize it’s mostly just chopping, folding, and frying.
Once you get the rhythm down, this becomes one of those recipes you can throw together without even thinking, whether it’s for a party tray or a Tuesday night snack attack.
Give it a try this week and let me know how it goes in the comments. I’d love to hear if you added your own twist to the filling, or if you went the baked route instead of frying.
And if you run into any hiccups along the way, drop your questions below. I’m always happy to help troubleshoot.




