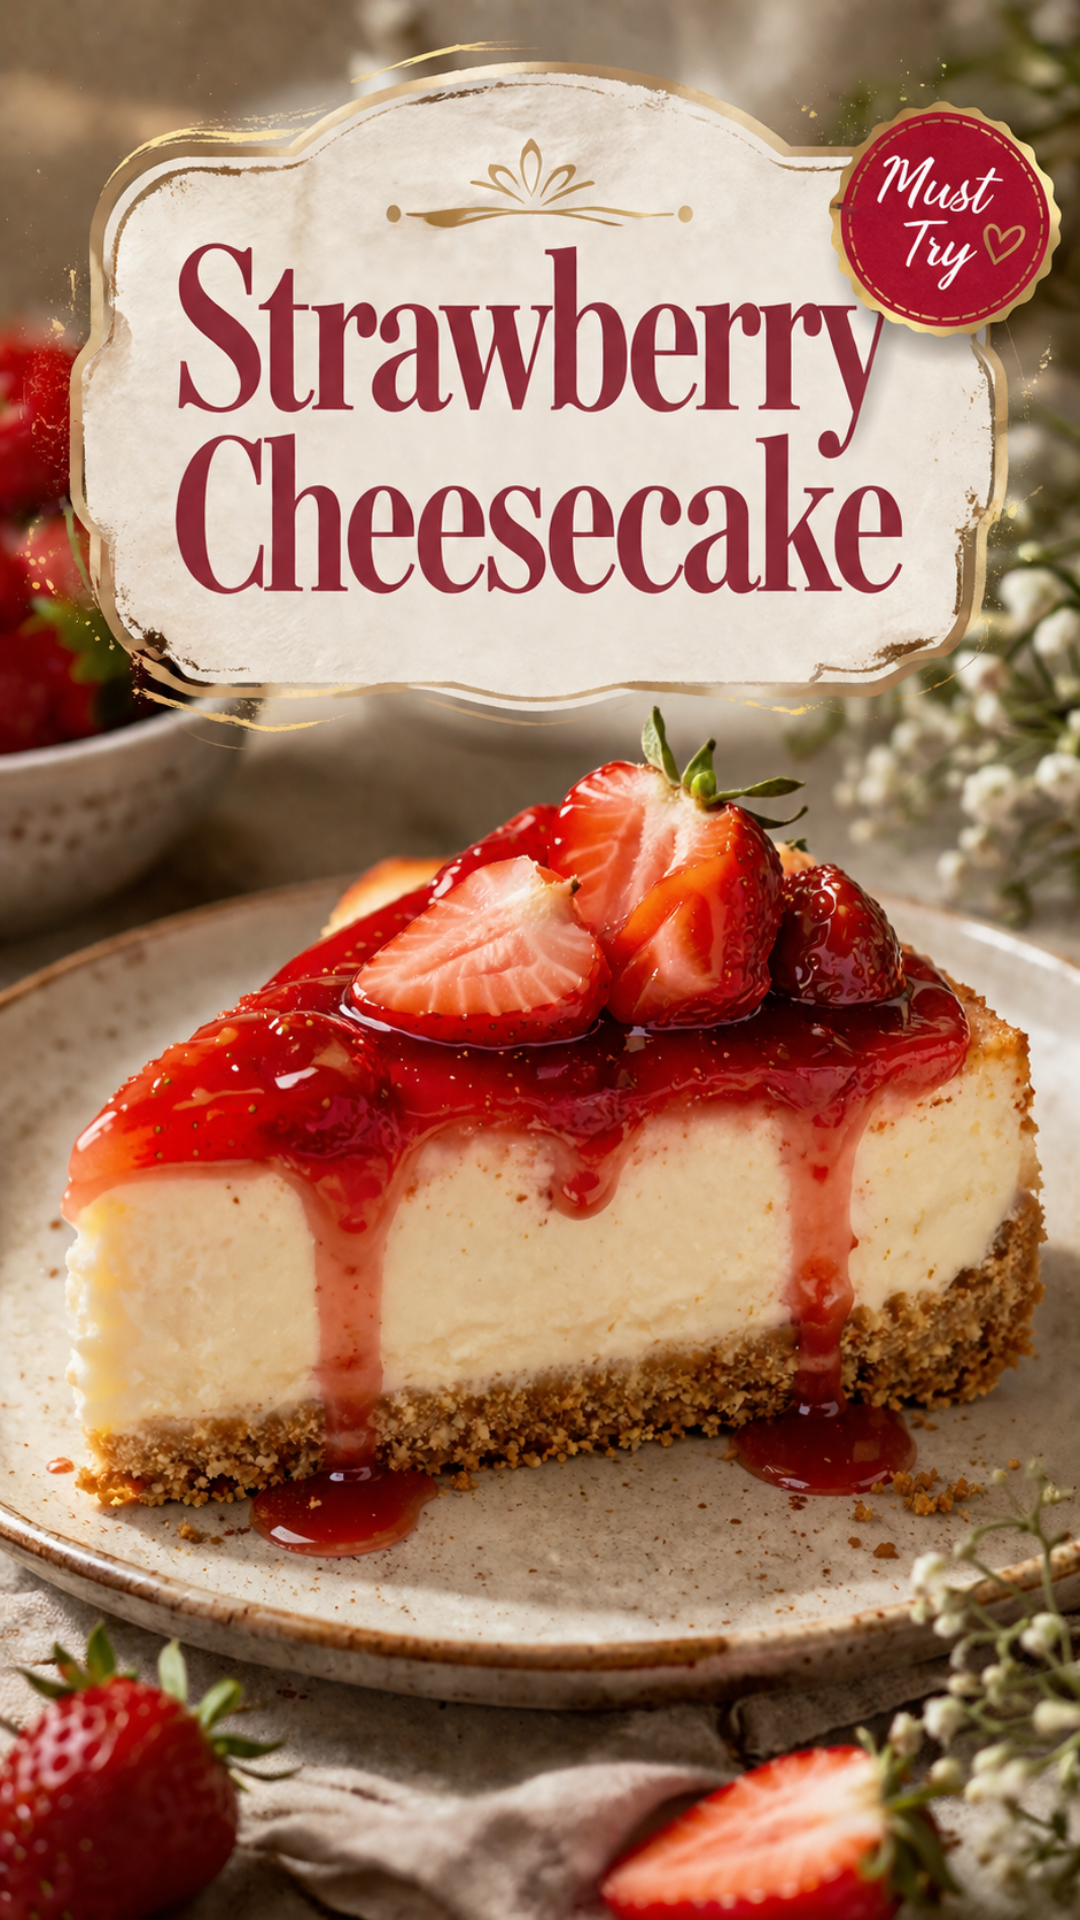
I nearly ate half of this cheesecake straight off the counter before it even chilled. 🍓
That’s how good the batter tasted. And once it actually sets up in the fridge? It’s a completely different level of good.
I’ve made a lot of cheesecakes over the years, some that cracked, some that sank in the middle, one that genuinely tasted like a sad sponge. This one fixed all of that. It’s rich, it’s creamy, and the strawberry topping on top makes it look like something from a bakery window.
Here’s exactly how I make it, plus every trick I picked up from the recipes that went wrong before this one went right.
Recipe at a Glance
| Detail | Info |
|---|---|
| Prep Time | 30 minutes |
| Chill Time | 6 hours (overnight is better) |
| Bake Time | 55 minutes |
| Total Time | About 7.5 hours |
| Servings | 10 slices |
| Difficulty | Medium |
| Best For | Birthdays, potlucks, Sunday dinners |
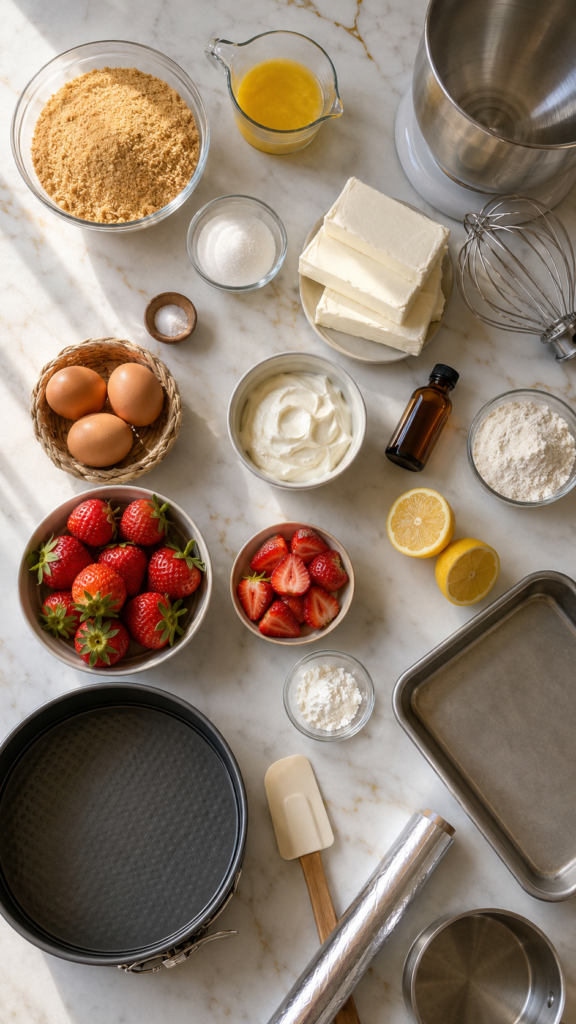
What You’ll Need
For the crust:
- 2 cups graham cracker crumbs (about 16 full crackers)
- 6 tablespoons unsalted butter, melted
- 3 tablespoons granulated sugar
- Pinch of salt
For the cheesecake filling:
- 4 blocks (32 oz) cream cheese, softened to room temperature
- 1 cup granulated sugar
- 3 large eggs, room temperature
- 1 cup sour cream
- 2 teaspoons vanilla extract
- 2 tablespoons all-purpose flour
- Pinch of salt
For the strawberry topping:
- 2 cups fresh strawberries, hulled and sliced
- 1/3 cup granulated sugar
- 1 tablespoon lemon juice
- 1 tablespoon cornstarch
- 2 tablespoons water
Tools You’ll Need
- 9-inch springform pan
- Large roasting pan (for the water bath)
- Aluminum foil
- Stand mixer or hand mixer
- Rubber spatula
- Small saucepan
How to Make Strawberry Cheesecake
Step 1: Make the Crust
Preheat your oven to 325°F.
Mix the graham cracker crumbs, melted butter, sugar, and salt until it looks like wet sand.
Press it firmly into the bottom of your springform pan, going about an inch up the sides. A flat-bottomed glass makes this way easier.
Bake for 10 minutes, then set aside to cool.
Step 2: Wrap the Pan
Wrap the outside of your springform pan tightly in two layers of foil. This is what keeps water out during the water bath, so don’t skip it.
Step 3: Make the Filling
Beat the softened cream cheese until completely smooth, about 2 minutes.
Add the sugar and beat again until fully combined.
Add the eggs one at a time, mixing on low just until each one disappears into the batter.
Mix in the sour cream, vanilla, flour, and salt on low speed until smooth.
Step 4: Bake
Pour the filling over the cooled crust.
Place the springform pan inside your roasting pan, then fill the roasting pan with hot water until it reaches about an inch up the sides of the springform.
Bake for 55 to 65 minutes. The center should still jiggle slightly when you nudge the pan.
Turn off the oven, crack the door open, and let the cheesecake sit inside for 1 hour.
Step 5: Chill
Remove the cheesecake from the water bath and let it cool completely on the counter.
Cover and refrigerate for at least 6 hours, though overnight gives the best texture.
Step 6: Make the Strawberry Topping
Combine strawberries, sugar, and lemon juice in a saucepan over medium heat.
Cook for about 8 minutes, stirring occasionally, until the strawberries release their juices.
Mix the cornstarch with water, then stir it into the strawberry mixture. Cook for another 2 minutes until it thickens.
Let it cool completely before spooning it over the cheesecake.
Step 7: Serve
Release the springform ring, slice, and serve chilled.
Pro Tips
Room temperature ingredients aren’t optional here. Cold cream cheese means lumpy batter, and nobody wants lumpy cheesecake.
Don’t overmix once the eggs go in. Overmixing adds air, and air is exactly what makes cheesecake crack while baking.
A water bath sounds fussy, but it’s the single biggest reason bakery cheesecakes look flawless. Skipping it usually means a cracked top.
Let the cheesecake cool slowly. Cracking a hot oven door open and yanking the pan out is basically asking for a collapse in the middle.
Slice with a knife dipped in hot water, then wiped clean between cuts. It sounds excessive. It’s not.
Substitutions and Variations
- Gluten-free: Swap graham crackers for gluten-free graham crackers or crushed gluten-free cookies.
- Lower sugar: Cut the filling sugar down to 3/4 cup. The texture stays the same, it’s just slightly less sweet.
- No sour cream: Full-fat Greek yogurt works as a 1:1 swap.
- Different fruit: Raspberries, blueberries, or a mixed berry compote all work beautifully in place of strawberries.
- Crust swap: Crushed Oreos instead of graham crackers turns this into a strawberries-and-cream Oreo cheesecake.
Make-Ahead Tips
This cheesecake practically wants to be made ahead. The flavor actually improves after a full day in the fridge.
- Bake it up to 3 days before serving. Keep it covered in the fridge.
- Make the strawberry topping separately and store it in its own container. Add it right before serving so the crust stays crisp.
- It also freezes well for up to a month, unfrosted, wrapped tightly in plastic and foil.
Nutritional Breakdown (Per Slice)
Roughly 420 calories, 28g fat, 34g carbs, and 7g protein per slice, based on 10 servings. This will shift slightly depending on the exact brands you use.
Leftovers and Storage
Store leftover slices in an airtight container in the fridge for up to 5 days.
For longer storage, freeze individual slices wrapped in plastic wrap, then foil, for up to a month. Thaw overnight in the fridge before eating.
Skip the microwave for reheating or softening. It ruins the texture almost instantly.
FAQ
Why did my cheesecake crack?
Usually it’s overmixing, a too-hot oven, or skipping the water bath. Cooling it slowly also matters more than people expect.
Can I make this without a springform pan?
It’s possible with a deep pie dish, but getting clean slices out afterward is much harder. A springform pan is really worth having for this one.
Can I use frozen strawberries for the topping?
Yes, just thaw and drain them first so the topping doesn’t turn watery.
Why is my cheesecake still jiggly in the middle after baking?
That’s actually correct. It firms up completely once it chills, so a slight jiggle in the center when it comes out of the oven is exactly what you want.
Can I skip the water bath?
You can, but expect more cracking and a slightly denser texture. It’s the one step I’d never skip.
Wrapping Up
This cheesecake takes patience, but almost none of that patience is active work. Most of it is just waiting for your fridge to do its job.
Make it once and you’ll understand why bakery cheesecake costs so much. This one tastes just as good, maybe better, and it’s yours from start to finish.
Give it a try this weekend, then come back and tell me how it turned out in the comments. I’d love to hear if you tried any of the substitutions, or if that crack-free top actually worked out for you.




