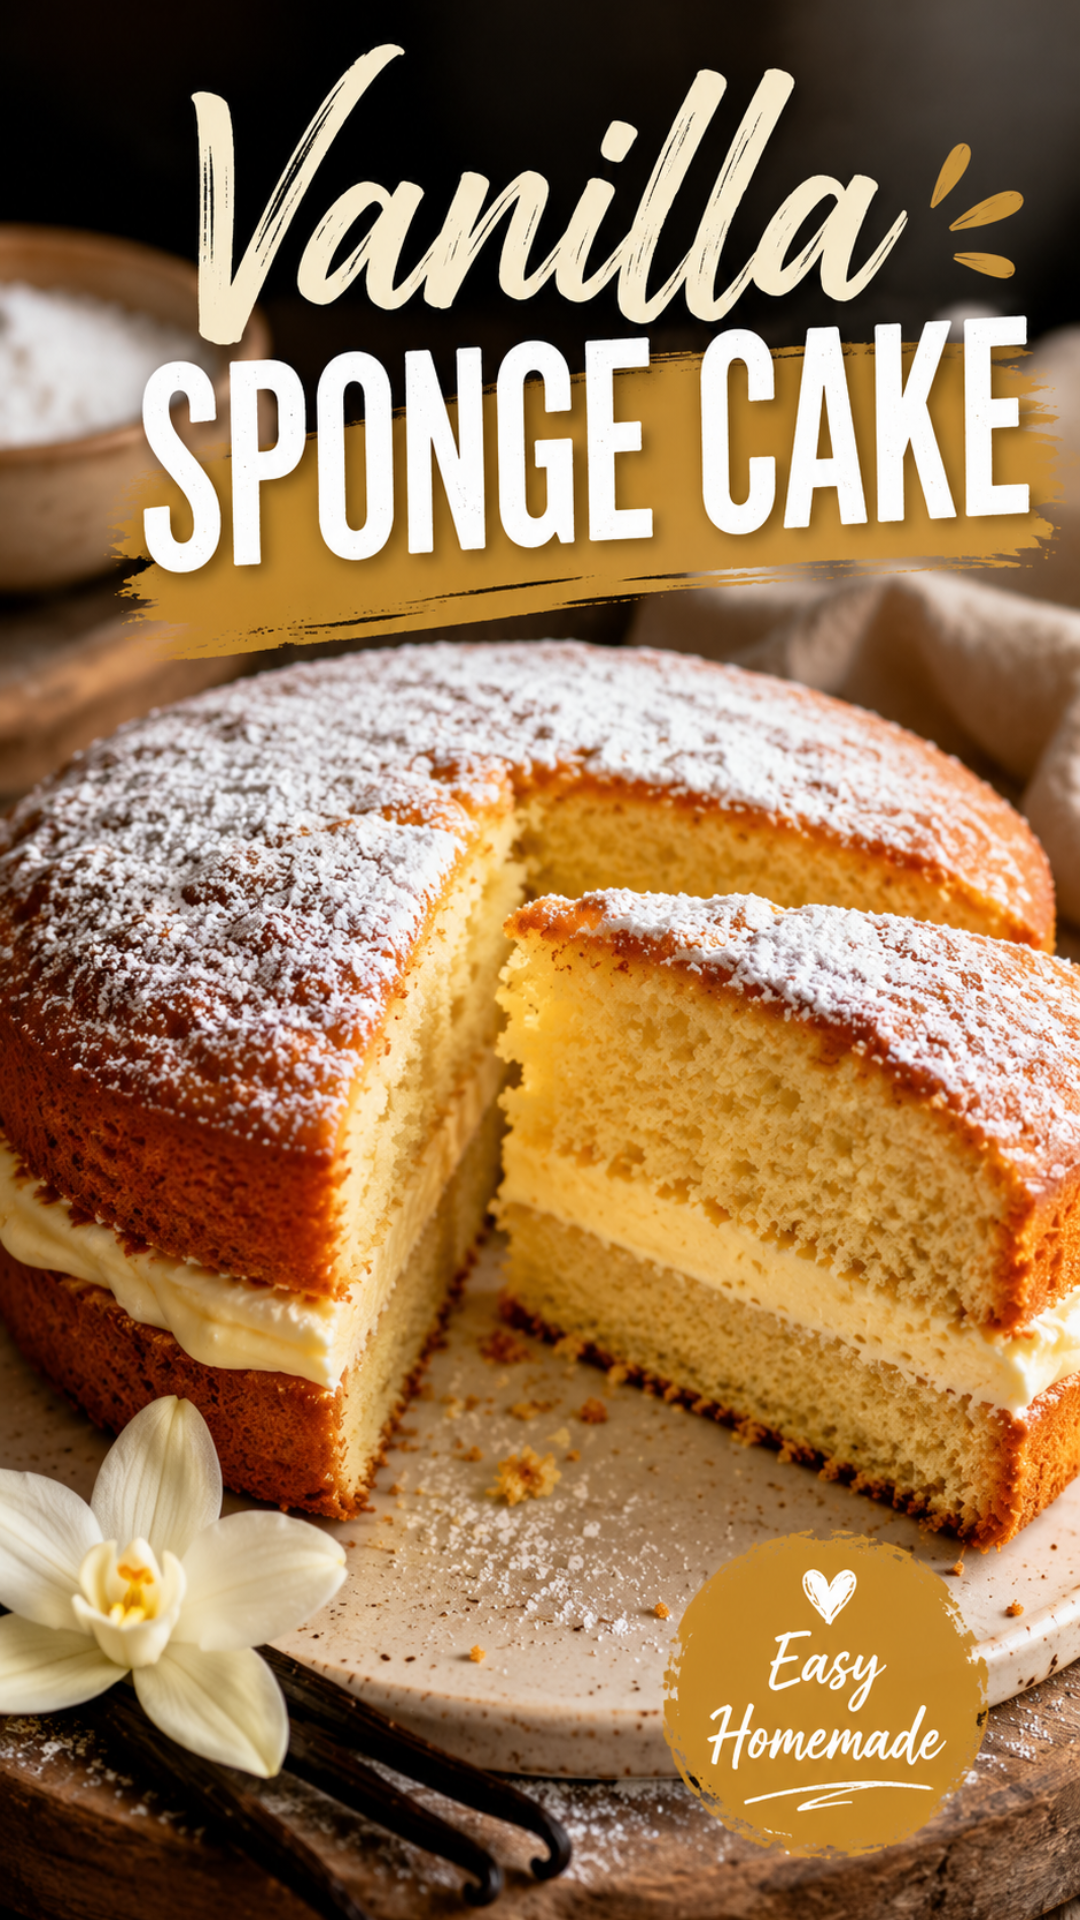
I used to think sponge cake was one of those things you leave to the professionals.
Then I made one on a random Tuesday with ingredients already sitting in my kitchen, and honestly, it changed how I think about baking entirely.
This cake is light. It’s fluffy in that pillowy way that makes you want to press your finger into it just to watch it bounce back. And it comes together with basic pantry stuff, no fancy equipment required.
If you’ve been intimidated by sponge cake before, I get it. I was too. But this version is about as forgiving as cake gets. 🍰
Recipe At A Glance
| Detail | Info |
|---|---|
| Prep Time | 20 minutes |
| Bake Time | 25-30 minutes |
| Total Time | 50 minutes |
| Servings | 8-10 slices |
| Difficulty | Beginner-friendly |
| Best For | Birthdays, tea time, layering with jam or cream |
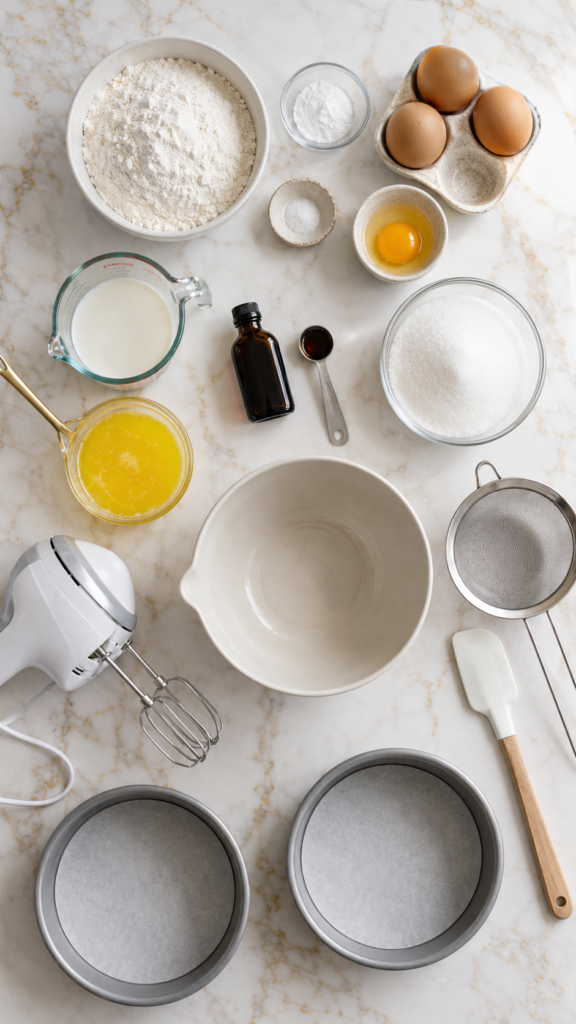
What You’ll Need
Dry Ingredients:
- 1 ¾ cups all-purpose flour
- 1 ½ teaspoons baking powder
- ¼ teaspoon salt
Wet Ingredients:
- 4 large eggs, room temperature
- 1 cup granulated sugar
- ½ cup whole milk, room temperature
- ½ cup unsalted butter, melted and slightly cooled
- 2 teaspoons pure vanilla extract
That’s it. No cake flour hunting, no specialty items. Just stuff you probably already have.
Tools You’ll Need
- Two 8-inch round cake pans
- Electric hand mixer or stand mixer
- Large mixing bowl
- Sifter or fine mesh strainer
- Rubber spatula
- Wire cooling rack
- Parchment paper
How To Make It
- Preheat your oven to 350°F. Grease your cake pans and line the bottoms with parchment paper.
- Sift the flour, baking powder, and salt together in a bowl. Set aside.
- Crack your eggs into a large mixing bowl and beat them with the sugar on high speed for about 5 minutes. This part matters more than people realize. You’re looking for a pale, thick, ribbon-like texture that holds its shape for a second when you lift the beaters.
- Fold in the dry ingredients in three batches, using a gentle hand and a rubber spatula. Overmixing here deflates all that air you just worked to build.
- Combine the milk, melted butter, and vanilla in a small bowl, then fold that into the batter last. Fold just until you don’t see streaks of butter anymore.
- Divide the batter evenly between your two pans and smooth the tops.
- Bake for 25-30 minutes, until a toothpick comes out clean and the top springs back when touched lightly.
- Cool the cakes in the pans for 10 minutes, then transfer to a wire rack to cool completely before frosting or stacking.
Pro Tips
- Room temperature eggs whip up bigger. Cold eggs from the fridge just don’t trap air the same way, and that air is basically the whole point of a sponge cake.
- Don’t skip the sifting. It sounds like an extra step you can skip, but sifted flour folds in smoother and keeps the batter light instead of clumpy.
- Fold, don’t stir. Use a scooping motion from the bottom of the bowl up and over. Stirring in circles knocks the air right back out.
- Check your oven temp with a separate thermometer. Built-in oven dials lie more often than you’d think, and a sponge cake is sensitive to heat swings.
- Let the cakes cool fully before frosting. Warm cake plus frosting equals a melty mess. I learned this one the hard way.
Substitutions And Variations
- Gluten-free: Swap the all-purpose flour for a 1:1 gluten-free baking blend. Texture stays close, though slightly denser.
- Dairy-free: Use a plant-based butter and your favorite non-dairy milk. Oat milk works particularly well here.
- Citrus twist: Add the zest of one lemon or orange to the batter for a brighter flavor.
- Chocolate version: Swap ¼ cup of the flour for cocoa powder.
- Layer cake upgrade: Slice each layer in half horizontally and add jam or whipped cream between all four layers for a taller, bakery-style cake.
Make-Ahead Tips
You can bake the cake layers up to two days ahead. Wrap them tightly in plastic wrap once fully cooled and keep them at room temperature.
Want to go further out? Freeze the wrapped layers for up to 2 months. Thaw at room temperature before frosting.
Nutrition, Diet Swaps, And Pairings
Each slice comes in around 240 calories, depending on your frosting choice.
For a lower-sugar version, cut the granulated sugar down to ¾ cup. The cake will be slightly less sweet but still holds its structure fine.
This cake pairs beautifully with fresh berries, a light lemon glaze, or a simple whipped cream frosting. For coffee lovers, a slice alongside an afternoon espresso is a genuinely great combo.
Leftovers And Storage
Store leftover cake in an airtight container at room temperature for up to 3 days.
If it’s frosted with anything dairy-based, keep it in the fridge instead, and let it sit out for 15-20 minutes before serving so it softens back up.
Freezing individual slices works great too. Wrap each one in plastic wrap, then foil, and freeze for up to a month.
FAQ
Why did my sponge cake turn out dense instead of fluffy?
This usually comes down to one of two things: not whipping the eggs and sugar long enough, or overmixing once the flour goes in. Both knock the air out that gives the cake its lift.
Can I make this in one pan instead of two?
Yes, though bake time will run longer, closer to 40-45 minutes. Keep an eye on it after the 35-minute mark.
Does this cake need frosting?
Not at all. A light dusting of powdered sugar works great if you want something simpler.
Why did my cake sink in the middle?
Usually an underbaked center or opening the oven door too early. Try to resist peeking before the 20-minute mark.
Can I use oil instead of butter?
You can, though butter gives a richer flavor. If you swap in oil, use the same amount and expect a slightly more tender crumb.
Wrapping Up
There’s a certain kind of pride that comes from pulling a homemade sponge cake out of the oven and watching it actually work.
This one is simple enough for a first attempt, but good enough that you’ll want to make it again next weekend.
Give it a try, and when you do, drop a comment below and let me know how it turned out. If you ran into any questions along the way, I’d love to help you troubleshoot. 🍴




