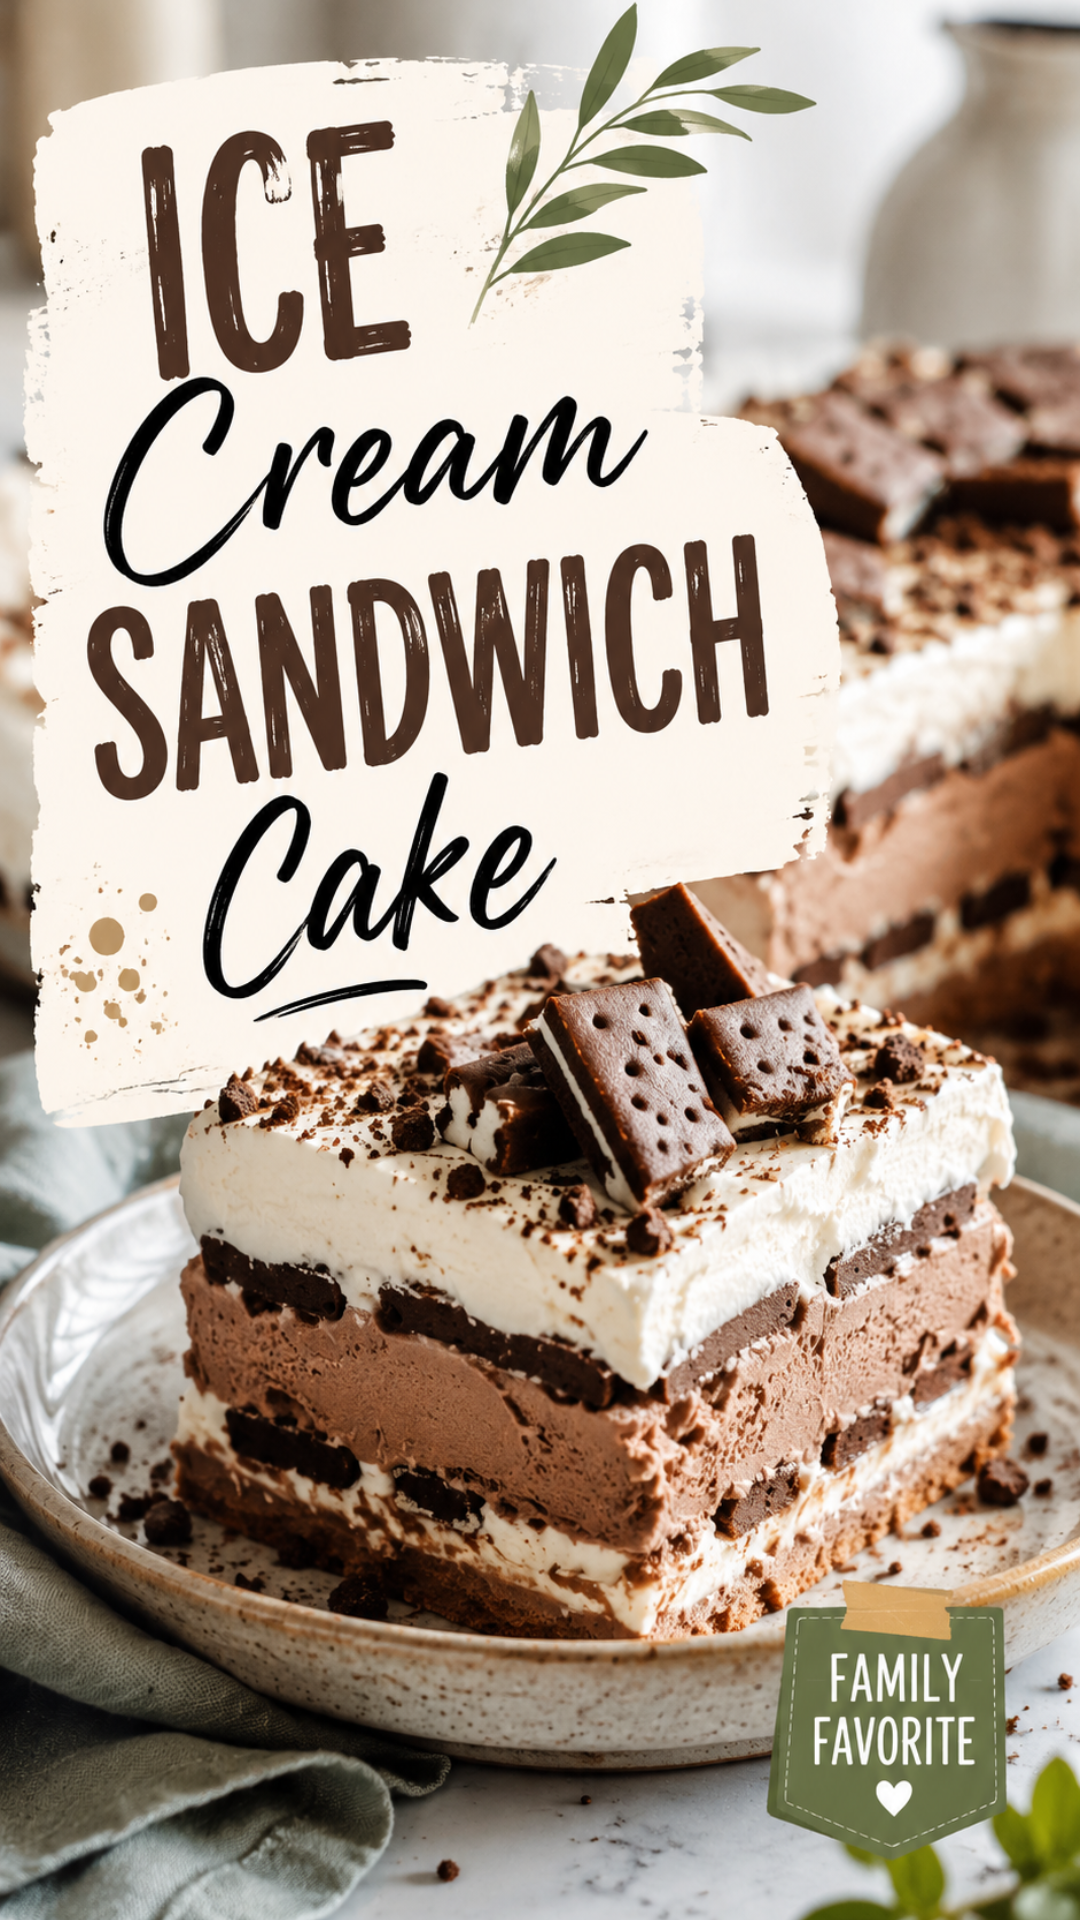
Okay, so this might be the easiest dessert I’ve ever put my name on. 🍦
No oven. No baking skills. No fancy equipment.
Just ice cream sandwiches, whipped topping, and a freezer doing all the hard work while you do literally nothing.
I first made this for a random Tuesday because I had zero motivation to bake anything real. My husband Silas ate two slices standing over the sink before dinner was even ready.
That’s when I knew this recipe needed to be shared.
It looks like something from a fancy bakery case. It tastes like the best parts of childhood. And it comes together in about 20 minutes of actual work.
Let’s get into it.
Recipe At a Glance
| Detail | Info |
|---|---|
| Prep Time | 20 minutes |
| Freeze Time | 4 hours (overnight is better) |
| Total Time | 4 hours 20 minutes |
| Serves | 12 |
| Difficulty | Easy |
| Oven Needed? | Nope |
What You’ll Need
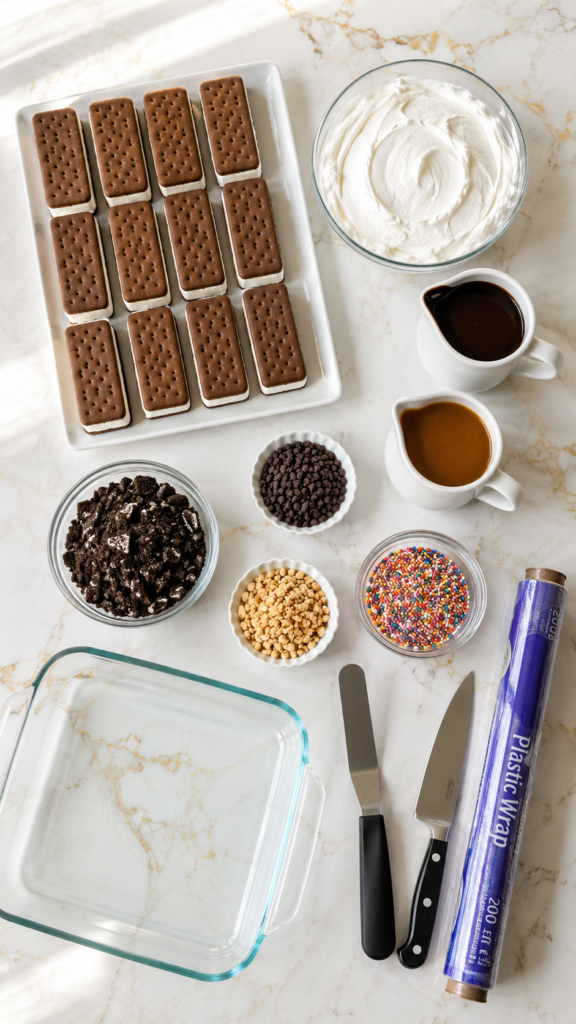
Here’s everything going into this cake:
- 12 ice cream sandwiches (the rectangular grocery store kind)
- 8 oz whipped topping, thawed
- 1 cup hot fudge sauce
- 1 cup caramel sauce
- 1 cup crushed Oreos or chocolate sandwich cookies
- 1/2 cup mini chocolate chips
- 1/2 cup crushed peanuts (optional, but so good)
- Sprinkles, for topping
That’s it. Eight things, and half of them are toppings you’re just dumping on.
Tools You’ll Need
- 9×13 baking dish
- Offset spatula or butter knife
- Mixing bowl (only if you’re making your own whipped topping)
- Plastic wrap
- Sharp knife for slicing
How to Make It
Step 1: Line your dish.
Lay 6 ice cream sandwiches flat across the bottom of your 9×13 dish. Trim edges if you need to make them fit snug.
Step 2: Add the first layer of goodness.
Spread half the whipped topping over the sandwiches. Drizzle with half the hot fudge and half the caramel. Sprinkle on half the crushed cookies.
Step 3: Repeat.
Lay your second layer of sandwiches on top. Add the rest of the whipped topping, fudge, caramel, and cookies.
Step 4: Finish it off.
Top with mini chocolate chips, crushed peanuts, and a generous handful of sprinkles.
Step 5: Freeze.
Cover tightly with plastic wrap. Freeze for at least 4 hours. Overnight gives you the best texture.
Step 6: Slice and serve.
Pull it out about 5-10 minutes before serving so it’s easier to cut. Slice into squares and watch them disappear.
Pro Tips
- Let the dish sit out for a few minutes before slicing. Straight from the freezer, it’s rock solid and hard to cut cleanly.
- Use a knife dipped in hot water for the cleanest slices. Wipe it dry between cuts.
- Don’t skip the plastic wrap. Ice cream sandwiches pick up freezer smells fast, and nobody wants a garlic-flavored dessert.
- Room temp ice cream sandwiches are easier to trim. Let them sit out for 2-3 minutes before you start layering.
- Add the sprinkles right before serving if making ahead by more than a day. They lose their crunch in the freezer over time.
Substitutions and Variations
This recipe is basically a blank canvas. Here are some swaps that work great:
- Cookies and cream lovers: swap regular sandwiches for cookies-and-cream ice cream sandwiches
- Mint chocolate fans: use mint chocolate chip sandwiches and skip the peanuts
- Nut-free: just leave out the crushed peanuts, nothing else needs to change
- Dairy-free: use dairy-free ice cream sandwiches and coconut whipped topping
- Extra fancy: add a layer of sliced strawberries or bananas between the layers
Make-Ahead Tips
This cake practically demands to be made ahead, so lean into it.
- Make it up to 3 days in advance and keep it wrapped tightly in the freezer
- Add sprinkles and any fresh fruit right before serving so they stay fresh looking
- For parties, slice it the morning of and lay pieces flat in a container so they’re ready to grab
A Few Extra Details
Nutritional ballpark: each slice runs around 320-380 calories depending on your toppings, with roughly 14g of fat and 45g of carbs. Not exactly a health food, and that’s fine.
Pairing suggestions: a strong cup of coffee cuts through the sweetness nicely. If you’re serving this after dinner, something acidic like fresh berries on the side balances it out too.
Time efficiency tip: assemble this the night before a party so all you have to do the day of is slice and serve. Zero stress on party day.
Leftovers and Storage
Leftovers keep beautifully in the freezer.
- Store covered tightly with plastic wrap for up to 2 weeks
- Individually wrap slices in plastic wrap for easy grab-and-go treats
- Let sit out 5 minutes before eating for the best texture
FAQ
Can I use homemade whipped cream instead of whipped topping?
Yes, though homemade whipped cream is softer and melts faster, so work quickly and keep the cake in the freezer between steps.
Why is my cake too hard to cut?
You pulled it straight from the freezer. Let it rest at room temperature for 5-10 minutes before slicing.
Can I make this in a different size pan?
You can use a 9×9 pan for a taller cake with fewer servings, or a larger dish if you want thinner layers and more servings.
Do I need to thaw the ice cream sandwiches before starting?
A few minutes out of the freezer makes them easier to trim and fit into the pan, but you don’t need a full thaw.
Can kids help make this?
This is one of the easiest recipes to hand off to kids. Layering and adding toppings is basically the fun part.
Wrapping Up
This cake is proof that dessert doesn’t need to be complicated to be memorable.
Eight ingredients, zero baking, and a freezer that does all the heavy lifting for you.
Make it for a birthday, a random Tuesday, or just because the freezer aisle called your name.
Drop a comment below once you’ve made it. I want to know what toppings you went with, and if anyone in your house managed to wait the full 4 hours before sneaking a bite. 🍫




