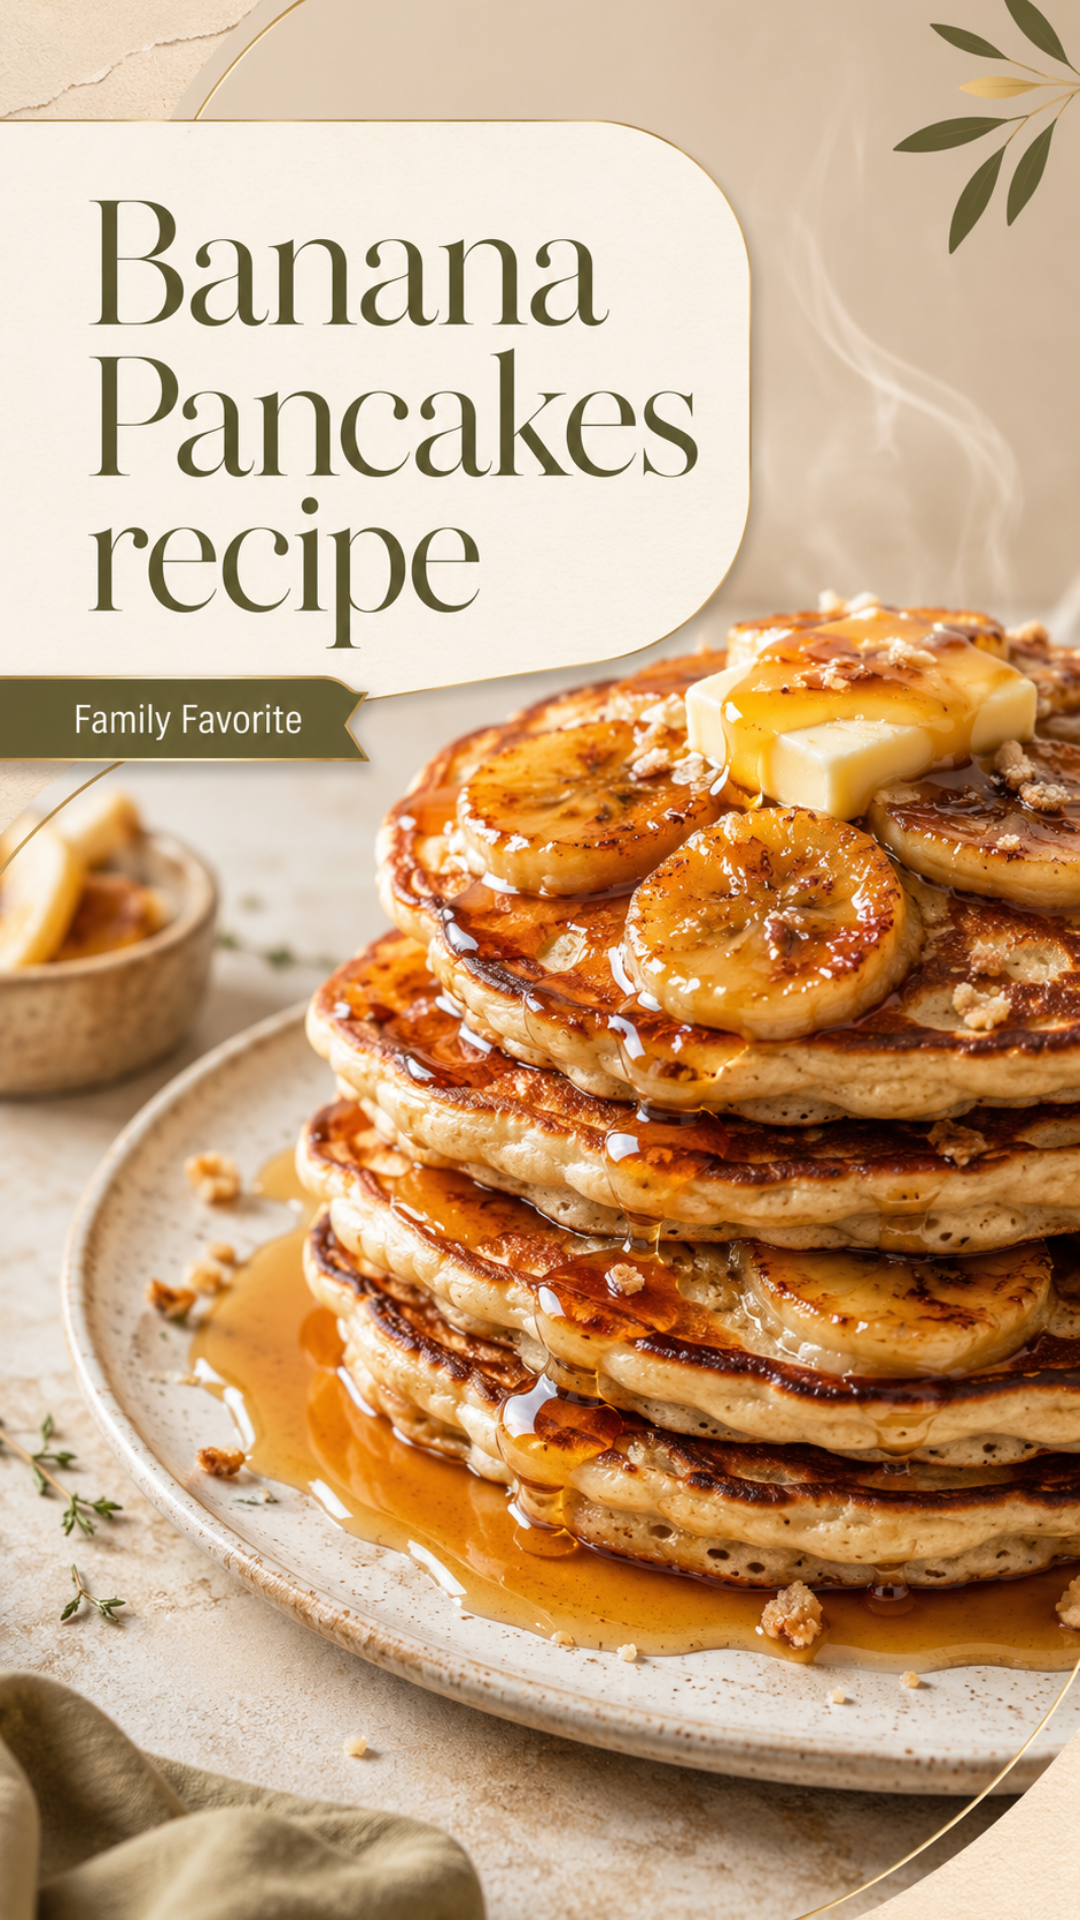
I burned my first batch of these.
Second batch too, if I’m being honest.
But by the third try, I’d cracked it, and now this is the only pancake recipe in my kitchen. My husband asks for these more than actual dessert, which tells you something.
Here’s the thing about banana pancakes: most recipes out there are either bland mush or dense little hockey pucks. This one isn’t either. It’s fluffy, it’s naturally sweet from the bananas, and you don’t need a mixing bowl full of sugar to make it taste like a treat.
Let’s get into it. 🍌
Recipe At a Glance
| Detail | Info |
|---|---|
| Prep Time | 10 minutes |
| Cook Time | 15 minutes |
| Total Time | 25 minutes |
| Servings | 4 (about 12 pancakes) |
| Difficulty | Easy |
| Best For | Weekend breakfast, using up spotty bananas |
What You’ll Need
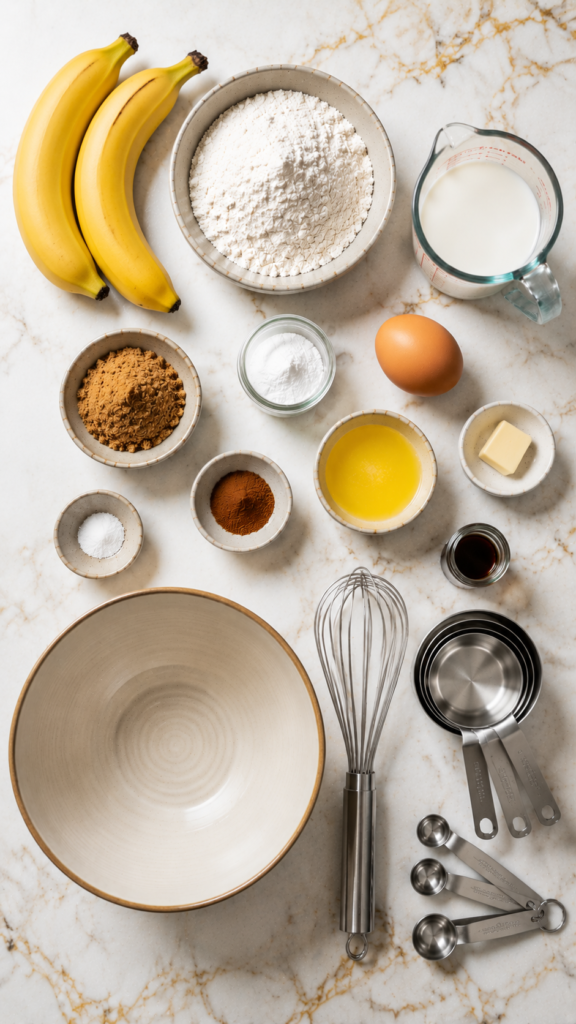
Here’s everything that goes into the batter:
- 2 ripe bananas (the spottier, the better)
- 1 ¼ cups all-purpose flour
- 2 tablespoons brown sugar
- 1 tablespoon baking powder
- ½ teaspoon salt
- ½ teaspoon cinnamon
- 1 cup milk
- 1 large egg
- 2 tablespoons melted butter, plus more for the pan
- 1 teaspoon vanilla extract
That’s it. No weird ingredients, no trip to a specialty store.
Tools You’ll Need
- A large mixing bowl
- A whisk or fork
- A non-stick skillet or griddle
- A spatula
- Measuring cups and spoons
Why Bananas Change Everything
Here’s a fact that surprised me the first time I read it: an overripe banana has almost double the sugar of a green one, because the starches actually convert to sugar as it ripens.
That’s why those brown-spotted bananas everyone throws away are the exact ones you want for this recipe.
You’re not just adding flavor. You’re adding natural sweetness and moisture, which means less added sugar and a pancake that stays soft even after it cools.
How to Make Banana Pancakes
Step 1: Mash the Bananas
Peel your bananas and mash them in a large bowl with a fork.
You want it mostly smooth, but a few small chunks are totally fine. Those little bits turn into soft, sweet pockets once they cook.
Step 2: Mix the Wet Ingredients
Add the egg, milk, melted butter, and vanilla to the mashed banana.
Whisk it all together until it’s smooth.
Step 3: Add the Dry Ingredients
In goes the flour, brown sugar, baking powder, salt, and cinnamon.
Stir until just combined. Small lumps are okay here too.
This is the step people mess up most. Overmixing is the number one reason pancakes turn out tough instead of fluffy.
Step 4: Heat Your Pan
Set your skillet to medium heat and add a small pat of butter.
Let it melt and coat the pan, but don’t let it brown.
Step 5: Cook the Pancakes
Pour about ¼ cup of batter per pancake onto the skillet.
Cook for 2 to 3 minutes, until bubbles form on the surface and the edges look set.
Flip and cook for another 1 to 2 minutes on the other side.
Step 6: Serve Warm
Stack them up, add your toppings, and eat them while they’re hot.
Pro Tips From My Kitchen
1. Let your batter rest for 5 minutes before cooking. This gives the baking powder time to activate, and you’ll notice a fluffier pancake because of it.
2. Keep your heat at medium, not high. High heat browns the outside before the inside has a chance to cook through. Patience pays off here.
3. Don’t flip too early. Wait until you see bubbles across the whole surface, not just a few in the middle. That’s your sign it’s ready.
4. Use a small ice cream scoop for the batter. It gives you evenly sized pancakes every single time, which also means even cooking.
5. Keep pancakes warm in a low oven. If you’re making a big batch, set your oven to 200°F and place cooked pancakes on a baking sheet inside while you finish the rest.
Substitutions and Variations
- Gluten-free: Swap the all-purpose flour for a 1:1 gluten-free baking blend.
- Dairy-free: Use oat milk or almond milk, and swap butter for coconut oil.
- Egg-free: Replace the egg with a flax egg (1 tablespoon ground flaxseed plus 3 tablespoons water, rested for 5 minutes).
- Extra flavor: Add ¼ cup chocolate chips or chopped walnuts straight into the batter.
- Spiced version: Add a pinch of nutmeg along with the cinnamon for a warmer, cozier flavor.
Make-Ahead Tips
You can mash the bananas and mix the dry ingredients the night before.
Keep them in separate containers, then combine everything fresh the next morning.
The full batter doesn’t hold well overnight though, since the baking powder starts losing its power once it’s wet.
Nutritional Breakdown (Per Pancake, Based on 12 Pancakes Total)
| Nutrient | Amount |
|---|---|
| Calories | 95 |
| Carbs | 15g |
| Protein | 2.5g |
| Fat | 3g |
| Sugar | 4g |
These numbers will shift a bit depending on your exact banana size and any mix-ins you add.
What Goes Well With These
- Maple syrup and a pat of butter, the classic combo
- Greek yogurt and fresh berries for something lighter
- Peanut butter drizzle for a protein boost
- A side of crispy bacon if you want sweet and salty together
Leftovers and Storage
Fridge: Store cooled pancakes in an airtight container for up to 4 days.
Freezer: Lay pancakes flat on a baking sheet to freeze individually first, then transfer to a freezer bag. They’ll keep for up to 2 months.
Reheating: Pop them in the toaster for 2 minutes or microwave for 20 to 30 seconds. Both work great, but the toaster keeps the edges from getting soggy.
FAQ
Can I use frozen bananas?
Yes, just thaw them first and drain off any extra liquid before mashing.
Why did my pancakes turn out flat?
Your baking powder might be old. It loses strength over time, so check the expiration date if this keeps happening.
Can I make the batter thinner or thicker?
Add a splash more milk for thinner pancakes, or a bit more flour if you want them thicker and more cake-like.
Do I need to add sugar since bananas are already sweet?
The brown sugar is optional. If your bananas are very ripe, you can skip it entirely and still get a naturally sweet pancake.
Can kids help make this recipe?
Mashing the bananas and mixing the batter are both great tasks for kids to help with, just keep them away from the hot skillet.
Wrapping Up
Banana pancakes turned my Sunday mornings into something I actually look forward to, and I think they’ll do the same for you.
Give this recipe a try, and don’t be afraid to make it your own with whatever mix-ins sound good to you.
Once you’ve made a batch, come back and leave a comment letting me know how they turned out, or ask me anything if you get stuck along the way.




