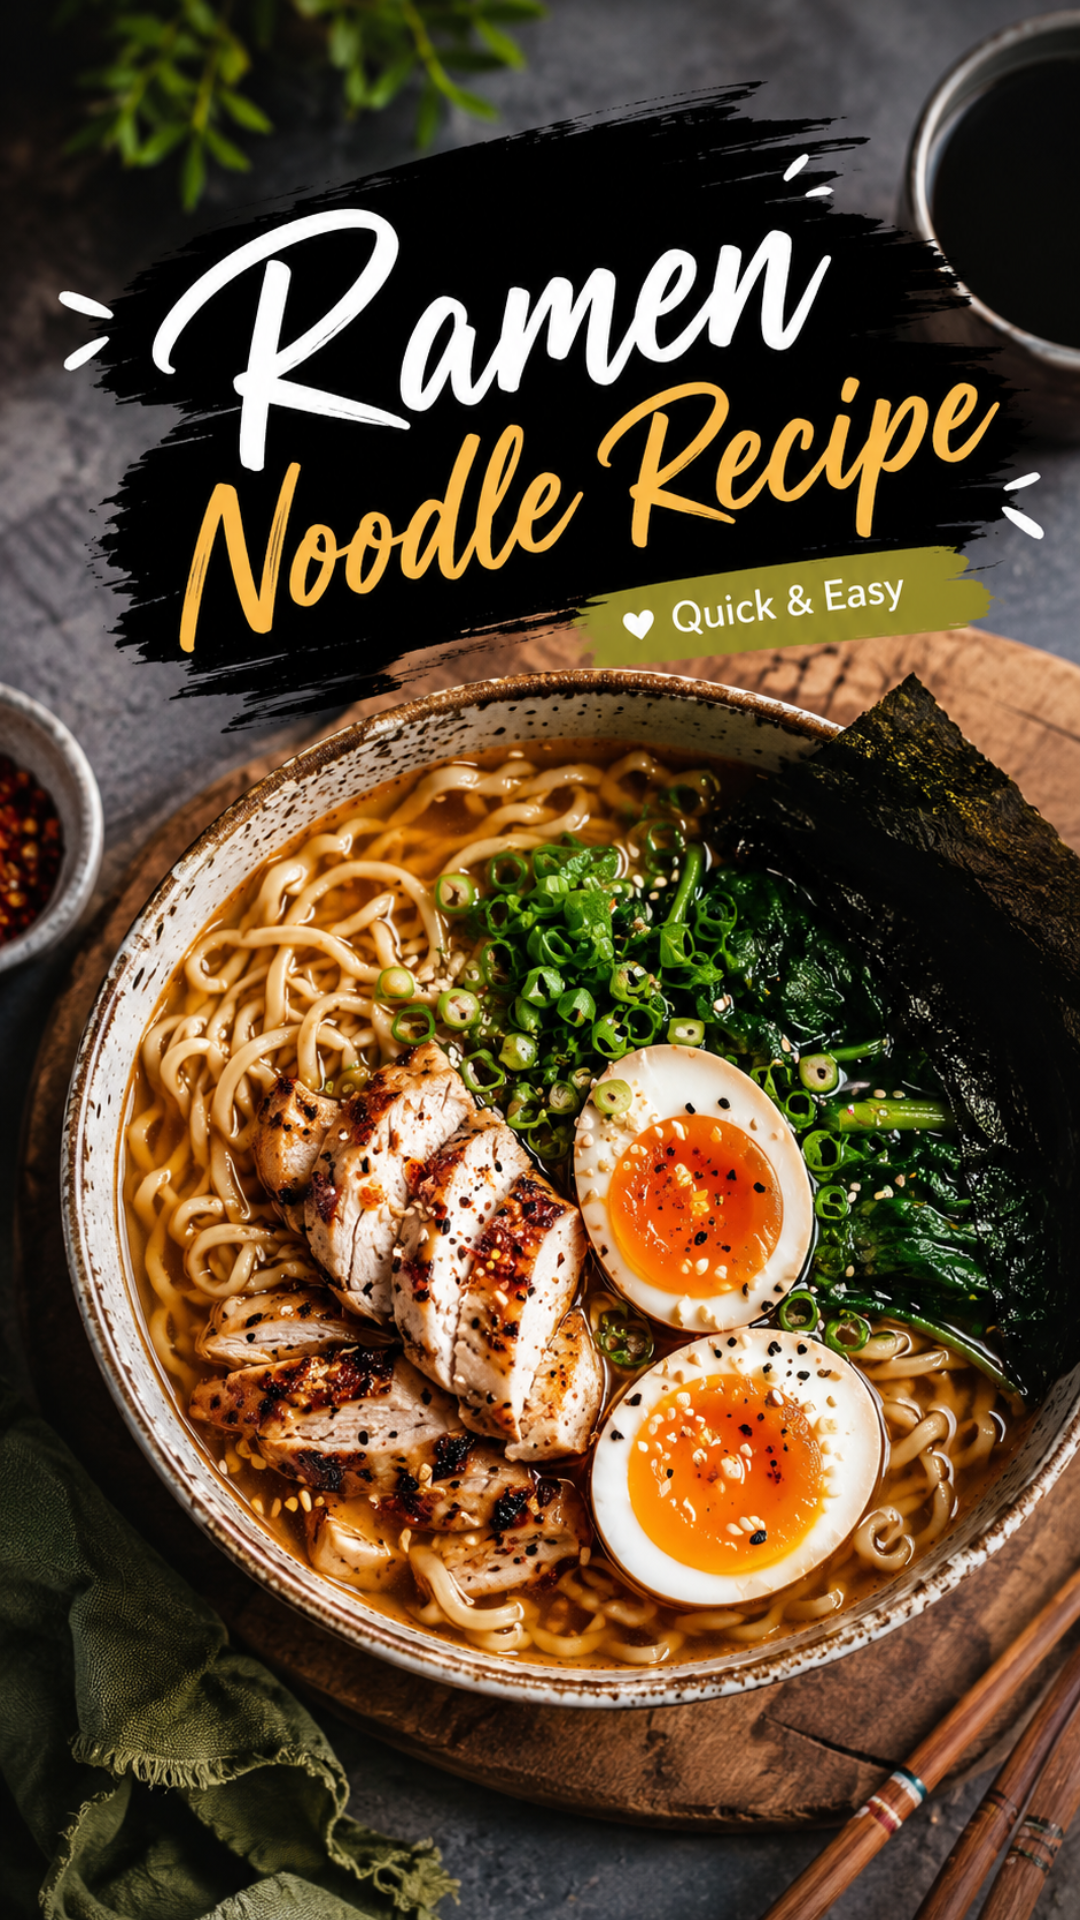
I used to think ramen meant a 25 cent packet and a sad little seasoning pouch.
Then I made it from scratch. And honestly? I haven’t touched the instant stuff since.
This bowl is rich, salty, a little sweet, and topped with a jammy egg that makes it look like it came from a restaurant. It didn’t. It came from my tiny kitchen, in under an hour.
If you’ve been intimidated by “real” ramen, I get it. I was too. But this version skips the 12-hour broth and still tastes incredible. 🍜
Let’s get into it.
Recipe at a Glance
| Details | Info |
|---|---|
| Prep time | 20 minutes |
| Cook time | 35 minutes |
| Total time | 55 minutes |
| Servings | 4 bowls |
| Difficulty | Easy to moderate |
| Best for | Weeknight dinners, cold days, impressing your roommate |
What You’ll Need
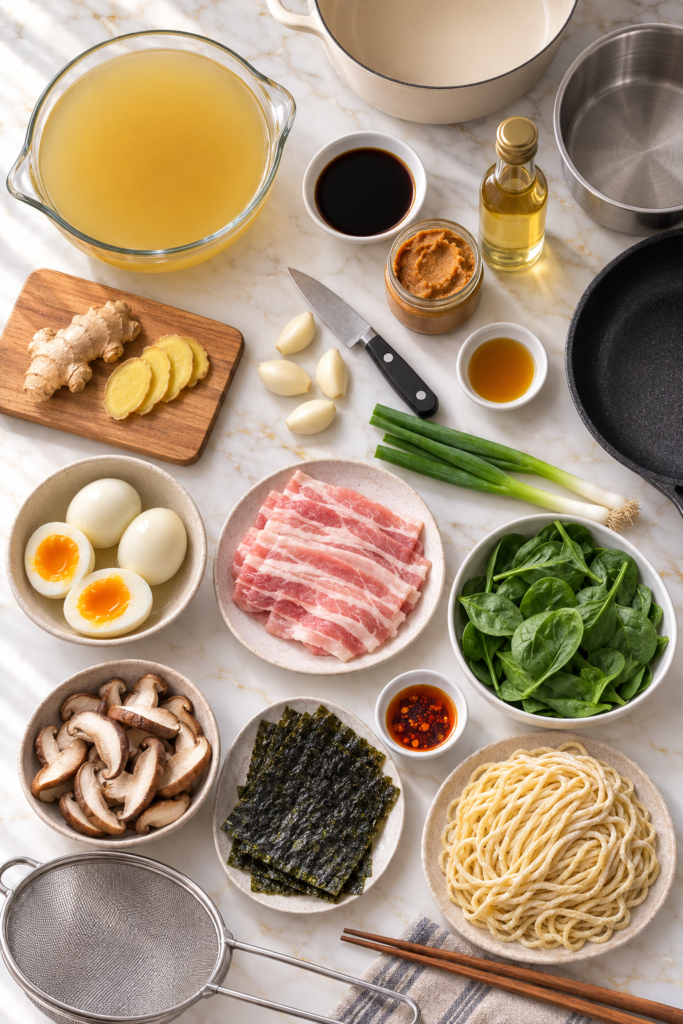
Here’s everything that goes into the bowl.
For the broth:
- 6 cups chicken broth
- 2 cups water
- 3 tablespoons soy sauce
- 2 tablespoons miso paste
- 1 tablespoon mirin
- 1 tablespoon sesame oil
- 4 garlic cloves, minced
- 1 inch fresh ginger, sliced
- 2 green onions, whites only (save the greens for topping)
For the toppings:
- 4 soft-boiled eggs
- 8 oz sliced pork belly or chicken breast
- 1 cup fresh spinach
- 1 cup mushrooms, sliced (shiitake if you can find them)
- Reserved green onion tops, chopped
- Nori sheets, cut into strips
- Chili oil, optional but recommended
For the noodles:
- 14 oz fresh ramen noodles (or dried, if that’s what your store has)
That’s it. Nothing exotic, nothing you need a special trip for.
Tools You’ll Need
- A large pot for the broth
- A small pot for boiling eggs
- A skillet for the pork or chicken
- A fine mesh strainer
- Tongs
- 4 large bowls (the wider, the better)
How to Make Homemade Ramen
Step 1: Marinate the Eggs
Soft boil your eggs for 6 to 7 minutes, then drop them straight into an ice bath.
Once they’re cool, peel them gently. The whites will still be soft, so take your time here.
For extra flavor, marinate them in a mix of soy sauce, mirin, and water for at least 30 minutes. This step isn’t required, but it’s the difference between a good egg and an unforgettable one.
Step 2: Build the Broth
In your large pot, heat the sesame oil over medium heat.
Add the garlic and ginger, and cook for about a minute until it smells incredible.
Pour in the chicken broth and water, then stir in the soy sauce and mirin. Let this simmer for 20 minutes so the flavors actually meld together.
Right before serving, whisk in the miso paste. Miso loses its punch if it boils too long, so add it at the end, not the beginning.
Step 3: Cook the Protein
While the broth simmers, cook your pork belly or chicken in a hot skillet until browned and cooked through.
Set it aside and use the same pan to quickly sauté your mushrooms and spinach for a minute or two.
Step 4: Cook the Noodles
Boil your noodles separately according to the package instructions.
This part matters more than people think. Cooking noodles directly in the broth makes it cloudy and starchy, and honestly, kind of gluey.
Step 5: Assemble Your Bowl
Add noodles to each bowl first.
Ladle the hot broth over the top.
Then arrange your toppings: protein, mushrooms, spinach, half an egg, nori strips, and green onions.
A drizzle of chili oil at the end takes this from good to “wait, you made this yourself?”
Pro Tips From My Kitchen
- Toast your garlic and ginger longer than feels natural. A slightly deeper golden color adds way more depth to the broth than you’d expect.
- Salt your egg water. It makes peeling so much easier and prevents cracking.
- Don’t skip the ice bath. It stops the eggs from overcooking and keeps that jammy yolk intact.
- Warm your bowls before serving. Ramen cools fast, and a warm bowl keeps it hot longer. Just run them under hot water for a minute.
- Add miso off heat. I said it above, but it’s worth repeating because it’s the most common mistake people make.
Substitutions and Variations
Ramen is forgiving. Here’s how to make it yours.
| Original | Swap |
|---|---|
| Chicken broth | Vegetable broth or bone broth |
| Pork belly | Tofu, shrimp, or ground turkey |
| Miso paste | Extra soy sauce plus a pinch of sugar |
| Fresh ramen noodles | Dried ramen, udon, or rice noodles for gluten-free |
| Mirin | Rice vinegar with a touch of honey |
Want it spicier? Add a spoonful of chili crisp directly into the broth while it simmers.
Want it vegetarian? Swap the broth and protein, and add extra mushrooms for that savory depth.
Make-Ahead Tips
You can prep almost everything except the noodles in advance.
- Make the broth up to 3 days ahead and store it in the fridge.
- Marinate the eggs up to 2 days ahead.
- Cook the protein a day early and reheat gently before serving.
Just cook the noodles fresh right before you eat. They don’t hold up well once boiled.
Leftovers and Storage
Store the broth, noodles, and toppings separately in airtight containers.
- Broth keeps in the fridge for up to 4 days, or 3 months in the freezer.
- Cooked noodles keep for 2 days but will soften over time.
- Marinated eggs last 3 to 4 days in the fridge.
When you’re ready to eat again, reheat the broth on the stove, boil fresh noodles if yours have gone soft, and reassemble.
Nutritional Snapshot
Rough estimate per bowl, based on the pork belly version:
- Calories: around 520
- Protein: 28g
- Carbs: 45g
- Fat: 24g
Swapping in chicken breast instead of pork belly cuts the fat significantly while keeping the protein high.
FAQ
Can I use instant ramen noodles for this?
Yes, just toss the seasoning packet and use the noodles only. They cook fast, so add them last.
Why is my broth cloudy?
This usually happens if noodles were cooked directly in the broth, or if the broth boiled too hard for too long.
Can I make this vegan?
Absolutely. Use vegetable broth, swap the protein for tofu or extra mushrooms, and skip the egg or use a marinated tofu cube instead.
How spicy is this recipe as written?
Not spicy at all. The heat is entirely optional, so you’re in full control.
Can I freeze the whole assembled bowl?
No, freeze the broth only. Noodles and eggs don’t freeze well and turn rubbery.
Wrapping Up
Homemade ramen sounds fancy, but it’s really just a handful of simple steps done in the right order.
Once you make it once, you’ll see how easy it actually is. And I’d bet real money you won’t go back to the instant packets either.
Give this one a try this week, even if it’s just a random Tuesday.
Then come back and tell me how it turned out in the comments. Did you add chili oil? Swap the protein? I want to hear all of it. 🍥




