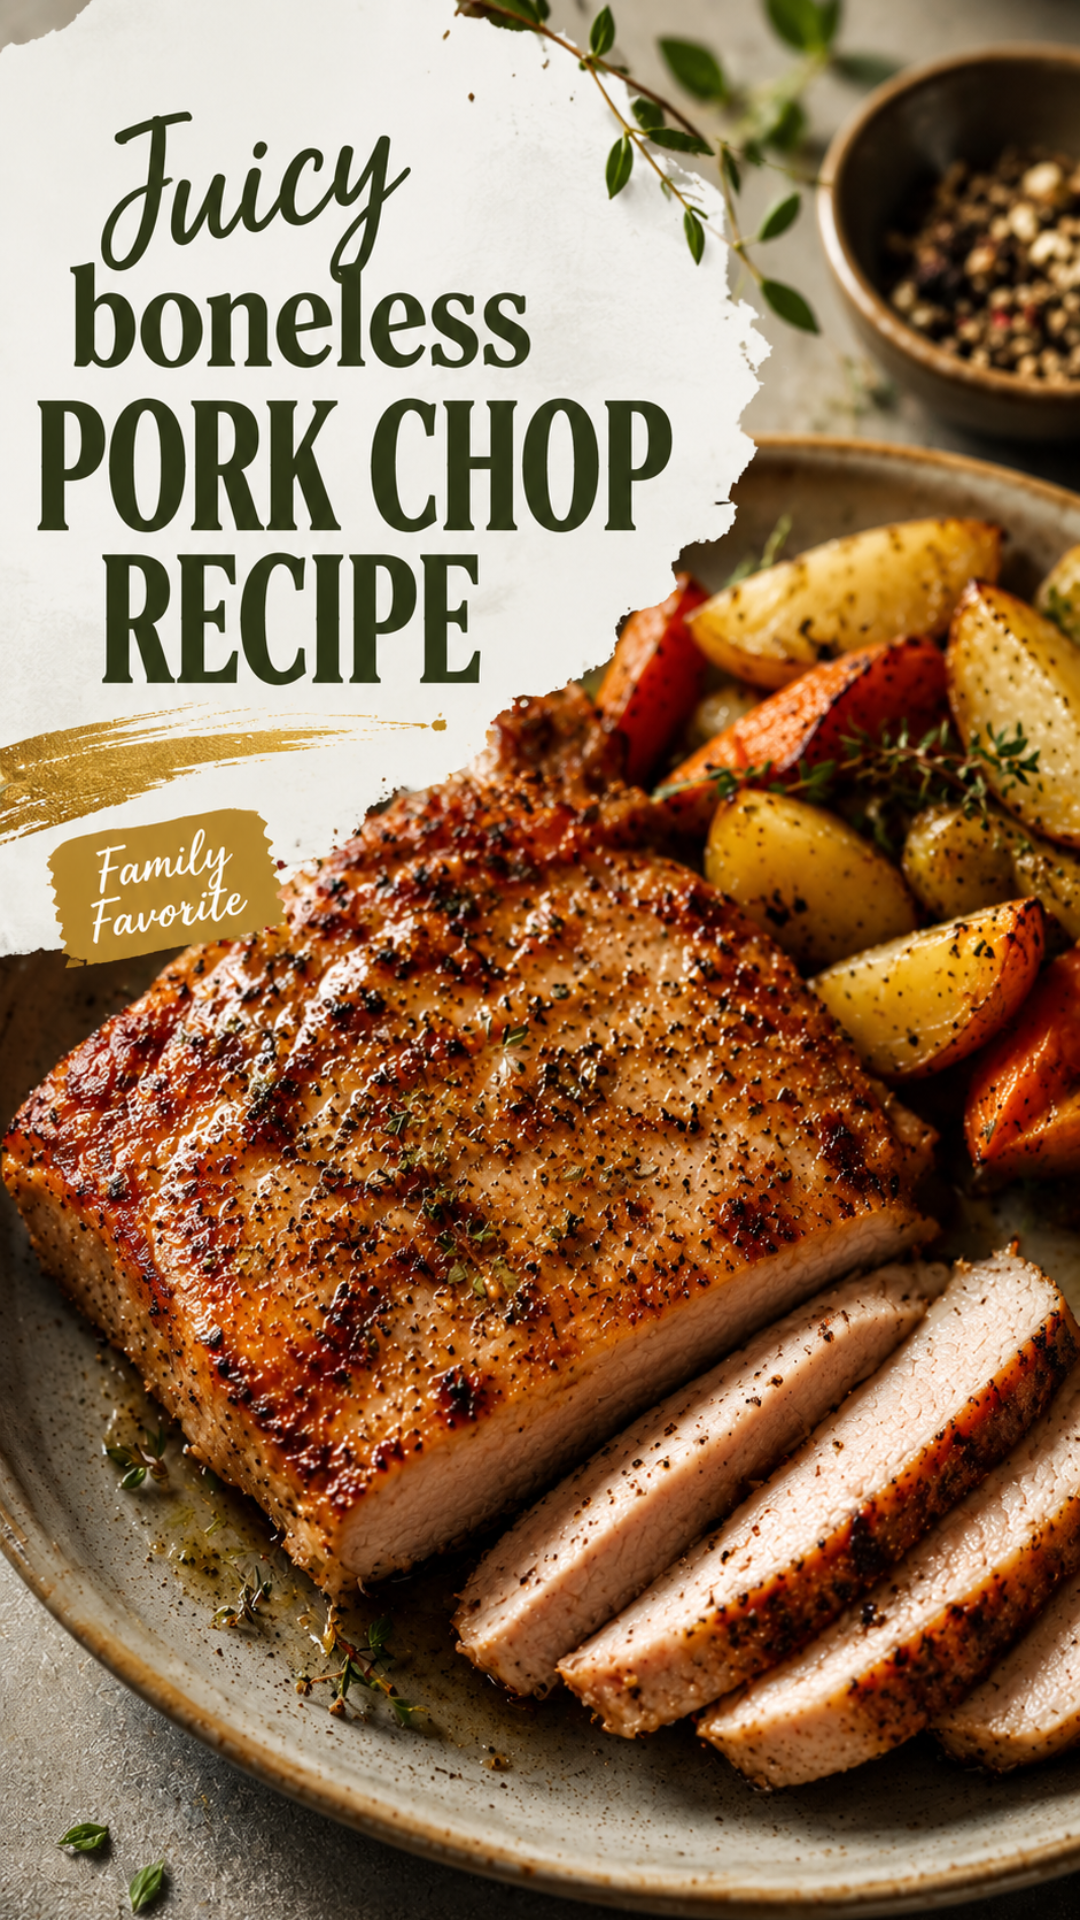
Most people ruin pork chops without even knowing it.
They toss them in a hot pan, walk away for a few minutes, and end up with something closer to a hockey puck than dinner.
I did this for years. Then a chef friend showed me one tiny trick that changed everything, and now these are the chops I make when I actually want people to ask for the recipe. 🍽️
They’re juicy, fast, and need almost nothing you don’t already have in your kitchen.
Let’s get into it.
Recipe At a Glance
| Detail | Info |
|---|---|
| Prep time | 10 minutes |
| Cook time | 15 minutes |
| Total time | 25 minutes |
| Servings | 4 |
| Difficulty | Easy |
| Best for | Weeknight dinners |
What You’ll Need
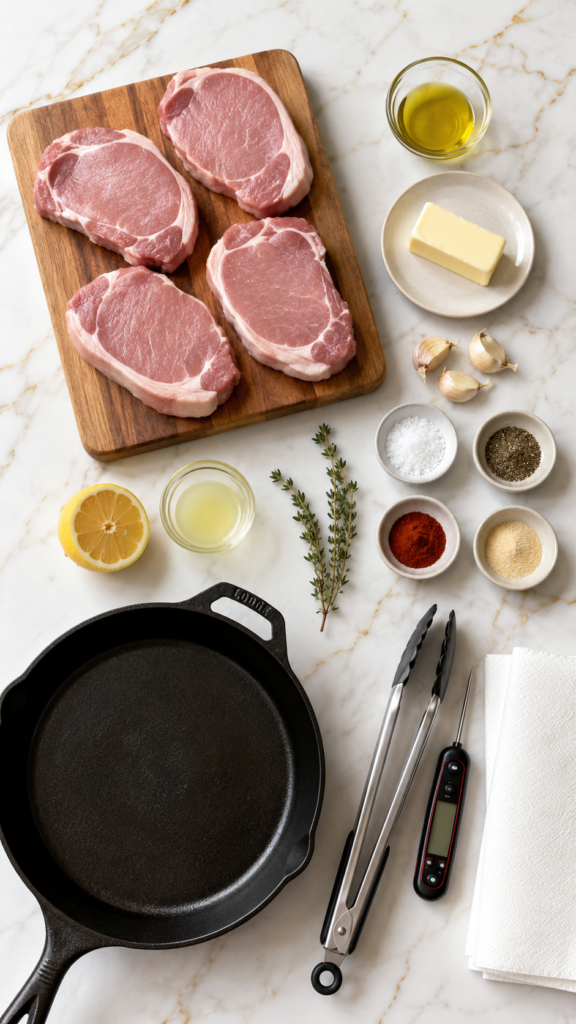
For the pork chops:
- 4 boneless pork chops (about 1-inch thick)
- 2 tbsp olive oil
- 2 tbsp unsalted butter
- 3 garlic cloves, smashed
- 1 tsp kosher salt
- 1/2 tsp black pepper
- 1 tsp smoked paprika
- 1/2 tsp garlic powder
- 1/2 tsp onion powder
- 2 sprigs fresh thyme (or 1/2 tsp dried)
- 1 tbsp fresh lemon juice
That’s it. No weird ingredients, no trip to a specialty store.
Tools You’ll Need
- A heavy skillet (cast iron works best)
- Tongs
- A meat thermometer (this one’s non-negotiable, more on that below)
- A cutting board
- Paper towels
How to Make It
Step 1: Remove the pork chops from the fridge and let them sit at room temperature for 15-20 minutes.
Step 2: Pat each chop dry with paper towels.
Step 3: In a small bowl, mix the salt, pepper, smoked paprika, garlic powder, and onion powder. Season both sides of each chop generously.
Step 4: Heat the olive oil in your skillet over medium-high heat until it shimmers.
Step 5: Place the chops in the pan without crowding them. Sear for 3-4 minutes, untouched, until deeply golden.
Step 6: Flip the chops. Add the butter, smashed garlic, and thyme sprigs to the pan.
Step 7: As the butter melts, tilt the pan slightly and spoon the melted butter over the chops repeatedly for 3-4 minutes. This is called basting, and it’s what takes these from good to genuinely craveable.
Step 8: Check the internal temperature. Pull the chops once they hit 145°F.
Step 9: Squeeze the fresh lemon juice over the top right in the pan.
Step 10: Transfer the chops to a plate and let them rest for 5 minutes before serving.
That’s the whole process. No marinating overnight, no complicated steps.
Pro Tips
These are the small things that make a real difference, especially the first time you make this.
- Pat the chops completely dry before seasoning. Any surface moisture stops that golden crust from forming. Skip this step and you’ll steam the meat instead of searing it.
- Let the meat sit out for 15-20 minutes before cooking. Cold meat hitting a hot pan cooks unevenly. Room temp meat cooks evenly, every time.
- Use a thermometer. Always. Pork is safe at 145°F, not well done and gray. Pulling it at exactly 145°F is the single biggest reason your chops will taste different than usual.
- Don’t move the chop once it hits the pan. Let it sear undisturbed for 3-4 minutes. Flipping too early tears the crust right off.
- Rest the meat for 5 minutes after cooking. I know it’s tempting to cut in immediately. Resist. This is what keeps all that juice inside the chop instead of on your cutting board.
Substitutions and Variations
- No fresh thyme? Dried works fine, just use half the amount.
- Want it spicier? Add 1/4 tsp cayenne to the seasoning mix.
- Dairy-free? Swap the butter for extra olive oil or ghee.
- No cast iron? Any heavy stainless steel skillet will work, just avoid nonstick if you want a real sear.
- Bone-in instead? This works too, just add 3-4 minutes to the cook time.
Make-Ahead Tips
You can season the chops up to 24 hours ahead and keep them covered in the fridge. This actually deepens the flavor.
Just remember to let them come to room temperature before cooking, no matter how far ahead you seasoned them.
Nutrition and Pairings
Each chop comes in around 320 calories, with roughly 35g of protein, making this a solid option if you’re trying to eat more protein without much effort.
Great pairing options:
- Garlic mashed potatoes
- Roasted green beans
- A simple arugula salad with lemon vinaigrette
- Buttered egg noodles
If you’re watching carbs, the sautéed green beans or a big salad keep this meal light while still feeling like a real dinner.
Leftovers and Storage
Store leftover chops in an airtight container in the fridge for up to 3 days.
To reheat without drying them out, warm them gently in a covered skillet over low heat with a splash of chicken broth. Skip the microwave if you can, it tends to make pork chops rubbery fast.
You can also slice leftover chops thin and toss them into a salad or grain bowl the next day. Honestly, they’re almost as good cold straight out of the fridge.
FAQ
Why are my pork chops always dry?
Almost always it’s overcooking. Pork chops go from juicy to dry within just a few degrees, which is exactly why a thermometer matters so much here.
Can I use thicker chops?
Yes, just add a couple extra minutes per side and check the temperature more often instead of guessing.
Do I need to brine the pork chops first?
Not with this method. The basting step adds enough moisture and flavor that brining isn’t necessary.
What’s the ideal internal temperature for pork chops?
145°F, followed by a 3-minute rest. This is the USDA recommended temperature for pork.
Can I make this in the oven instead?
Yes. Sear on the stovetop first, then finish in a 400°F oven for 6-8 minutes until they hit temperature.
Wrapping Up
That’s really all it takes to get pork chops that taste like something from a restaurant instead of a sad Tuesday dinner.
Once you try the basting trick, it’s hard to go back to cooking them any other way.
Give this one a try this week and let me know in the comments how it turned out for you. And if you have any questions before you start cooking, drop them below, I’ll help you out. 🙌




