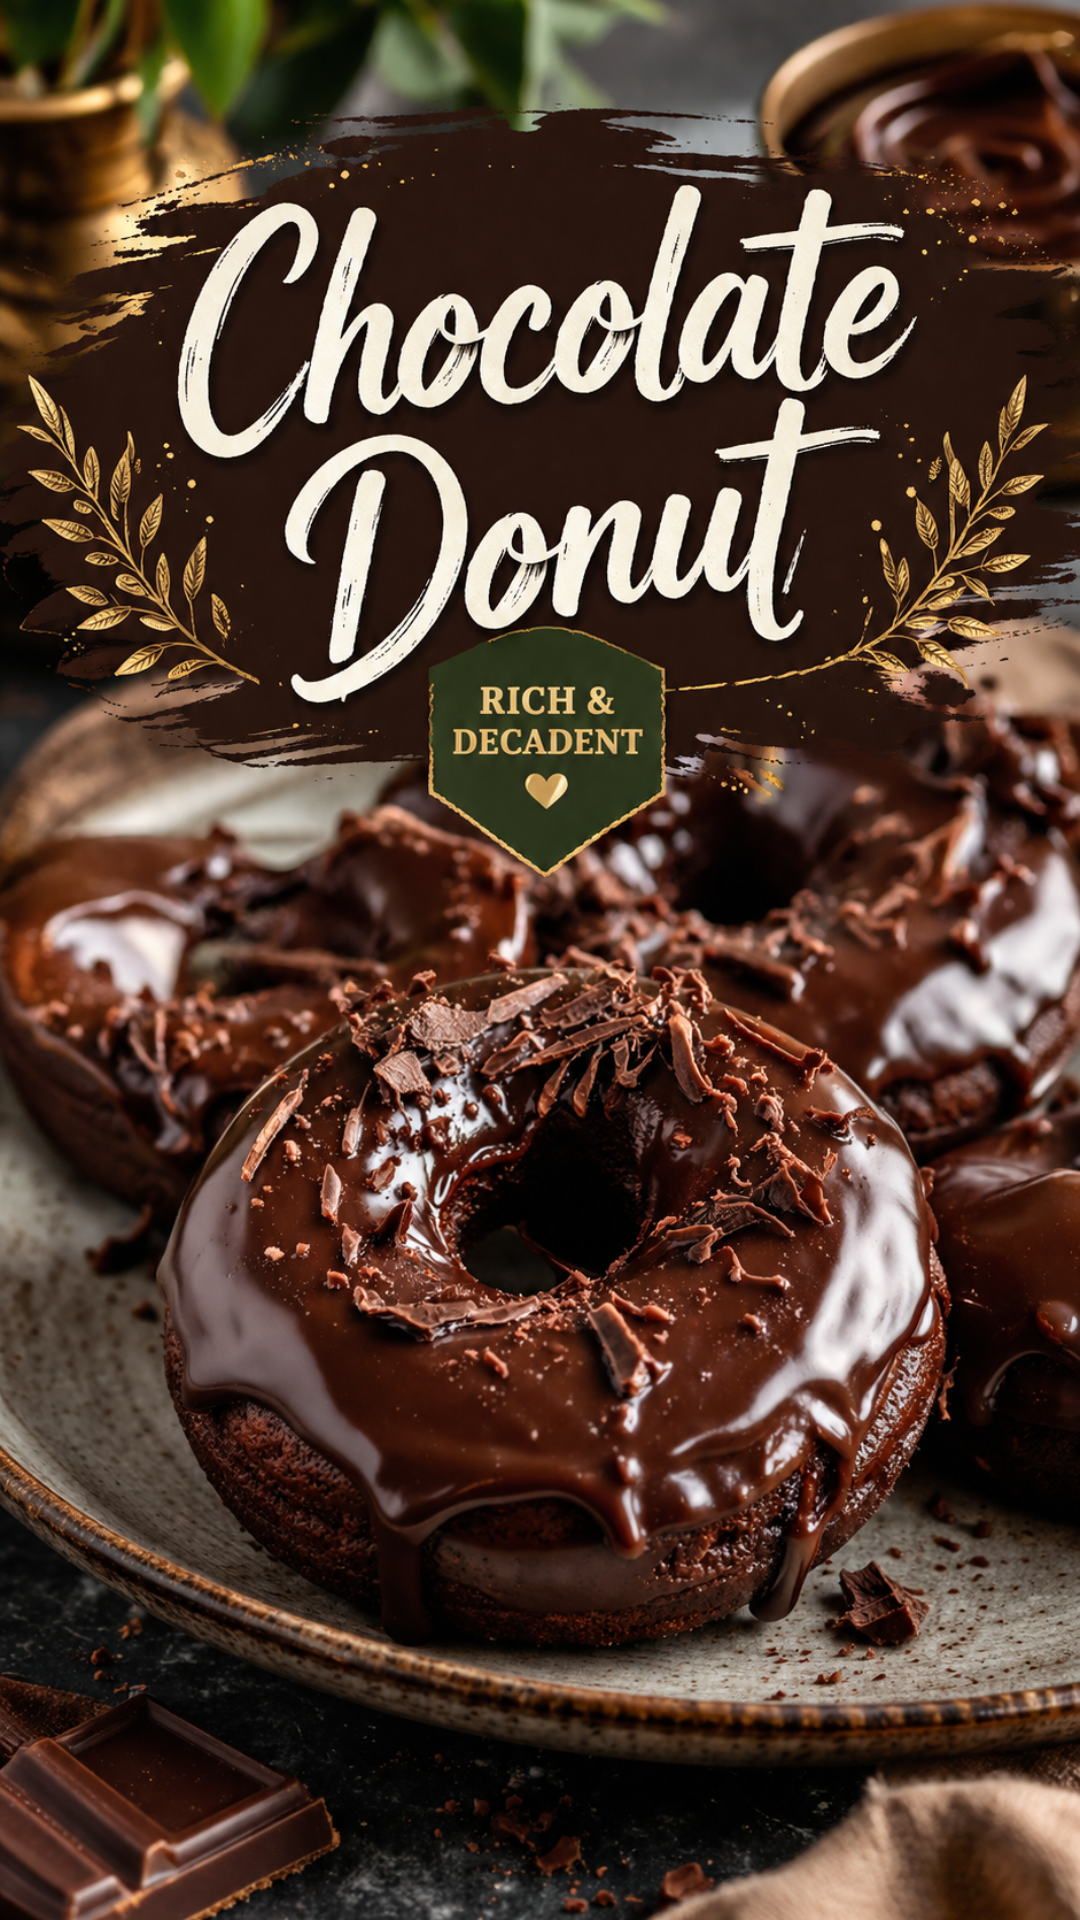
I used to think donuts were a “buy them, don’t make them” kind of food.
Then I made a batch of these on a random Tuesday morning, and my whole opinion flipped in about 20 minutes.
These are baked, not fried. No standing over hot oil. No mess. Just a soft, rich, chocolate donut with a shiny glaze that sets in the fridge while you make coffee.
Here’s the surprising part: baked donuts come together faster than most muffin recipes. One bowl for the batter, one bowl for the glaze, and you’re eating warm donuts before your coffee even finishes brewing.
Let’s get into it.
Recipe At a Glance
| Detail | Info |
|---|---|
| Prep time | 15 minutes |
| Cook time | 10 minutes |
| Total time | 25 minutes (plus glaze setting) |
| Yield | 12 donuts |
| Method | Baked (donut pan) |
| Difficulty | Easy |
What You’ll Need
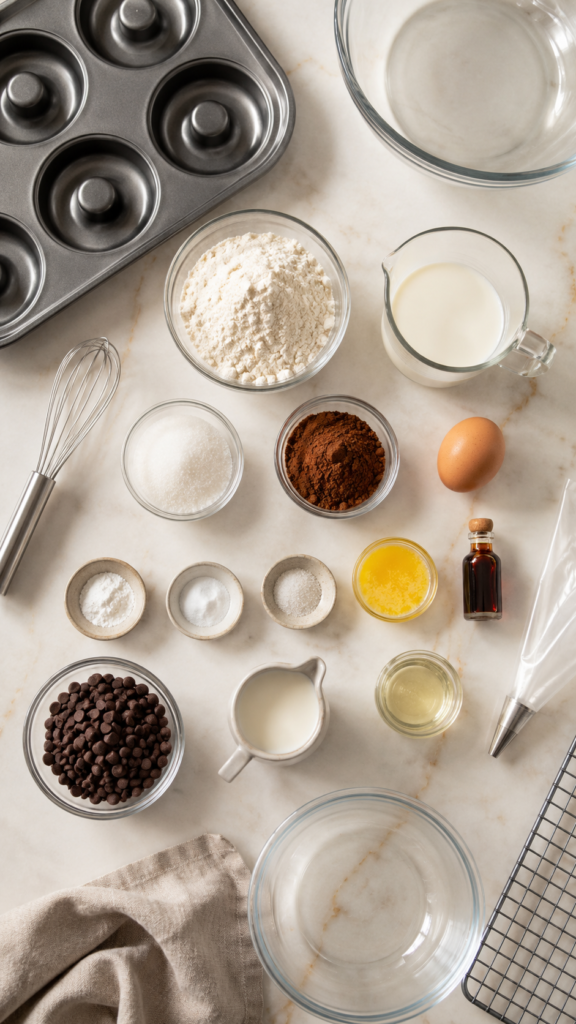
For the donuts:
- 1 ½ cups all-purpose flour
- ½ cup granulated sugar
- ¼ cup unsweetened cocoa powder
- 1 tsp baking powder
- ½ tsp baking soda
- ½ tsp salt
- ¾ cup buttermilk
- 1 large egg
- 3 tbsp melted butter
- 1 tsp vanilla extract
For the chocolate glaze:
- 1 cup semi-sweet chocolate chips
- ½ cup heavy cream
- 1 tbsp corn syrup (this is what gives it that shine)
Optional toppings:
- Sprinkles
- Flaky sea salt
- Crushed nuts
Tools You’ll Need
- Donut pan (this is non-negotiable, more on that below)
- Two mixing bowls
- Whisk
- Piping bag or a large ziplock bag with the corner snipped off
- Cooling rack
- Small saucepan or microwave-safe bowl for the glaze
How To Make It
Step 1: Preheat and prep. Preheat your oven to 350°F. Grease your donut pan really well, even if it says non-stick. I learned this one the hard way.
Step 2: Mix the dry ingredients. In a bowl, whisk together the flour, sugar, cocoa powder, baking powder, baking soda, and salt.
Step 3: Mix the wet ingredients. In a separate bowl, whisk the buttermilk, egg, melted butter, and vanilla until smooth.
Step 4: Combine. Pour the wet mix into the dry mix. Stir until just combined.
Don’t overmix here. Overmixing is the #1 reason baked donuts turn out dense instead of soft.
Step 5: Fill the pan. Spoon the batter into a piping bag. Pipe it into the donut pan cavities, filling each about ⅔ full.
Step 6: Bake. Bake for 9 to 11 minutes, until a toothpick comes out clean.
Step 7: Cool. Let the donuts sit in the pan for 5 minutes, then move them to a cooling rack. Glaze them once they’re fully cool, or the glaze will just slide right off.
Step 8: Make the glaze. Heat the cream until it’s just simmering, then pour it over the chocolate chips. Let it sit for 2 minutes, then stir until smooth. Add the corn syrup and stir again.
Step 9: Dip and decorate. Dip the top of each donut into the glaze, twist slightly, and set back on the rack. Add sprinkles or toppings immediately, before the glaze sets.
Step 10: Let it set. Give the glaze 10 to 15 minutes to firm up before serving.
Pro Tips
- Weigh your flour if you can. Scooping straight from the bag packs in extra flour and makes for a dry donut. A kitchen scale fixes this instantly.
- Room temperature ingredients matter more than people think. Cold eggs and buttermilk can make the batter clump.
- Don’t skip greasing the pan, even non-stick ones. I’ve lost donuts to a pan that “didn’t need it.”
- Dip, don’t drizzle, for the best glaze coverage. Drizzling looks pretty but leaves bare spots.
- Let the glaze cool slightly before dipping. Too hot, and it’ll be thin and slide right off.
Substitutions and Variations
- No buttermilk? Mix ¾ cup milk with ¾ tbsp lemon juice or vinegar, let it sit 5 minutes.
- Dairy-free? Swap the buttermilk for a plant-based milk plus vinegar, and use dairy-free chocolate chips and coconut cream for the glaze.
- Gluten-free? A 1:1 gluten-free flour blend works well here.
- Want it fancier? Add a teaspoon of espresso powder to the batter. It deepens the chocolate flavor without tasting like coffee.
- Craving texture? Fold mini chocolate chips into the batter before baking.
Make-Ahead Tips
- The batter can be mixed the night before and stored covered in the fridge. Let it sit at room temp for 10 minutes before piping.
- Unglazed donuts freeze well for up to 2 months. Glaze after thawing for the freshest taste.
- The glaze can be made a day ahead and gently reheated before dipping.
Nutritional Snapshot (Per Donut, Approximate)
| Nutrient | Amount |
|---|---|
| Calories | 210 |
| Fat | 9g |
| Carbs | 30g |
| Sugar | 18g |
| Protein | 3g |
Numbers will shift slightly depending on toppings and glaze amount used.
Leftovers and Storage
- Store donuts in an airtight container at room temperature for up to 2 days.
- For longer storage, refrigerate for up to 5 days.
- Warm for 10 seconds in the microwave before eating leftovers. It brings the glaze right back to life.
- Freeze unglazed donuts individually wrapped for up to 2 months.
FAQ
Can I make these without a donut pan?
Not really, and this is the one tool worth buying if you plan on making these more than once. Muffin tins won’t give you the right shape or texture.
Why did my donuts come out dense?
This almost always comes down to overmixing the batter or packing too much flour into the measuring cup.
Can I fry these instead of baking?
This recipe is built for baking. Frying would need a different, wetter dough recipe entirely.
How do I know when they’re done?
A toothpick inserted into the thickest part should come out clean, with no wet batter clinging to it.
Can kids help make these?
Piping the batter and adding sprinkles are both great jobs for kids. The oven parts, obviously, are for the adults.
Wrapping Up
These donuts turned a boring Tuesday into something worth getting out of bed for, and I think they’ll do the same for you.
Make a batch this weekend. Bring them to brunch. Eat one standing over the kitchen counter before anyone else wakes up, no judgment here.
Leave a comment once you’ve made them. I want to know what toppings you went with, and if anyone in your house tried to steal one straight off the cooling rack.




