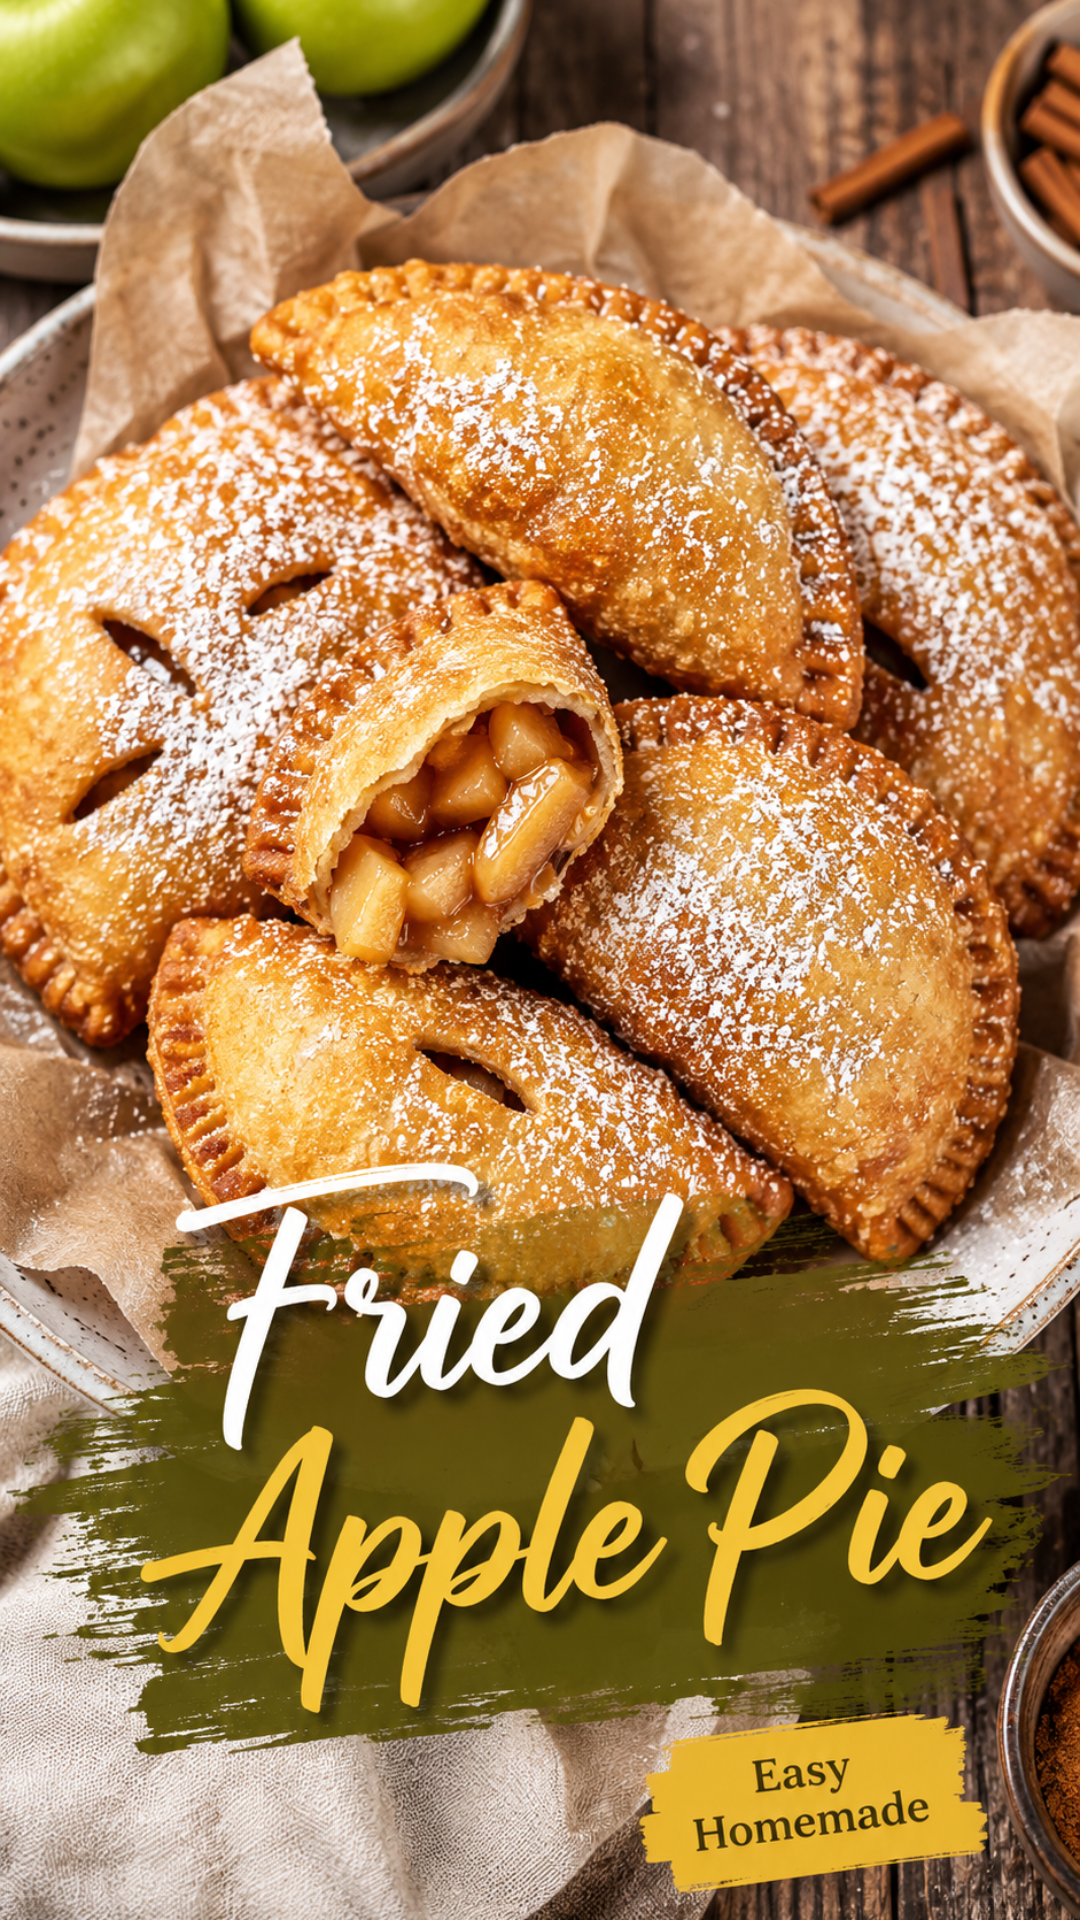
Some desserts you eat slow. This one you can’t.
Fried apple pie is basically a regular apple pie that got tired of waiting around for a slice to be cut. So it turned itself into a handheld, golden, crackly-crust pocket you can eat standing over the sink.
I first had one of these at a tiny roadside stand and genuinely stopped walking mid-bite. The crust shatters. The filling is warm and jammy. And somehow it tastes even better than the pie it came from.
That’s the wow factor nobody tells you about: frying the crust does something baking just can’t. 🍎
Let’s get into it.
Recipe at a Glance
| Detail | Info |
|---|---|
| Prep time | 25 minutes |
| Cook time | 15 minutes |
| Total time | 40 minutes |
| Servings | 8 hand pies |
| Difficulty | Easy |
| Best for | Fall snacking, parties, “I need dessert in 40 minutes” emergencies |
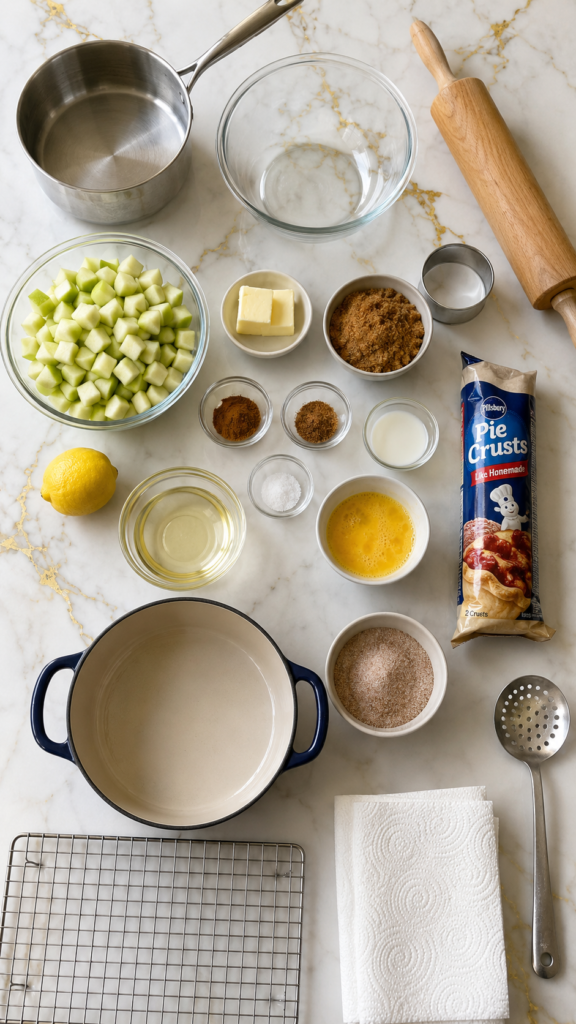
What You’ll Need
For the filling:
- 3 medium Granny Smith apples, peeled and diced small
- 2 tablespoons unsalted butter
- 1/3 cup brown sugar
- 1 teaspoon cinnamon
- 1/4 teaspoon nutmeg
- 1 tablespoon cornstarch
- 1 tablespoon water
- 1 teaspoon lemon juice
- Pinch of salt
For the pies:
- 1 package refrigerated pie crust (2 crusts) or homemade dough
- 1 egg, beaten (for sealing edges)
- 2 cups vegetable oil (for frying)
For the topping:
- 1/2 cup granulated sugar
- 1 teaspoon cinnamon
Tools You’ll Need
- Medium saucepan
- Mixing bowl
- Rolling pin
- 4-inch round cutter (or a bowl the same size)
- Fork (for crimping edges)
- Deep, heavy-bottomed pot or Dutch oven
- Slotted spoon
- Wire cooling rack
- Paper towels
How to Make Fried Apple Pie
Step 1: Cook the filling
Melt the butter in a saucepan over medium heat.
Add the diced apples, brown sugar, cinnamon, nutmeg, and salt.
Cook for about 8 minutes, stirring occasionally, until the apples soften.
Mix the cornstarch and water together, then stir it into the apples.
Cook for 2 more minutes until the filling thickens up nicely. Stir in the lemon juice.
Let it cool completely. This part matters more than people think, and I’ll explain why below.
Step 2: Roll and cut the dough
Roll your pie crust out on a lightly floured surface.
Cut circles using your 4-inch cutter.
Re-roll the scraps once to get a few extra circles.
Step 3: Fill and seal
Spoon about a tablespoon of cooled filling onto one half of each circle.
Leave a small border around the edge.
Brush the border with beaten egg.
Fold the dough over into a half-moon shape and press the edges together.
Crimp with a fork to seal it tight. This step is what keeps the filling from leaking into your oil later.
Step 4: Fry
Heat your oil to 350°F in a deep pot.
Fry 2-3 pies at a time, about 2 minutes per side, until deep golden brown.
Don’t crowd the pot. Overcrowding drops the oil temperature and you’ll end up with greasy, soggy pies instead of crisp ones.
Remove with a slotted spoon and set on a wire rack lined with paper towels.
Step 5: Sugar coat
Mix the cinnamon and sugar together.
While the pies are still warm, roll them in the mixture until fully coated.
Serve warm.
Pro Tips
1. Cool the filling completely before assembling. Warm filling melts the dough and makes sealing nearly impossible. Pop it in the fridge for 15 minutes if you’re short on time.
2. Seal the edges twice. Press with your fingers first, then crimp with a fork. Half of all fryer leaks happen because of a weak seal, not bad dough.
3. Keep your oil temperature steady. Use a thermometer if you have one. Oil that’s too hot burns the crust before the inside cooks. Too cool and the pies soak up oil like a sponge.
4. Don’t skip the resting step after frying. Letting them sit on the rack for even 2 minutes lets the crust set properly, so it stays crisp instead of going soft under the sugar coating.
5. Fry in small batches. It feels slower, but it’s the difference between a crisp pie and a greasy one.
Substitutions and Variations
- Apples: Honeycrisp or Braeburn work well if you want a sweeter filling.
- Crust: Puff pastry gives you a flakier, more dramatic texture.
- Gluten-free: Swap in a gluten-free pie crust and check your cornstarch brand is certified GF.
- Baked version: Brush with egg wash and bake at 400°F for 20 minutes if you’d rather skip frying.
- Air fryer version: Brush with oil and air fry at 375°F for 10-12 minutes, flipping halfway.
- Flavor twist: Add a splash of bourbon or a handful of dried cranberries to the filling.
Make-Ahead Tips
The filling keeps in the fridge for up to 3 days in a sealed container.
You can also assemble the unfried pies, freeze them on a tray until solid, then transfer to a freezer bag. Fry straight from frozen, just add 1-2 extra minutes per side.
Leftovers and Storage
Store leftover pies in an airtight container at room temperature for up to 2 days.
For longer storage, refrigerate for up to 5 days.
Reheat in a 350°F oven for 8-10 minutes to bring the crust back to life. Microwaving works in a pinch, but the crust turns soft instead of crisp.
FAQ
Can I use canned apple pie filling instead?
Yes, it saves time, though homemade filling gives you more control over sweetness and spice.
Why did my pies burst open while frying?
Usually an incomplete seal, or filling that was still warm when you assembled the pies.
What oil is best for frying?
Vegetable, canola, or peanut oil all work well because of their high smoke points.
Can I make these without a deep fryer?
A heavy pot with a few inches of oil does the job just fine.
How do I know the oil is ready?
Drop in a small piece of dough. If it sizzles and rises to the top within a few seconds, you’re good to go.
Wrapping Up
Fried apple pie is one of those recipes that looks fancy but is honestly one of the easiest desserts you’ll make all year.
Crisp, warm, cinnamon-sugar coated, and gone in about three bites.
Give it a try this weekend and let me know how it turned out in the comments below. I’d love to hear if you tried any of the variations too, or if you have a filling twist of your own worth sharing.




