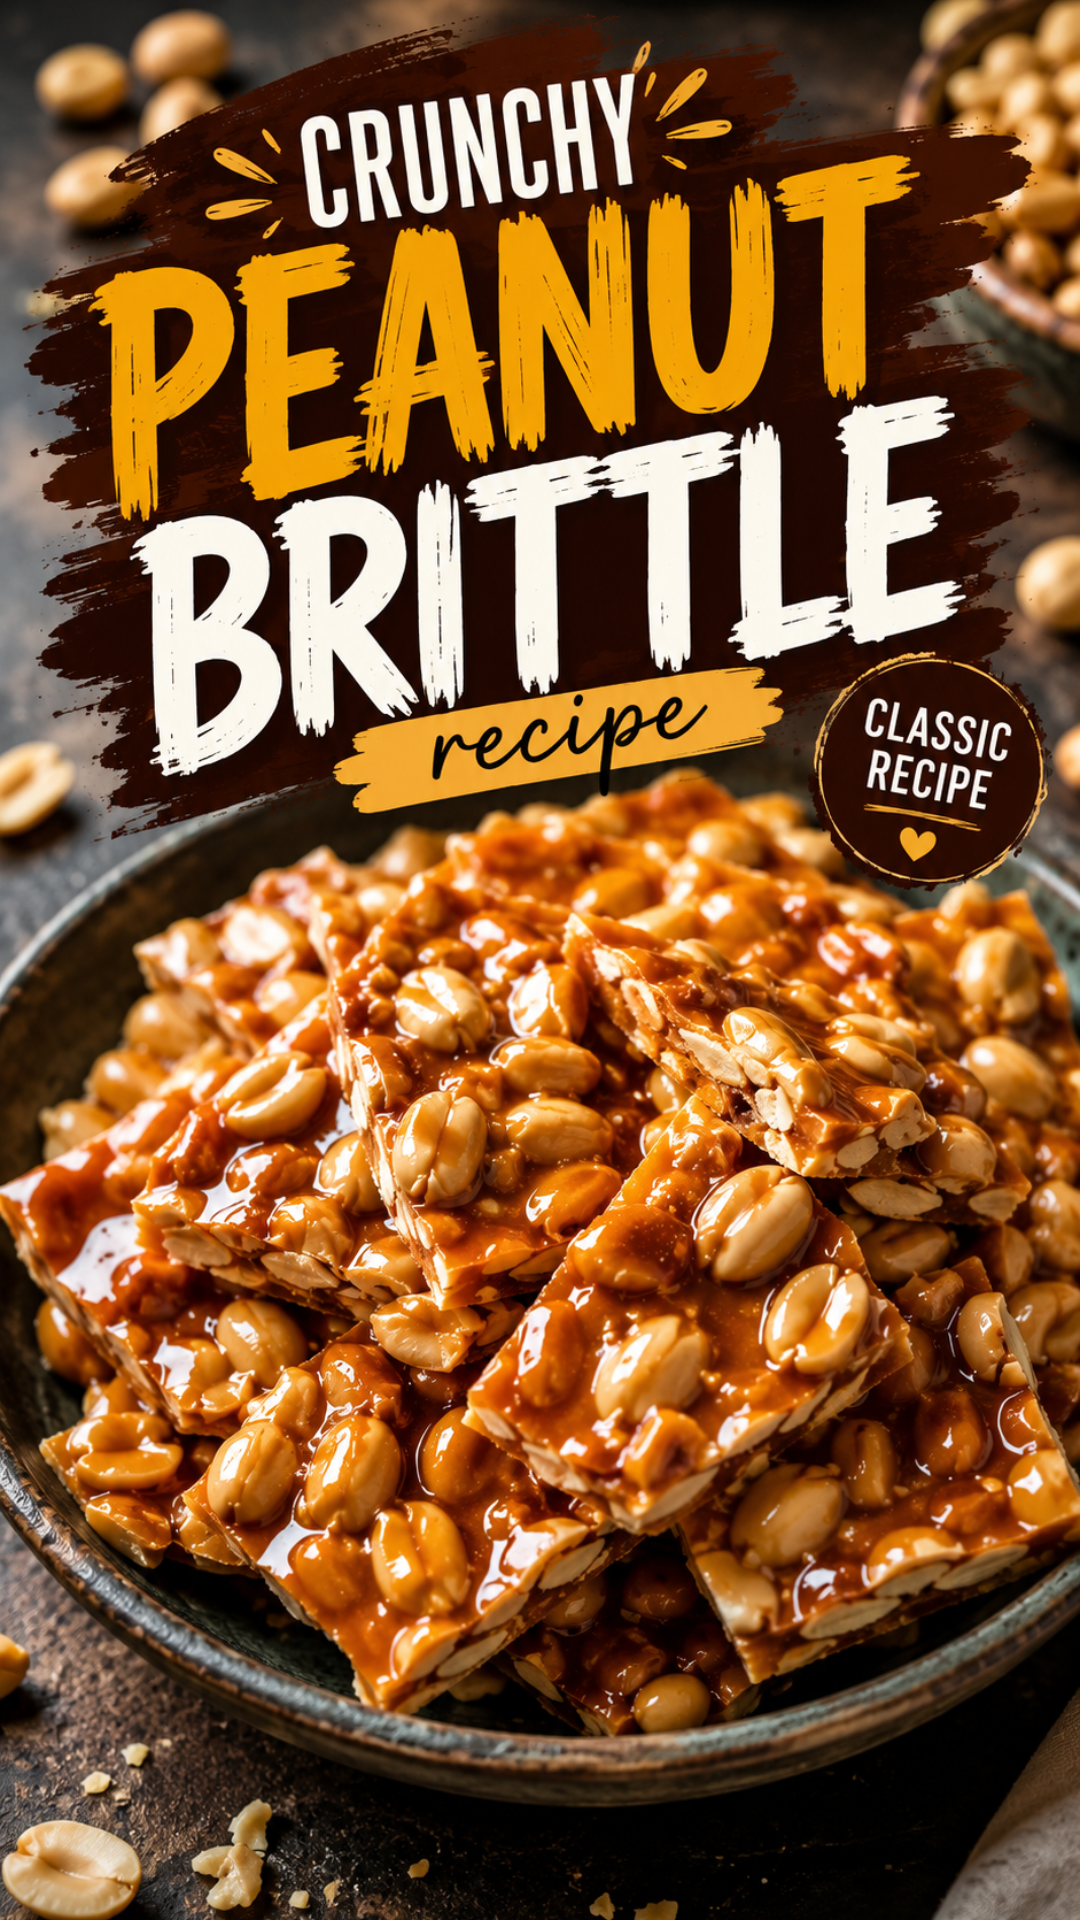
I didn’t expect a candy this simple to taste this good.
Four ingredients. One pot. No candy thermometer degree in fancy pastry school required.
And yet peanut brittle somehow tastes like you spent hours on it. That’s the kind of math I like.
I first made this on a random Tuesday night when I had peanuts, sugar, and zero plans. Twenty minutes later I had a golden, glassy sheet of candy that snapped like glass and tasted like caramel met a peanut and they fell in love.
If you’ve never made brittle before, you’re going to be shocked at how little effort this takes. 🥜
Let’s get into it.
Recipe At a Glance
| Detail | Info |
|---|---|
| Prep time | 5 minutes |
| Cook time | 15-20 minutes |
| Total time | 25 minutes |
| Yield | About 1 pound of brittle |
| Difficulty | Beginner friendly |
| Equipment | 1 saucepan, 1 baking sheet |
What You’ll Need
Here’s everything that goes into this batch.
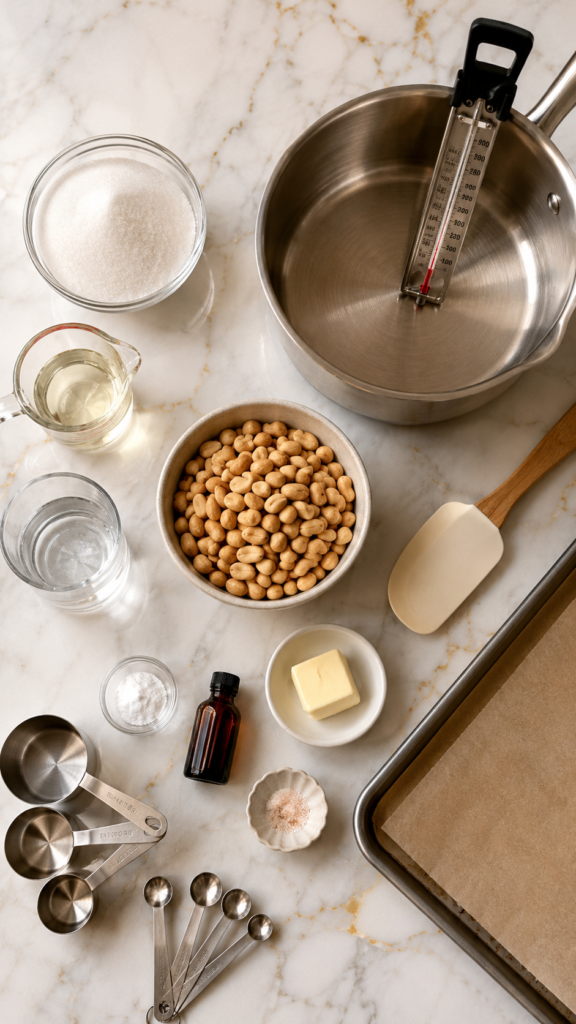
- 1 cup granulated sugar
- 1/2 cup light corn syrup
- 1/4 cup water
- 1 1/2 cups raw peanuts (or roasted, unsalted)
- 2 tablespoons unsalted butter
- 1 teaspoon baking soda
- 1/2 teaspoon vanilla extract
- 1/4 teaspoon salt
That’s it. Eight ingredients, most of which you probably already have in your pantry.
Tools You’ll Need
- Medium heavy-bottomed saucepan
- Candy thermometer (optional but genuinely helpful)
- Silicone spatula or wooden spoon
- Baking sheet
- Parchment paper or a silicone baking mat
- Measuring cups and spoons
How to Make Crunchy Peanut Brittle
Ready to make candy? Here’s exactly how it goes down.
Step 1: Prep Your Station
Line your baking sheet with parchment paper.
Do this before you turn on the stove. Once that sugar starts cooking, you won’t have time to look for parchment paper in a drawer.
Step 2: Cook the Sugar Syrup
Combine the sugar, corn syrup, and water in your saucepan over medium heat.
Stir gently until the sugar dissolves. Then stop stirring.
Let it bubble away until it hits 300°F on a candy thermometer, or until it turns a light amber color. This takes about 10-12 minutes.
No thermometer? Drop a bit of the syrup into cold water. If it turns hard and brittle instantly, you’re there.
Step 3: Add the Peanuts
Once the syrup hits that golden amber shade, stir in your peanuts.
Keep stirring constantly for 3-5 minutes. You want the peanuts toasted and the mixture a deeper amber, almost like light caramel.
This is the moment that separates good brittle from great brittle. Don’t rush it, but don’t walk away either.
Step 4: Add Butter, Vanilla, and Salt
Pull the pan off the heat.
Quickly stir in the butter, vanilla, and salt. It’ll bubble up a bit, and that’s completely normal.
Step 5: The Baking Soda Moment
Add the baking soda and stir fast.
This is the part that surprises almost everyone the first time. The mixture instantly foams up and turns pale and airy.
That reaction is what gives brittle its light, crackly texture instead of a dense, tooth-breaking slab. Science, but the delicious kind.
Step 6: Pour and Spread
Immediately pour the mixture onto your prepared baking sheet.
Work fast here. It starts setting within seconds. Use your spatula to spread it into a thin, even layer.
Step 7: Cool Completely
Let the brittle cool at room temperature for about 30-45 minutes.
Don’t rush this in the fridge. Cooling too fast can make it sweat and turn sticky instead of staying crisp.
Step 8: Break It Up
Once it’s fully hardened, break the brittle into pieces by hand or with the back of a knife.
Uneven, jagged pieces are basically the whole point here.
Pro Tips
- Use a light-colored pan. Dark pans make it nearly impossible to judge the syrup’s real color, and color is your biggest clue for doneness.
- Have everything measured before you start. Once the sugar starts cooking, there’s no time to measure vanilla or hunt for baking soda.
- Don’t stir too much during the syrup stage. Stirring too early or too often can cause the sugar to crystallize, which leaves you with a grainy, chalky brittle instead of a smooth one.
- Room temperature peanuts cook more evenly. Cold peanuts straight from the fridge can drop the syrup’s temperature and throw off your timing.
- Work quickly once the baking soda goes in. The window between foaming and setting is short, maybe 60 seconds, so have your baking sheet ready to go.
Substitutions and Variations
Want to switch things up? Here are some easy swaps.
- Nuts: Swap peanuts for cashews, almonds, or pecans for a different flavor profile.
- Corn syrup: Honey or golden syrup can work, though the texture turns out slightly less glassy.
- Butter: Coconut oil makes this dairy-free with barely any flavor difference.
- Extra flavor: A pinch of cinnamon or a dash of espresso powder adds a subtle twist.
- Spicy kick: A tiny pinch of cayenne with the salt gives it a sweet-heat thing that’s oddly addictive.
For Different Diets
| Diet | Swap |
|---|---|
| Dairy-free | Use coconut oil instead of butter |
| Vegan | Use coconut oil, and check your corn syrup brand is vegan-friendly |
| Nut-free | Use sunflower seeds or pumpkin seeds instead of peanuts |
Make-Ahead Tips
Brittle is honestly one of the best make-ahead candies out there.
Make it up to two weeks before you need it. Store it properly (details below) and it holds its crunch the whole time.
This makes it a genuinely great option for holiday gifting or party prep, since you can knock it out way ahead of time and forget about it.
Leftovers and Storage
- Room temperature: Store in an airtight container for up to 3 weeks. Add a layer of parchment between pieces if stacking.
- Avoid the fridge: Moisture is brittle’s enemy. Refrigeration can make it go soft and sticky.
- Freezing: Freeze in an airtight container for up to 3 months. Let it come to room temperature before serving.
- Humidity warning: If you live somewhere humid, brittle can soften within days no matter how you store it. Silica packets (the food-safe kind) in the container can help.
FAQ
Why did my brittle turn out chewy instead of crunchy?
This usually means the syrup didn’t reach a high enough temperature before you added the peanuts. Aim for a true 300°F, also known as the hard crack stage.
Why is my brittle grainy?
Sugar crystals formed during cooking, usually from stirring too much early on or sugar crystals sticking to the side of the pan. Brushing the pan sides with a wet pastry brush at the start can help prevent this.
Can I make this without a candy thermometer?
Yes. Use the cold water test described in Step 2. It’s old school, but it works.
Why did my brittle turn out sticky after a day?
Moisture in the air is almost always the cause. Store it in a truly airtight container, and skip the fridge.
Can I double the recipe?
You can, but cook it in batches rather than doubling everything in one pot. A crowded pan cooks unevenly and makes it much harder to judge the syrup’s color.
What’s the deal with the baking soda?
It reacts with the hot sugar and creates tiny air bubbles throughout the candy. That’s the secret behind that light, airy crunch instead of a dense, jaw-breaking bite.
Wrapping Up
Peanut brittle looks like the kind of thing that takes a lifetime of candy-making experience.
It doesn’t.
It takes twenty minutes, a saucepan, and a little bit of confidence to work fast once that baking soda hits the pan.
Give this one a try, then come back and tell me how it turned out. Did it crack loud enough to make your kitchen sound like a campfire? Did you sneak a piece before it even finished cooling?
Drop a comment below with how yours turned out, or any questions you’ve got along the way. I read every single one. 🍬




