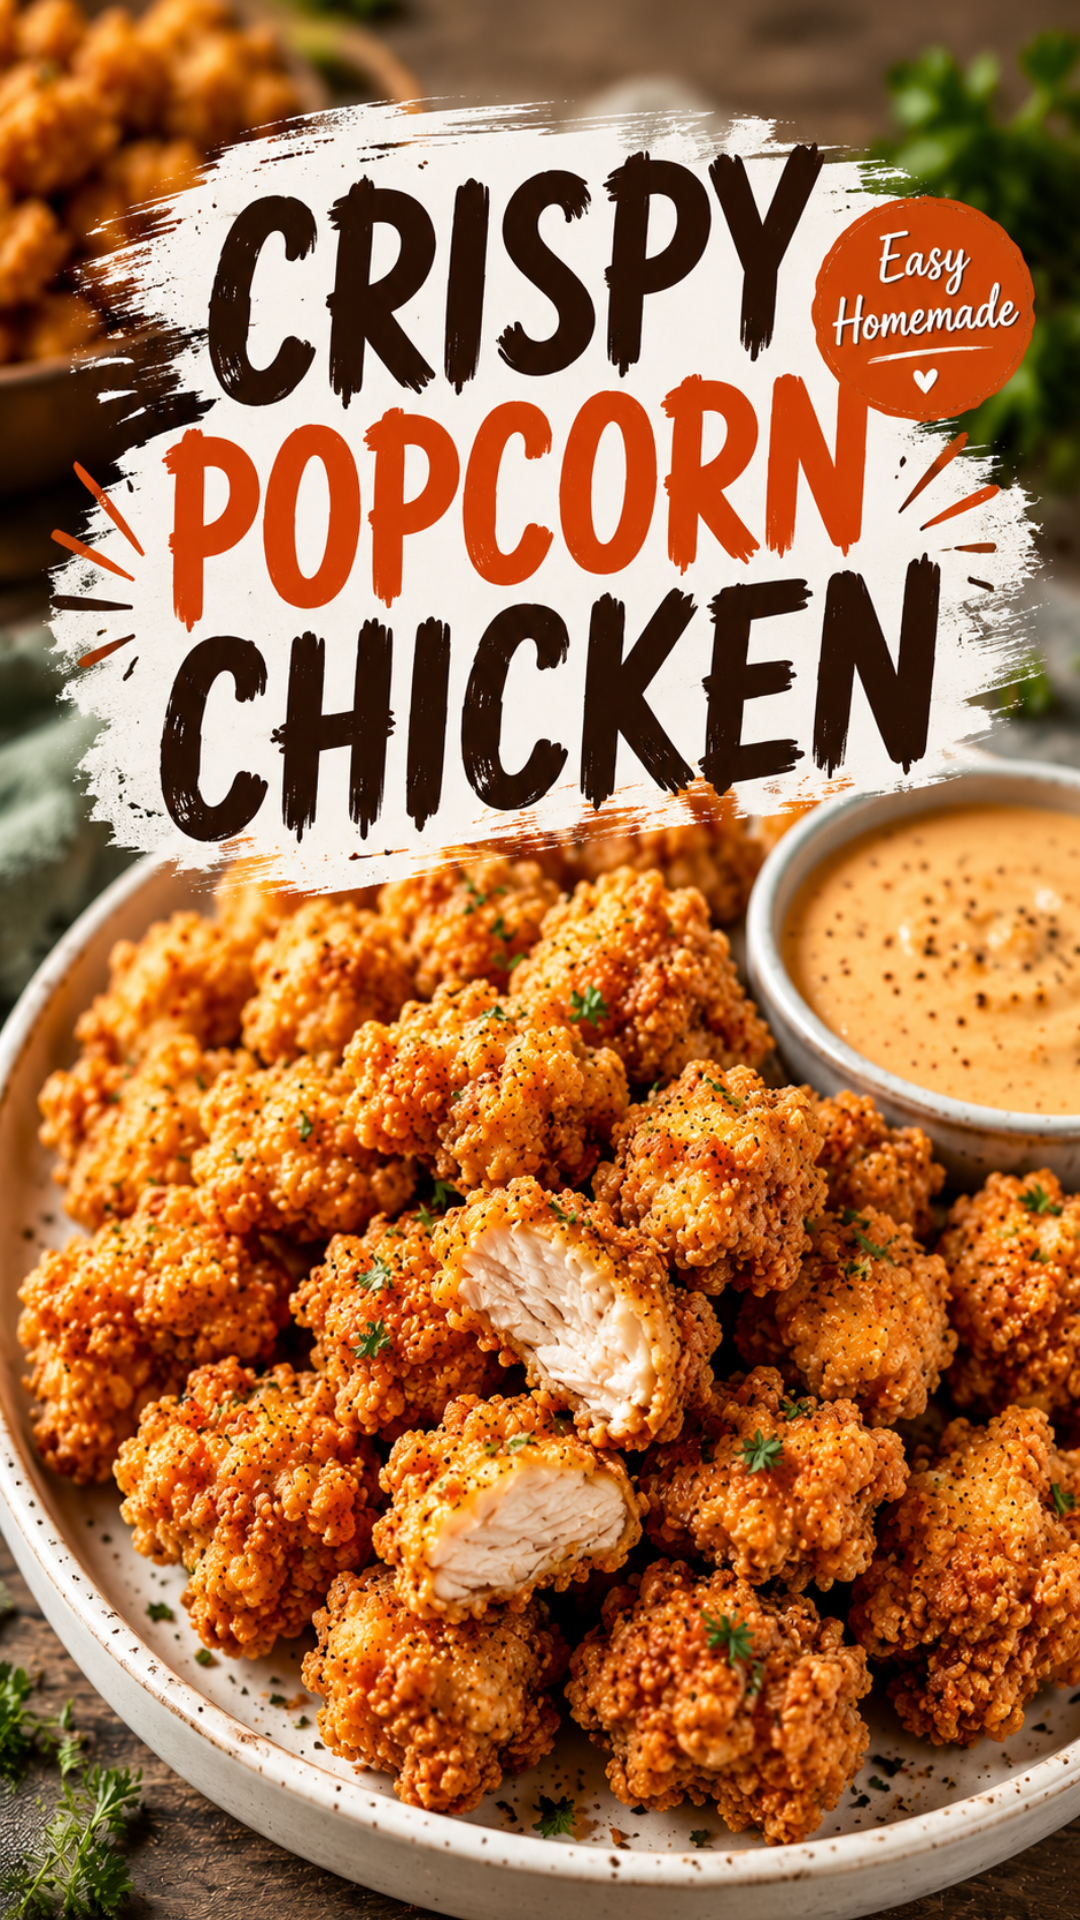
I used to think popcorn chicken was one of those things you could only get from a fast food window at 11pm.
Turns out, it’s one of the easiest things you can make at home. And once you taste the homemade version, going back feels like a downgrade.
This recipe makes little bites of chicken with a shatter-crisp crust and a juicy center. No soggy spots, no weird aftertaste, no mystery oil.
Just you, a hot pan, and some seriously addictive chicken bites. 🍗
Recipe At A Glance
| Detail | Info |
|---|---|
| Prep Time | 20 minutes |
| Marinate Time | 30 minutes (up to overnight) |
| Cook Time | 15 minutes |
| Total Time | About 1 hour |
| Servings | 4 people |
| Difficulty | Easy |
| Best For | Game day, weeknight dinner, kid-approved snacking |
Why This Recipe Works
Most popcorn chicken recipes skip a step that actually matters: the buttermilk soak.
It tenderizes the chicken and helps the coating stick like glue. Skip it, and you’ll end up with crust falling off in the fryer.
The double-dredge is the other secret. One dip in flour won’t cut it. You want a thick, craggy coating that turns golden and crunchy.
And here’s the surprising part. Cornstarch, not just flour, is what makes this coating extra crispy. It’s the same trick used in Korean fried chicken.
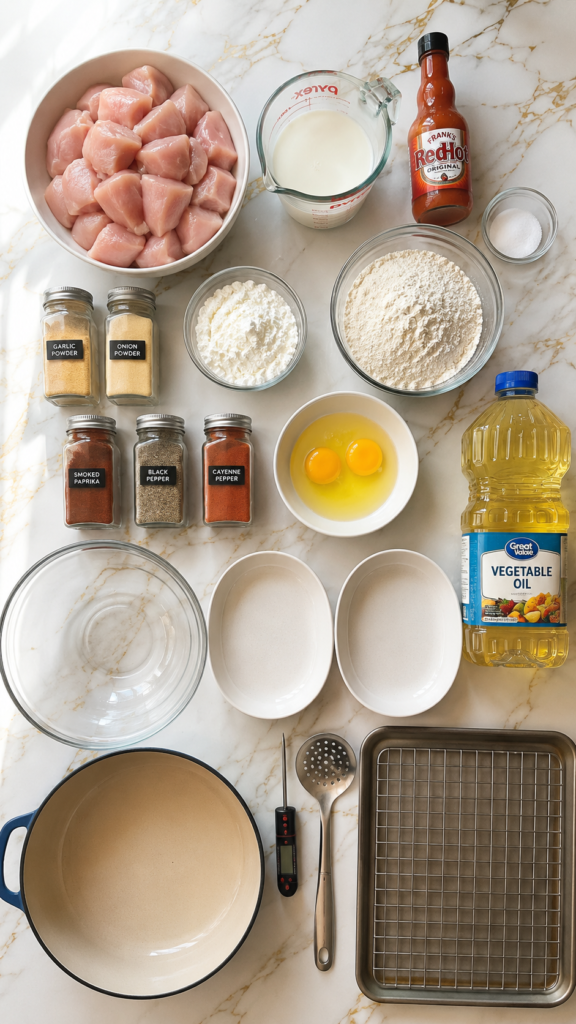
What You’ll Need
For the chicken:
- 1.5 lbs boneless, skinless chicken breast (cut into bite-sized pieces)
- 1 cup buttermilk
- 1 tsp hot sauce (optional, for flavor)
- 1 tsp salt
For the coating:
- 1 cup all-purpose flour
- 1/2 cup cornstarch
- 1 tsp garlic powder
- 1 tsp onion powder
- 1 tsp smoked paprika
- 1/2 tsp black pepper
- 1/2 tsp cayenne pepper (optional)
- 1 tsp salt
- 2 large eggs
For frying:
- Vegetable oil or peanut oil (enough for 2 inches in your pot)
Tools You’ll Need
- A large mixing bowl (for marinating)
- Two shallow bowls or pie plates (for dredging)
- A heavy-bottomed pot or Dutch oven
- A kitchen thermometer (this one is non-negotiable)
- A slotted spoon or spider strainer
- A wire rack set over a baking sheet
How To Make It
Step 1: Marinate the Chicken
Combine the chicken, buttermilk, hot sauce, and salt in a large bowl.
Cover and refrigerate for at least 30 minutes. Overnight works too, and honestly makes the chicken even more tender.
Step 2: Set Up Your Dredging Station
In one shallow bowl, whisk together the flour, cornstarch, garlic powder, onion powder, paprika, black pepper, cayenne, and salt.
In a second bowl, beat the eggs until smooth.
Step 3: Coat the Chicken
Remove chicken from the buttermilk, letting the excess drip off.
Dip each piece into the flour mixture, then the egg, then back into the flour mixture again. Press firmly so the coating sticks.
Place the coated pieces on a plate or tray as you go.
Step 4: Heat the Oil
Pour oil into your pot until it’s about 2 inches deep.
Heat over medium-high until it reaches 350°F. This is where the thermometer earns its keep.
Step 5: Fry the Chicken
Working in small batches, carefully lower the chicken into the oil.
Fry for 3 to 4 minutes, turning occasionally, until deep golden brown and cooked through.
Step 6: Drain and Rest
Transfer the fried chicken to a wire rack set over a baking sheet.
Skip paper towels if you can. They trap steam underneath and soften the crust.
Step 7: Serve
Sprinkle with a little extra salt while it’s still hot. Serve immediately with your favorite dipping sauce.
Pro Tips
1. Cut your chicken pieces the same size. Uneven pieces cook unevenly. Aim for pieces about the size of a golf ball.
2. Don’t skip the buttermilk soak. Even 30 minutes makes a noticeable difference. Overnight is even better if you can plan ahead.
3. Press the coating on, don’t just dip. After the flour mixture, press each piece gently with your hands. This is what creates those craggy, extra-crunchy bits everyone fights over.
4. Fry in small batches. Overcrowding the pot drops the oil temperature fast, and that’s how you end up with greasy, limp chicken instead of crispy chicken.
5. Let the oil come back up to temp between batches. Give it a minute or two. Your patience pays off in crunch.
Substitutions and Variations
Craving something a little different? Here are some easy swaps.
- Gluten-free: Swap the all-purpose flour for a 1:1 gluten-free flour blend.
- Air fryer version: Spray coated chicken with oil and air fry at 400°F for 10 to 12 minutes, flipping halfway.
- Spicier kick: Add extra cayenne or a spoonful of chili powder to the coating.
- Buttermilk swap: No buttermilk? Mix 1 cup milk with 1 tablespoon lemon juice or white vinegar and let it sit for 5 minutes.
- Chicken thighs instead of breast: Thighs stay juicier and are pretty forgiving if you overcook them slightly.
Make-Ahead Tips
You can marinate the chicken up to 24 hours ahead. This actually improves the flavor and texture.
You can also bread the chicken a few hours ahead and keep it in the fridge on a tray, uncovered, until you’re ready to fry.
Frying right before serving gives you the best crunch, so try not to fry too far ahead of time.
Nutrition and Dietary Notes
Here’s a rough breakdown per serving (based on 4 servings):
| Nutrient | Amount |
|---|---|
| Calories | ~380 |
| Protein | 32g |
| Carbohydrates | 24g |
| Fat | 16g |
These numbers will shift depending on your oil, coating amount, and portion size, so treat this as a general guide, not an exact science.
For a lighter version, the air fryer method above cuts down on fat significantly while keeping most of the crunch.
What to Serve With Popcorn Chicken
This dish pairs well with just about anything. A few of my favorites:
- Honey mustard or ranch for dipping
- A crisp cucumber salad to balance the richness
- Sweet potato fries on the side
- Steamed rice and a drizzle of sriracha mayo for a fusion-style bowl
Leftovers and Storage
Store leftover chicken in an airtight container in the fridge for up to 3 days.
To reheat and keep it crispy: skip the microwave. Use an air fryer or oven at 400°F for about 8 minutes.
To freeze: lay cooled, cooked chicken pieces on a baking sheet and freeze until solid, then transfer to a freezer bag. It’ll keep for up to 2 months.
Reheat straight from frozen in the air fryer for the best texture. No need to thaw first.
Frequently Asked Questions
Can I bake this instead of frying it?
Yes. Bake at 425°F on a wire rack for about 20 minutes, flipping halfway. It won’t be quite as crunchy as fried, but it’s still tasty.
Why did my coating fall off during frying?
This usually happens when the chicken isn’t dry enough before dredging, or the coating wasn’t pressed on firmly. Pat the chicken dry after the buttermilk soak and really press that flour mixture in.
What oil is best for frying?
Peanut oil and vegetable oil both work well because of their high smoke points. Avoid olive oil, since it burns at a lower temperature.
Can I make this dairy-free?
Yes. Substitute the buttermilk with the milk and lemon juice mixture mentioned in the substitutions section, using a dairy-free milk.
How do I know when the chicken is fully cooked?
The internal temperature should reach 165°F. A kitchen thermometer takes all the guesswork out of it.
Wrapping Up
Homemade popcorn chicken is one of those recipes that feels fancy but takes almost no real effort.
Once you taste that crunch, you’ll understand why it’s worth the extra 20 minutes over a drive-thru run.
Give it a try this week, and let me know how it turns out in the comments below. Did you make any swaps? Got questions about the frying process? Drop them below, I’d love to help.




