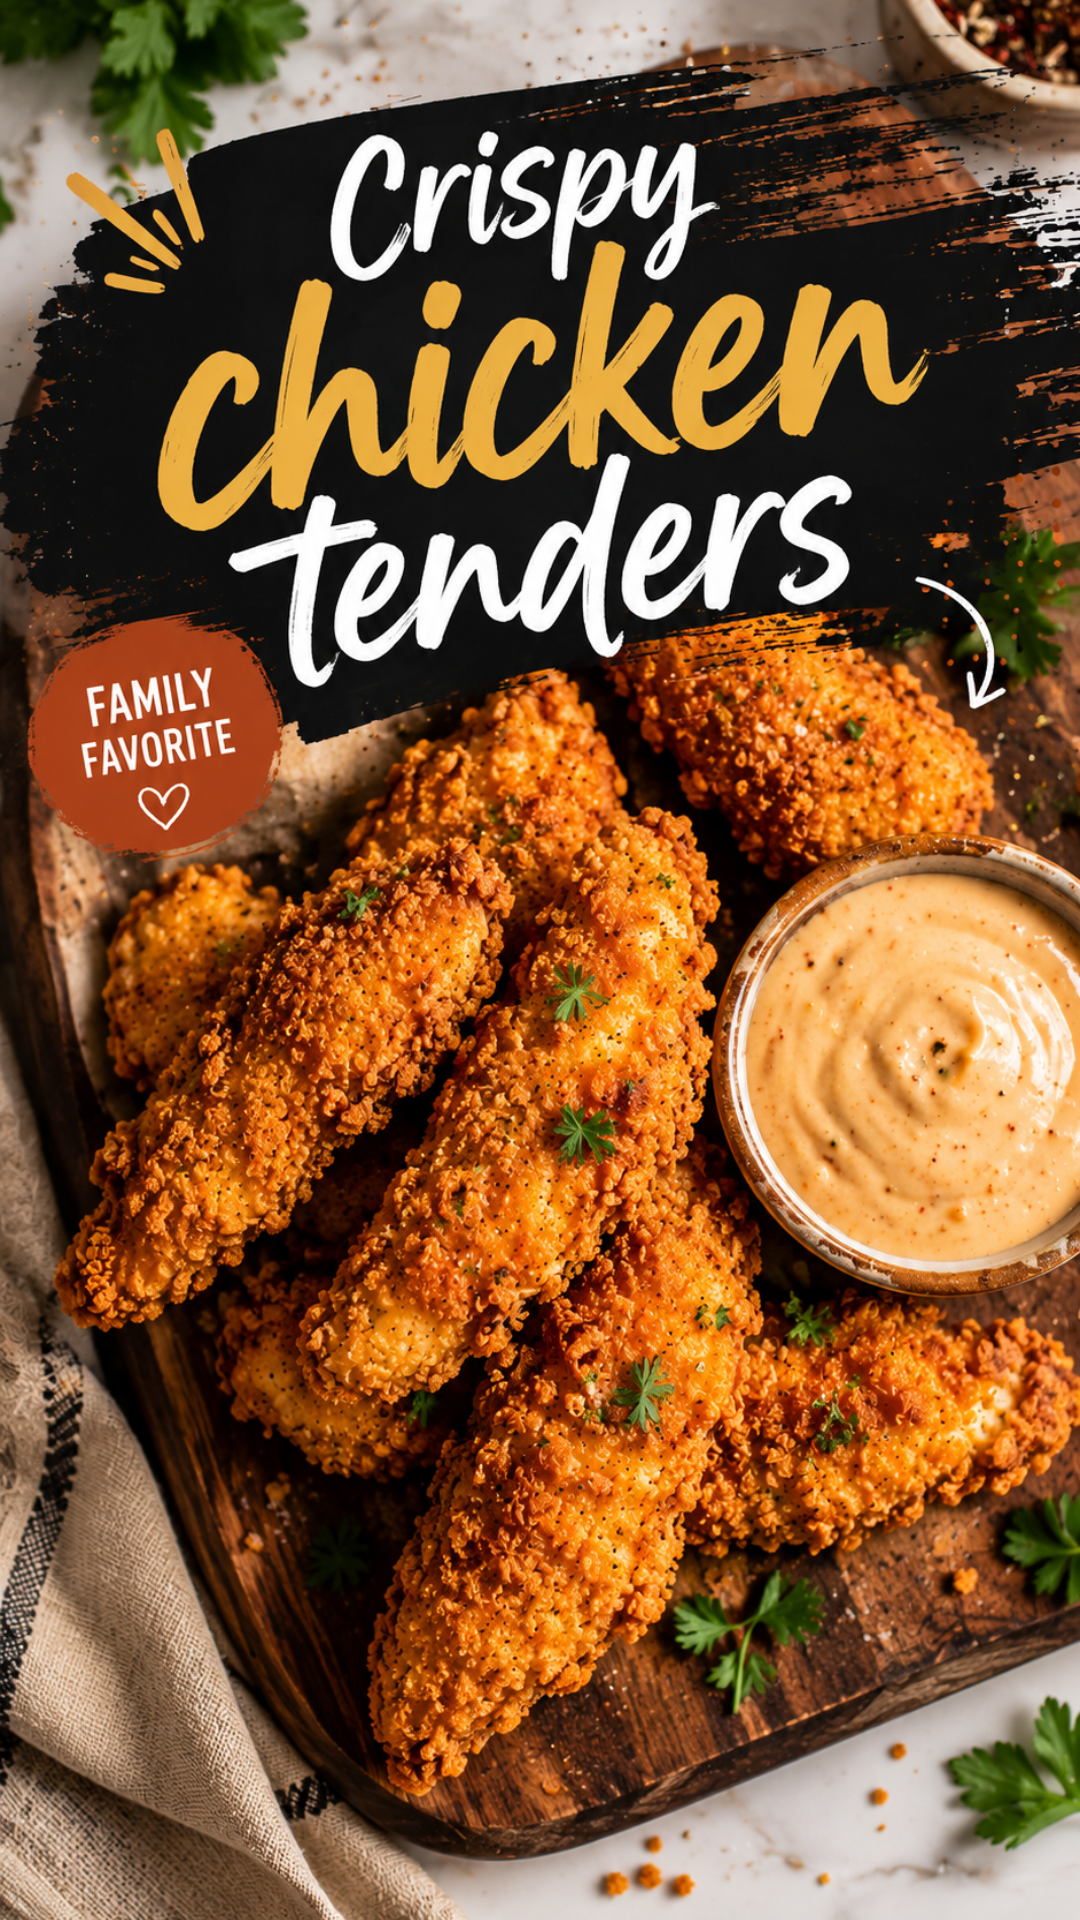
I used to keep a bag of frozen chicken tenders in my freezer at all times. Emergency dinner. Lazy Sunday snack. You know the drill.
Then I made a batch of these from scratch, and the frozen bag has been sitting there untouched for two months.
That crunch you get when you bite in? The kind that actually shatters instead of just going soft and sad? That’s what sold me. 🍗
Here’s exactly how to make it happen in your own kitchen.
Recipe at a Glance
| Detail | Info |
|---|---|
| Prep Time | 20 minutes |
| Marinate Time | 30 minutes (or overnight) |
| Cook Time | 12 minutes |
| Total Time | About 1 hour |
| Servings | 4 people |
| Difficulty | Easy |
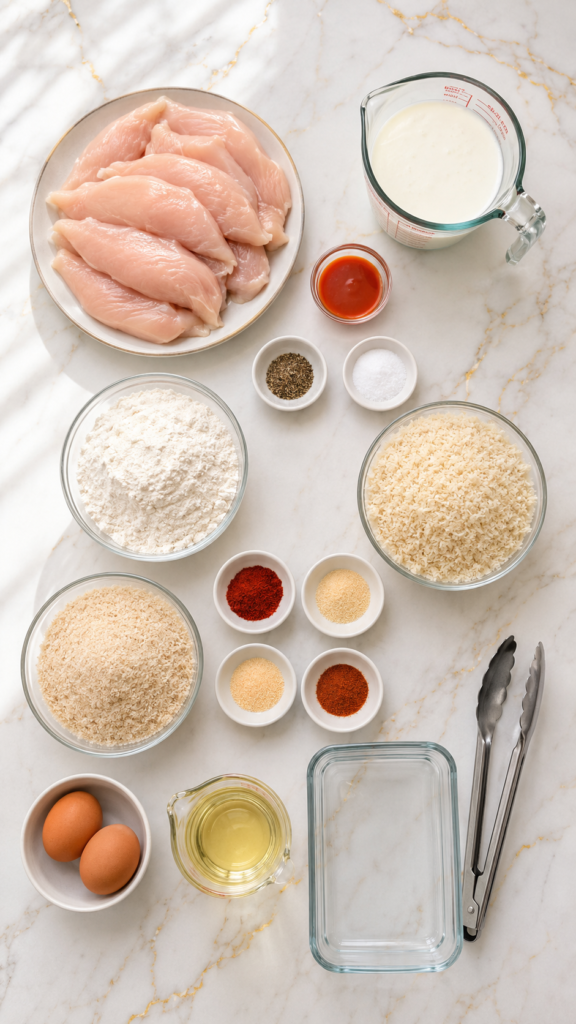
What You’ll Need
For the chicken and marinade:
- 1.5 lbs chicken tenderloins (or chicken breast, sliced into strips)
- 1 cup buttermilk
- 1 tsp hot sauce
- 1 tsp salt
- 1/2 tsp black pepper
For the dredge:
- 1 cup all-purpose flour
- 1 cup panko breadcrumbs
- 1/2 cup regular breadcrumbs
- 2 tsp paprika
- 1 tsp garlic powder
- 1 tsp onion powder
- 1/2 tsp cayenne pepper (optional, for heat)
- 1 tsp salt
- 2 large eggs
For frying:
- Vegetable oil or canola oil, enough for shallow frying (about 1 inch deep)
Tools You’ll Need
- Large mixing bowl
- Shallow dish or pie plate (for dredging)
- Heavy bottomed skillet or Dutch oven
- Tongs
- Wire rack and baking sheet (for draining)
- Meat thermometer
How to Make It
Step 1: Marinate the chicken
Mix the buttermilk, hot sauce, salt, and pepper in a bowl.
Add the chicken and toss to coat completely.
Cover and refrigerate for at least 30 minutes. Overnight makes it even better.
Step 2: Set up your dredging station
In one shallow dish, whisk the eggs.
In another, combine the flour, panko, breadcrumbs, and all your spices.
Line them up next to each other so you can move fast.
Step 3: Coat the chicken
Pull a piece of chicken from the marinade and let the excess drip off.
Dip it in the egg, then press it firmly into the breadcrumb mix on both sides.
Set it on a plate and repeat with the rest.
Step 4: Heat your oil
Pour oil into your skillet until it’s about 1 inch deep.
Heat it to 350°F. If you don’t have a thermometer, drop in a pinch of breadcrumbs. They should sizzle right away.
Step 5: Fry in batches
Add the tenders in a single layer, without crowding the pan.
Fry 3 to 4 minutes per side, until golden brown and the internal temperature hits 165°F.
Step 6: Drain and rest
Transfer to a wire rack set over a baking sheet.
Let them rest for 2 minutes before serving. This keeps the crust crisp instead of steaming itself soft.
Pro Tips
- Don’t skip the rest after frying. Setting them on paper towels traps steam underneath and softens the bottom. A wire rack lets air flow all around.
- Press, don’t sprinkle. When breading, actually press the crumbs into the chicken with your palm. That’s what gives you the thick, craggy crust instead of a thin dusting.
- Keep one hand wet, one hand dry. Use one hand for the egg dip and the other for the breadcrumb mix. Otherwise you end up with clumpy fingers instead of clumpy chicken.
- Check your oil temp between batches. It drops every time you add cold chicken. Give it a minute to climb back up before the next round.
- Buttermilk matters more than people think. The acid in it tenderizes the chicken while it marinates, so even chicken breast turns out juicy instead of chalky.
Substitutions and Variations
- Gluten-free: Swap the flour and breadcrumbs for a gluten-free flour blend and gluten-free panko. Works just as well.
- Baked instead of fried: Bake at 425°F on a wire rack for 18-20 minutes, flipping halfway. You’ll lose a bit of crunch but save a lot of oil.
- Air fryer version: Spray the breaded tenders with oil and cook at 400°F for 10-12 minutes, flipping halfway through.
- Spicier version: Add a full tablespoon of hot sauce to the marinade and double the cayenne in the dredge.
- Parmesan crust: Mix 1/4 cup grated parmesan into the breadcrumb mixture for a sharper, saltier crust.
Make-Ahead Tips
You can bread the chicken up to 4 hours ahead and keep it on a tray in the fridge, uncovered. That actually helps the crust set and stick better.
You can also freeze breaded, uncooked tenders. Lay them flat on a tray until solid, then transfer to a freezer bag. Fry straight from frozen, just add a couple extra minutes to the cook time.
Storage and Leftovers
Store cooked tenders in an airtight container in the fridge for up to 3 days.
To reheat and keep them crispy, skip the microwave. Use an oven or air fryer at 375°F for about 8 minutes.
They also freeze well after cooking. Freeze in a single layer first, then bag them up. Reheat from frozen at 400°F for 12-15 minutes.
A Few Extra Details
Nutrition (per serving, roughly):
| Nutrient | Amount |
|---|---|
| Calories | 380 |
| Protein | 32g |
| Carbs | 24g |
| Fat | 16g |
Numbers will shift depending on your oil absorption and exact cuts of chicken.
Pairing ideas:
- Honey mustard or ranch for dipping
- A simple slaw for crunch and acidity
- Roasted potatoes or fries for the classic combo
Time-saving tip: Marinate the chicken the night before. In the morning, all you have to do is bread and fry, which cuts your active cooking time down to about 20 minutes total.
FAQ
Can I use chicken breast instead of tenderloins?
Yes. Just slice it into strips of similar size so they cook evenly.
Why is my coating falling off during frying?
This usually happens when the oil isn’t hot enough, or when the chicken wasn’t pressed firmly enough into the breadcrumbs. Give both extra attention next time.
Can I make these without buttermilk?
You can substitute regular milk mixed with 1 tablespoon of lemon juice or vinegar, left to sit for 5 minutes.
What oil is best for frying?
Anything with a high smoke point works well here. Vegetable, canola, or peanut oil are all solid choices.
How do I know they’re fully cooked without cutting into them?
A meat thermometer is the most reliable way. You’re looking for 165°F at the thickest part.
Wrapping Up
Homemade chicken tenders take a little more effort than tearing open a frozen bag, but the difference in that first bite makes it worth it every time.
Once you’ve made a batch of these, going back to the freezer aisle version is going to feel like a downgrade.
Give this recipe a try this week, then come back and leave a comment letting me know how it turned out. If you tried any of the variations above, I’d love to hear which one was your favorite. 🧡




