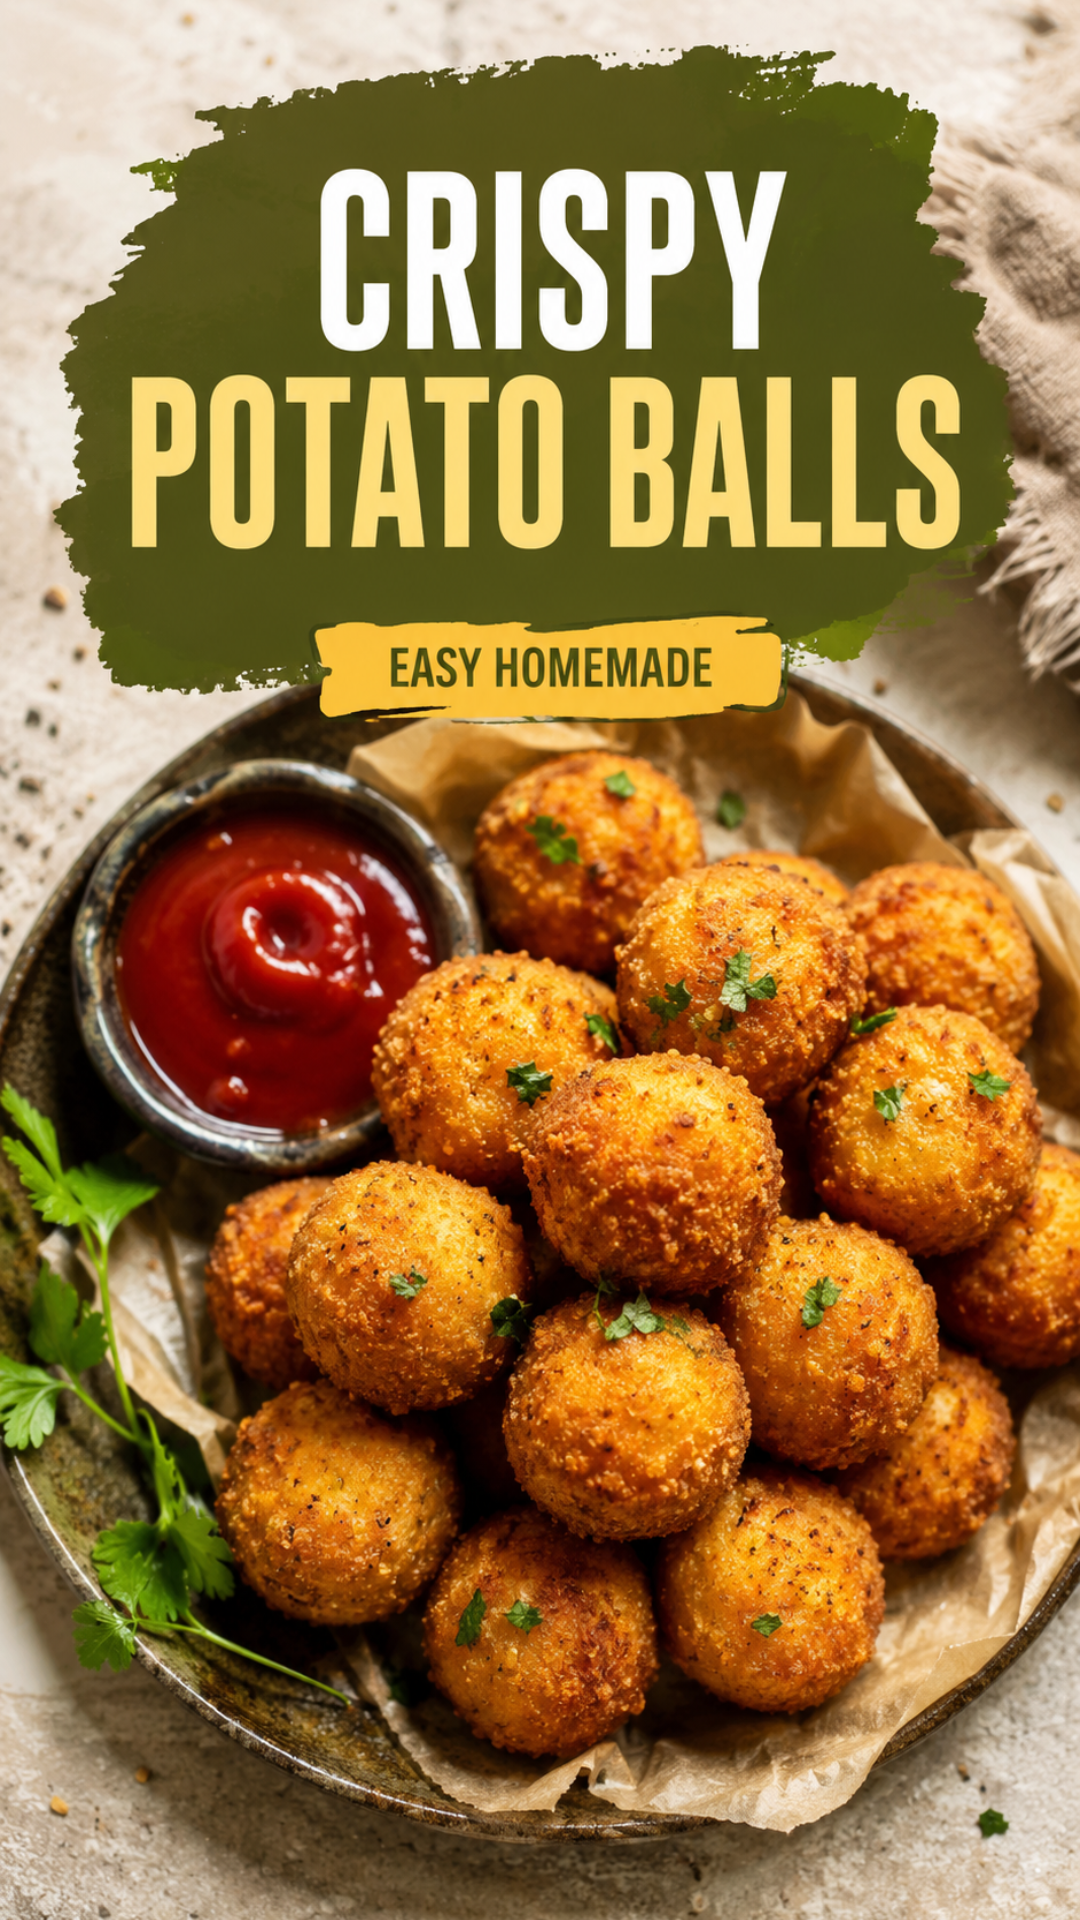
I made a batch of these for a family dinner and watched twenty of them vanish in under ten minutes.
No plate. No leftovers. Just my brother-in-law standing by the stove asking if there were more.
That’s the thing about crispy potato balls. They look like a simple little snack, but there’s a crunchy shell hiding a soft, cheesy, buttery center that makes people go quiet mid-conversation just to eat one more.
I’ve made these more times than I can count, and I finally nailed the version that stays crispy for hours (not just the first five minutes out of the fryer). I’m sharing every step, every trick, and a few things I learned the hard way so you don’t have to.
Grab a bag of potatoes. Let’s get into it.
Recipe at a Glance
| Detail | Info |
|---|---|
| Prep Time | 30 minutes |
| Chill Time | 30 minutes |
| Cook Time | 20 minutes |
| Total Time | About 1 hour 20 minutes |
| Yield | 20-24 potato balls |
| Difficulty | Easy, but a little hands-on |
| Best For | Appetizers, snacks, party food |
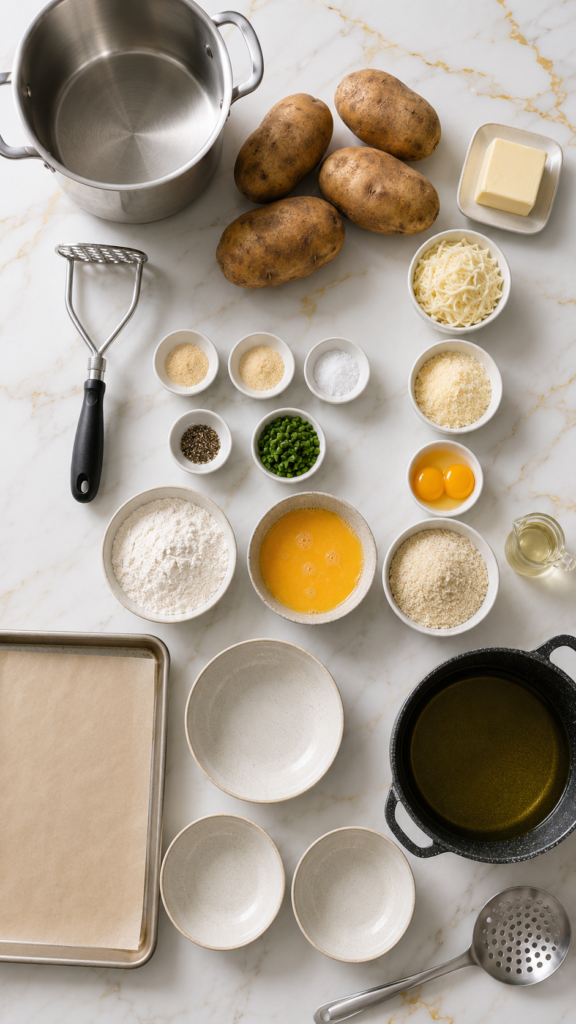
What You’ll Need
For the potato mixture:
- 2 lbs russet potatoes (about 4 medium)
- 2 tbsp unsalted butter
- 1/2 cup shredded mozzarella cheese
- 1/4 cup grated parmesan cheese
- 2 egg yolks
- 1/2 tsp garlic powder
- 1/2 tsp onion powder
- 1/2 tsp salt
- 1/4 tsp black pepper
- 2 tbsp chopped fresh chives or parsley
For the crispy coating:
- 1/2 cup all-purpose flour
- 2 whole eggs, beaten
- 1 1/2 cups panko breadcrumbs
- Vegetable or canola oil, for frying
That’s it. Nothing exotic, nothing you’ll have to hunt down at three different stores.
Tools You’ll Need
- Large pot for boiling potatoes
- Potato masher or ricer (a ricer gives you the smoothest texture, hands down)
- Mixing bowls
- Baking sheet lined with parchment paper
- Three shallow bowls or plates for the flour, egg, and breadcrumb station
- Deep pot, dutch oven, or fryer
- Slotted spoon or spider strainer
- Cooling rack lined with paper towels
How to Make Crispy Potato Balls
Step 1: Boil and Mash the Potatoes
Peel your potatoes and cut them into even chunks. This helps them cook at the same rate, which matters more than people think.
Boil in salted water until they’re fork-tender. That’s usually 15 to 18 minutes.
Drain well, then mash or rice them while they’re still hot. A ricer is honestly a game changer here. It keeps the texture light instead of gluey.
Step 2: Mix in the Good Stuff
Stir the butter into the hot mashed potatoes so it melts completely.
Once it’s cooled slightly, add the mozzarella, parmesan, egg yolks, garlic powder, onion powder, salt, pepper, and herbs.
Mix until everything is fully combined. The mixture should be thick enough to hold its shape when rolled.
Step 3: Chill the Mixture
This step gets skipped a lot, and it’s the one that ruins people’s potato balls.
Cover the bowl and chill it in the fridge for at least 30 minutes. Cold potato mixture holds together in the fryer. Warm mixture falls apart.
Step 4: Roll Into Balls
Scoop out about 2 tablespoons of the mixture and roll it into a smooth ball using your palms.
Set each one on your parchment-lined baking sheet as you go.
You should get somewhere between 20 and 24 balls, depending on size.
Step 5: Set Up Your Breading Station
Line up three shallow bowls: one with flour, one with beaten eggs, and one with panko breadcrumbs.
Roll each potato ball first in the flour, then the egg, then the breadcrumbs. Press gently so the panko sticks all the way around.
For extra crunch, double dip. Egg, panko, egg again, panko again. It sounds excessive. It’s not.
Step 6: Fry Until Golden
Heat about 2 inches of oil in a deep pot to 350°F.
Fry the balls in small batches, 4 or 5 at a time, for about 3 to 4 minutes, turning occasionally until they’re deep golden brown.
Don’t crowd the pot. Overcrowding drops the oil temperature and you end up with soggy, greasy balls instead of crispy ones.
Transfer to your paper towel lined rack to drain.
Step 7: Serve While Hot
Let them cool for just a minute or two (they hold heat like little lava rocks), then serve with your favorite dipping sauce.
Pro Tips From Experience
- Rice, don’t mash. A potato ricer gives you a smoother, drier mixture that holds its shape way better than a hand masher ever will.
- Don’t skip the chill. Even 20 minutes in the freezer works if you’re short on time. Cold mixture is the difference between round crispy balls and a pot full of potato soup.
- Double bread for insurance. If you’ve never made these before, double dipping in the egg and panko is the cheat code that keeps them from cracking open in the oil.
- Check your oil temp with a thermometer. Guessing leads to either raw centers or burnt shells. A $10 candy thermometer solves this instantly.
- Fry in small batches. I know it’s tempting to speed things up. Resist it. Crowded oil is the number one reason people end up with soft, greasy potato balls instead of crispy ones.
Substitutions and Variations
Want to switch things up? Here’s what actually works.
| Original | Swap | Notes |
|---|---|---|
| Russet potatoes | Yukon gold | Slightly creamier, still holds shape well |
| Mozzarella | Cheddar or gouda | Sharper flavor, melts a little differently |
| Panko breadcrumbs | Crushed cornflakes | Extra crunchy, great gluten-free swap when paired with GF flour |
| Frying | Air fryer at 400°F for 12-15 min | Lighter, still crispy, less mess |
| Plain filling | Add crumbled bacon or diced ham | Adds a smoky, savory punch |
| Herbs | Swap chives for smoked paprika | Gives a completely different, smokier flavor profile |
For a gluten-free version, use gluten-free flour and gluten-free panko. Everything else stays exactly the same.
Make-Ahead Tips
These are one of those rare snacks that actually get easier when you plan ahead.
You can make the potato mixture up to 2 days in advance and keep it covered in the fridge. Roll and bread the balls right before frying.
Or roll and bread them completely, then freeze on a baking sheet until solid. Once frozen, transfer to a freezer bag. They’ll keep for up to 2 months and can go straight from freezer to hot oil (just add an extra minute or two of frying time).
A Few Extra Details
Nutritional snapshot (per potato ball, approximate):
- Calories: 90-100
- Carbs: 10g
- Protein: 3g
- Fat: 4g
Numbers will shift a little depending on your exact cheese and oil amounts.
Pairing ideas: these go incredibly well with a garlicky aioli, spicy ketchup, or a cool sour cream and chive dip. For a full spread, serve alongside grilled meats or a simple green salad to balance out the richness.
Time-saving tip: boil your potatoes the night before. Cold, day-old mashed potatoes actually roll into balls more easily than fresh ones, since they’re already firm.
Leftovers and Storage
Store any leftover fried potato balls in an airtight container in the fridge for up to 3 days.
To reheat, skip the microwave completely. It turns the crispy shell soft and sad. Instead, pop them in a 375°F oven or air fryer for about 8 minutes, and they’ll crisp right back up like they just came out of the fryer.
FAQ
Can I bake these instead of frying them?
Yes. Bake at 425°F for about 20-25 minutes, flipping halfway, and spray them generously with oil for that golden crunch. They won’t be quite as crispy as fried, but they’re still good.
Why do my potato balls fall apart in the oil?
This almost always comes down to warm mixture or skipping the chill step. Cold mixture holds its shape. Warm mixture doesn’t.
Can I make these vegan?
Yes. Swap the butter for a plant-based version, use vegan cheese, and replace the eggs with a flax egg for both the mixture and the breading step.
What oil is best for frying?
Something with a high smoke point works best, like canola, vegetable, or peanut oil.
Can kids help make these?
Absolutely, and honestly it’s a great activity for them. The rolling and breading steps are easy enough for little hands, just leave the actual frying to the adults.
Wrapping Up
Crispy potato balls are one of those snacks that feel a lot fancier than the effort they actually take.
A handful of pantry staples, one chill break, and a hot pot of oil is really all it takes to end up with a plate that disappears faster than you can refill it.
Try them for your next get-together, a lazy weekend snack, or honestly just because you’re craving something crunchy and cheesy tonight.
Once you make a batch, come back and drop a comment below. I want to know how they turned out, what dip you paired them with, and if you tried any of the variations above. Got questions along the way? Ask away, I read every single one.




