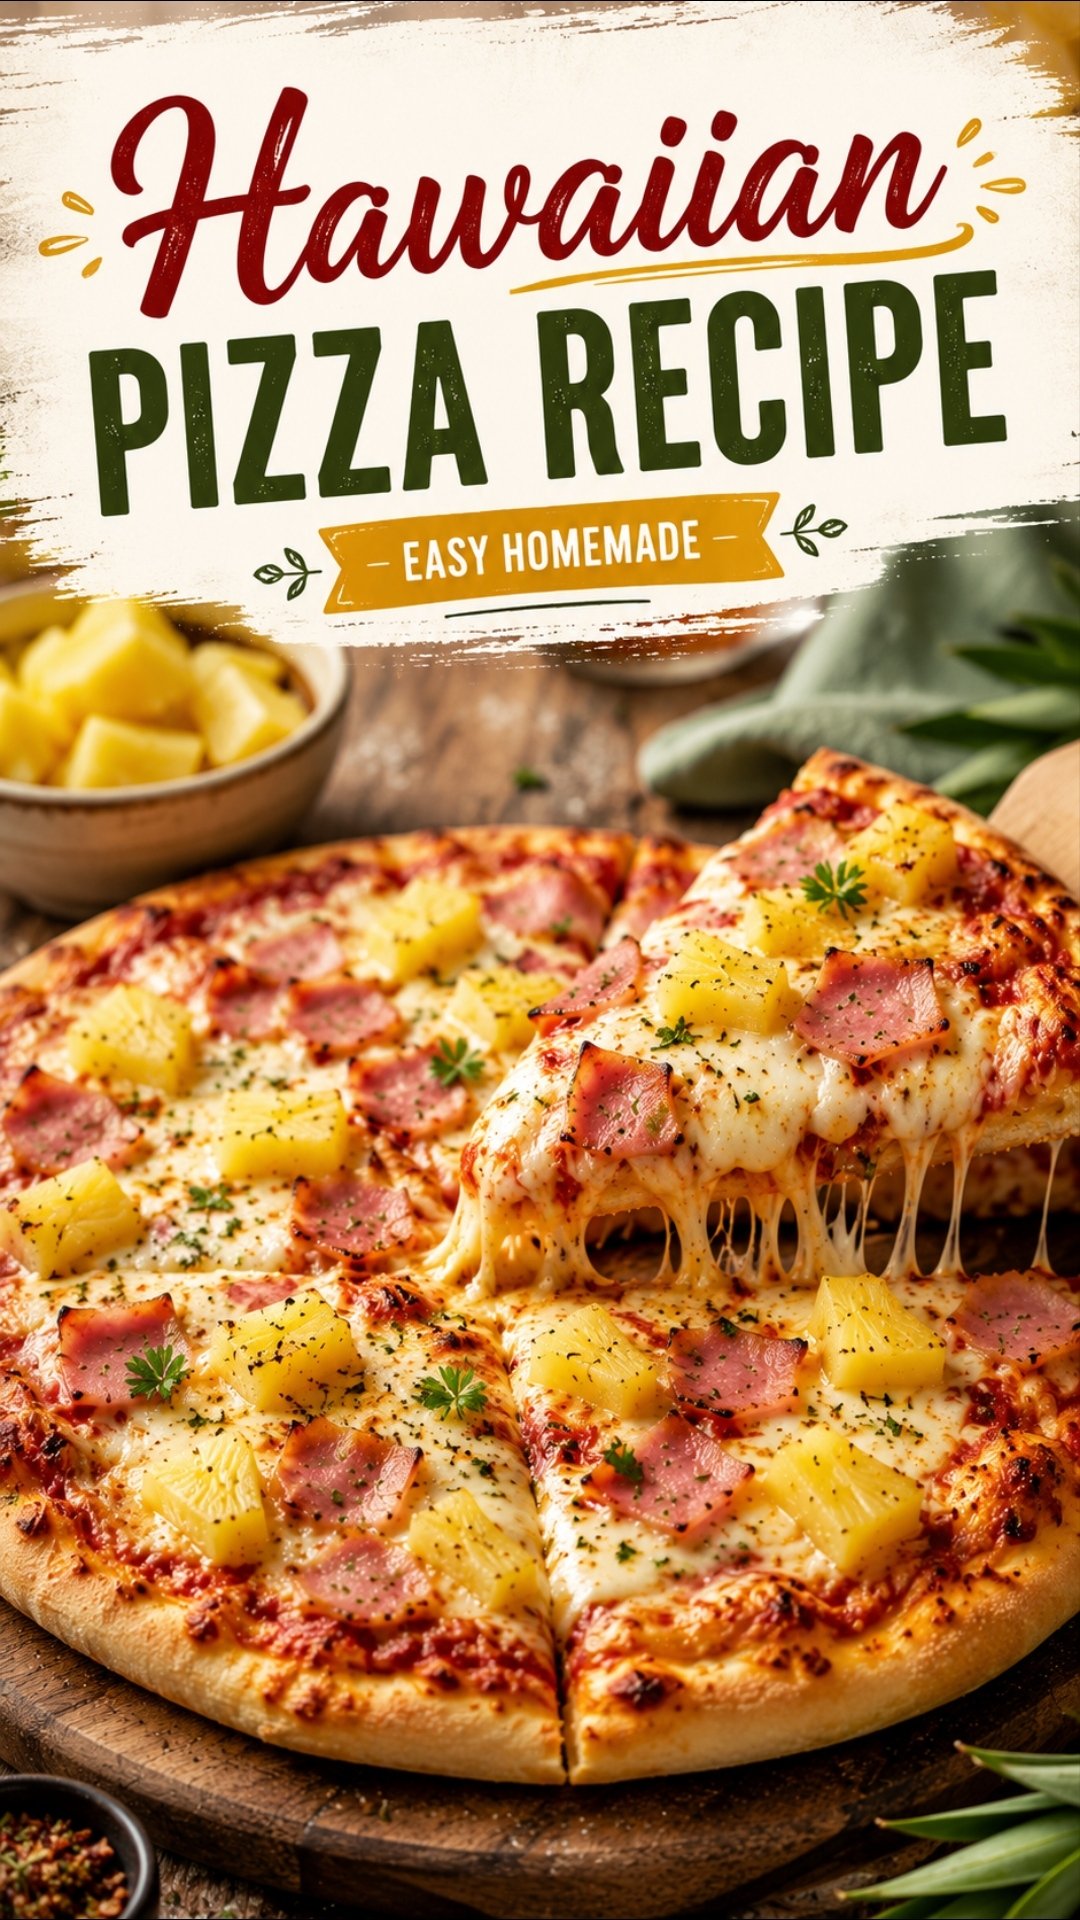
Some people think pineapple on pizza is a crime. My husband Silas is one of them.
I still make it anyway, and he still eats three slices every single time. 🍍
Here’s the truth nobody tells you: Hawaiian pizza isn’t even from Hawaii. It was invented by a Greek-Canadian restaurant owner in Ontario back in 1962. He named it after the brand of canned pineapple he used.
Wild, right?
So if you’ve been holding back on making this at home because you weren’t sure where you stood on the whole debate, just try it first. You can judge after.
This is the exact homemade version I’ve made probably fifty times now. It’s sweet, salty, a little smoky from the ham, and honestly better than anything I’ve ordered from a pizza place.
Recipe At A Glance
| Detail | Info |
|---|---|
| Prep Time | 20 minutes |
| Cook Time | 12-15 minutes |
| Total Time | Around 35 minutes (plus dough rise if homemade) |
| Servings | 1 large pizza, serves 3-4 |
| Difficulty | Easy |
| Best For | Weeknight dinners, pizza night, using up leftover ham |
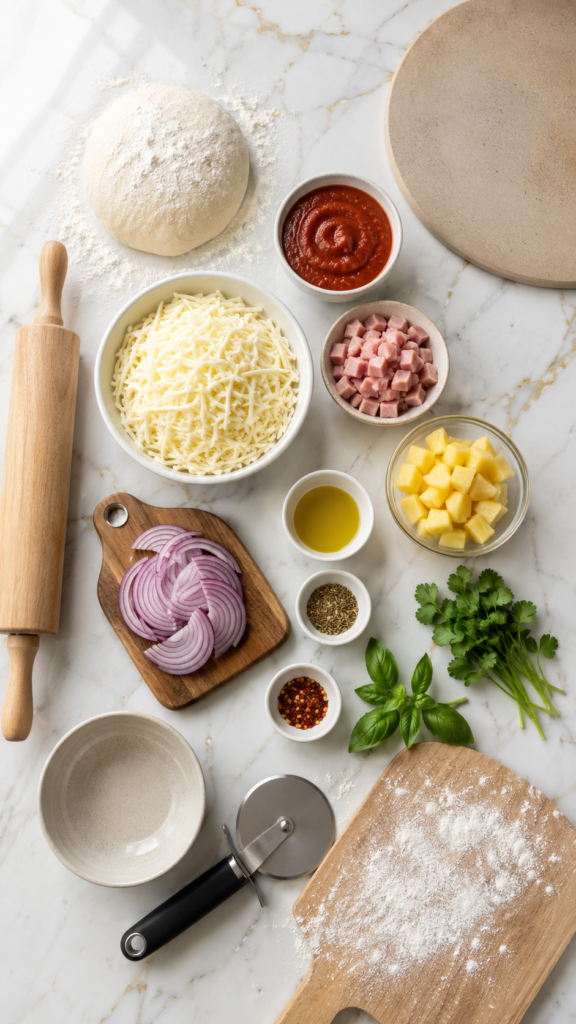
What You’ll Need
For the pizza:
- 1 pound pizza dough (store-bought or homemade, room temperature)
- 1 cup pizza sauce
- 2 cups shredded mozzarella cheese
- 1 cup diced ham (or Canadian bacon)
- 1 cup pineapple chunks, drained well
- 1/4 cup red onion, thinly sliced
- 1 tablespoon olive oil
- 1/2 teaspoon dried oregano
- Red pepper flakes, optional
- Fresh cilantro or basil, for topping (optional)
That’s it. Nine ingredients and most of them are already in your fridge.
Tools You’ll Need
- Pizza stone or a sturdy baking sheet
- Rolling pin (or just your hands)
- Pizza peel or a flat piece of parchment paper
- Sharp knife or pizza cutter
- Small mixing bowl
How To Make It
Step 1: Prep the dough. Let your pizza dough sit at room temperature for about 20 minutes if it’s been in the fridge. Cold dough fights back when you try to stretch it.
Step 2: Preheat everything. Set your oven to 475°F with your pizza stone inside. Give it 30 minutes to properly heat up.
Step 3: Shape your crust. On a floured surface, stretch or roll your dough into a 12-inch circle. Leave the edges slightly thicker for a natural crust.
Step 4: Sauce it up. Spread the pizza sauce evenly across the dough, leaving about half an inch bare around the edge.
Step 5: Add the cheese. Sprinkle mozzarella over the sauce. Don’t be shy here.
Step 6: Layer your toppings. Scatter the ham, dried pineapple chunks, and red onion slices over the cheese. Remember, lighter in the center.
Step 7: Season. Drizzle a little olive oil over the top and sprinkle on the oregano. Add red pepper flakes now if you like heat.
Step 8: Bake. Slide the pizza onto your hot stone using a peel or parchment paper. Bake for 12-15 minutes, until the crust is golden and the cheese is bubbling with a few brown spots.
Step 9: Rest and slice. Let the pizza sit for 2-3 minutes before cutting. This keeps the cheese from sliding off the second you slice it.
Step 10: Finish and serve. Top with fresh cilantro or basil if you’re using it, slice, and serve hot.
Pro Tips
1. Dry your pineapple like your pizza depends on it. Because it does. Wet pineapple chunks release water as they bake, and that water turns your crust into a soggy mess. Pat every piece dry with a paper towel before it touches the dough.
2. Preheat your pizza stone for at least 30 minutes. A cold stone gives you a pale, floppy crust. A properly hot one gives you that crisp, slightly charred bottom you get from real pizzerias.
3. Don’t overload the middle. Pile toppings toward the edges a little more than the center. Pizza always cooks unevenly in the middle, and a lighter touch there means no raw dough.
4. Use pineapple tidbits, not rings. Rings look pretty on Instagram but they’re a pain to eat and they slide right off your slice. Small chunks stay put.
5. Salt matters more than you’d think. Ham is already salty, so taste your sauce before adding extra salt. This one small step keeps the whole pizza balanced instead of overwhelming.
Substitutions And Variations
- No ham on hand? Bacon works beautifully, and so does leftover rotisserie chicken.
- Want it spicier? Add jalapeño slices along with the pineapple for a sweet-heat combo that’s genuinely addictive.
- Going gluten-free? Any store-bought gluten-free pizza crust holds up fine with these toppings.
- Dairy-free? A good vegan mozzarella melts surprisingly well here, and the sweetness of the pineapple hides most differences in flavor.
- Fresh pineapple instead of canned? Even better, just make sure to dry it just as thoroughly.
- BBQ twist: Swap the pizza sauce for BBQ sauce for a completely different (and equally good) flavor profile.
Make-Ahead Tips
You can prep almost everything the night before.
- Dice your ham and slice your onions up to 2 days ahead, then store them in the fridge in separate containers.
- Drain and dry your pineapple the morning of, so it doesn’t sit around getting watery again.
- If you’re making your own dough, it can rest in the fridge for up to 3 days before you use it. Just let it come to room temperature before shaping.
Leftovers And Storage
Leftover Hawaiian pizza keeps in the fridge for up to 4 days in an airtight container.
To reheat, skip the microwave. It turns the crust rubbery. Instead, pop slices in a 375°F oven or toaster oven for about 8 minutes, or reheat in a skillet over medium-low heat with a lid on for a few minutes until warm through.
You can also freeze baked slices for up to 2 months. Wrap them individually in plastic wrap, then foil, and reheat straight from frozen in the oven at 400°F for 12-15 minutes.
Nutritional Breakdown (Per Slice, Based On 8 Slices)
| Nutrient | Amount |
|---|---|
| Calories | ~220 |
| Protein | 11g |
| Carbohydrates | 24g |
| Fat | 8g |
| Sugar | 5g |
| Sodium | 480mg |
These numbers will shift depending on your dough and cheese brand, but this gives you a solid ballpark.
Meal Pairing Suggestions
- A simple arugula salad with lemon vinaigrette cuts through the sweetness nicely.
- Sparkling water with lime keeps things light alongside a rich pizza.
- If you want a full spread, garlic knots on the side never hurt anyone.
FAQ
Is Hawaiian pizza actually from Hawaii?
No. It was created in 1962 by Sam Panopoulos, a restaurant owner in Chatham, Ontario, Canada. He named it after the canned pineapple brand he used, not the state.
Can I use fresh pineapple instead of canned?
Yes, and it often tastes even better. Just cut it into small chunks and pat it very dry before adding it to the pizza.
Why is my crust soggy in the middle?
This almost always comes down to wet pineapple or an underheated pizza stone. Dry your pineapple thoroughly and preheat your stone for a full 30 minutes.
Can I make this without a pizza stone?
Absolutely. A heavy baking sheet flipped upside down works as a decent substitute, though your crust won’t get quite as crisp.
What kind of ham works best?
Diced deli ham or Canadian bacon both work great. Leftover holiday ham is also a fantastic option if you have some sitting in the fridge.
Can kids help make this?
Definitely. Assembling toppings is a great task for kids since there’s no knife work involved once the ham is diced.
Wrapping Up
Hawaiian pizza has been fighting for respect for over 60 years, and honestly, it’s earned it.
Sweet pineapple, salty ham, melted cheese, and a crisp crust just work together in a way that shouldn’t make sense but absolutely does.
Make this one on your next pizza night and see which side of the debate you land on.
Then come back and leave a comment telling me if you’re Team Pineapple or Team Never Again. And if you tried any of the variations above, I want to hear how they turned out too.




