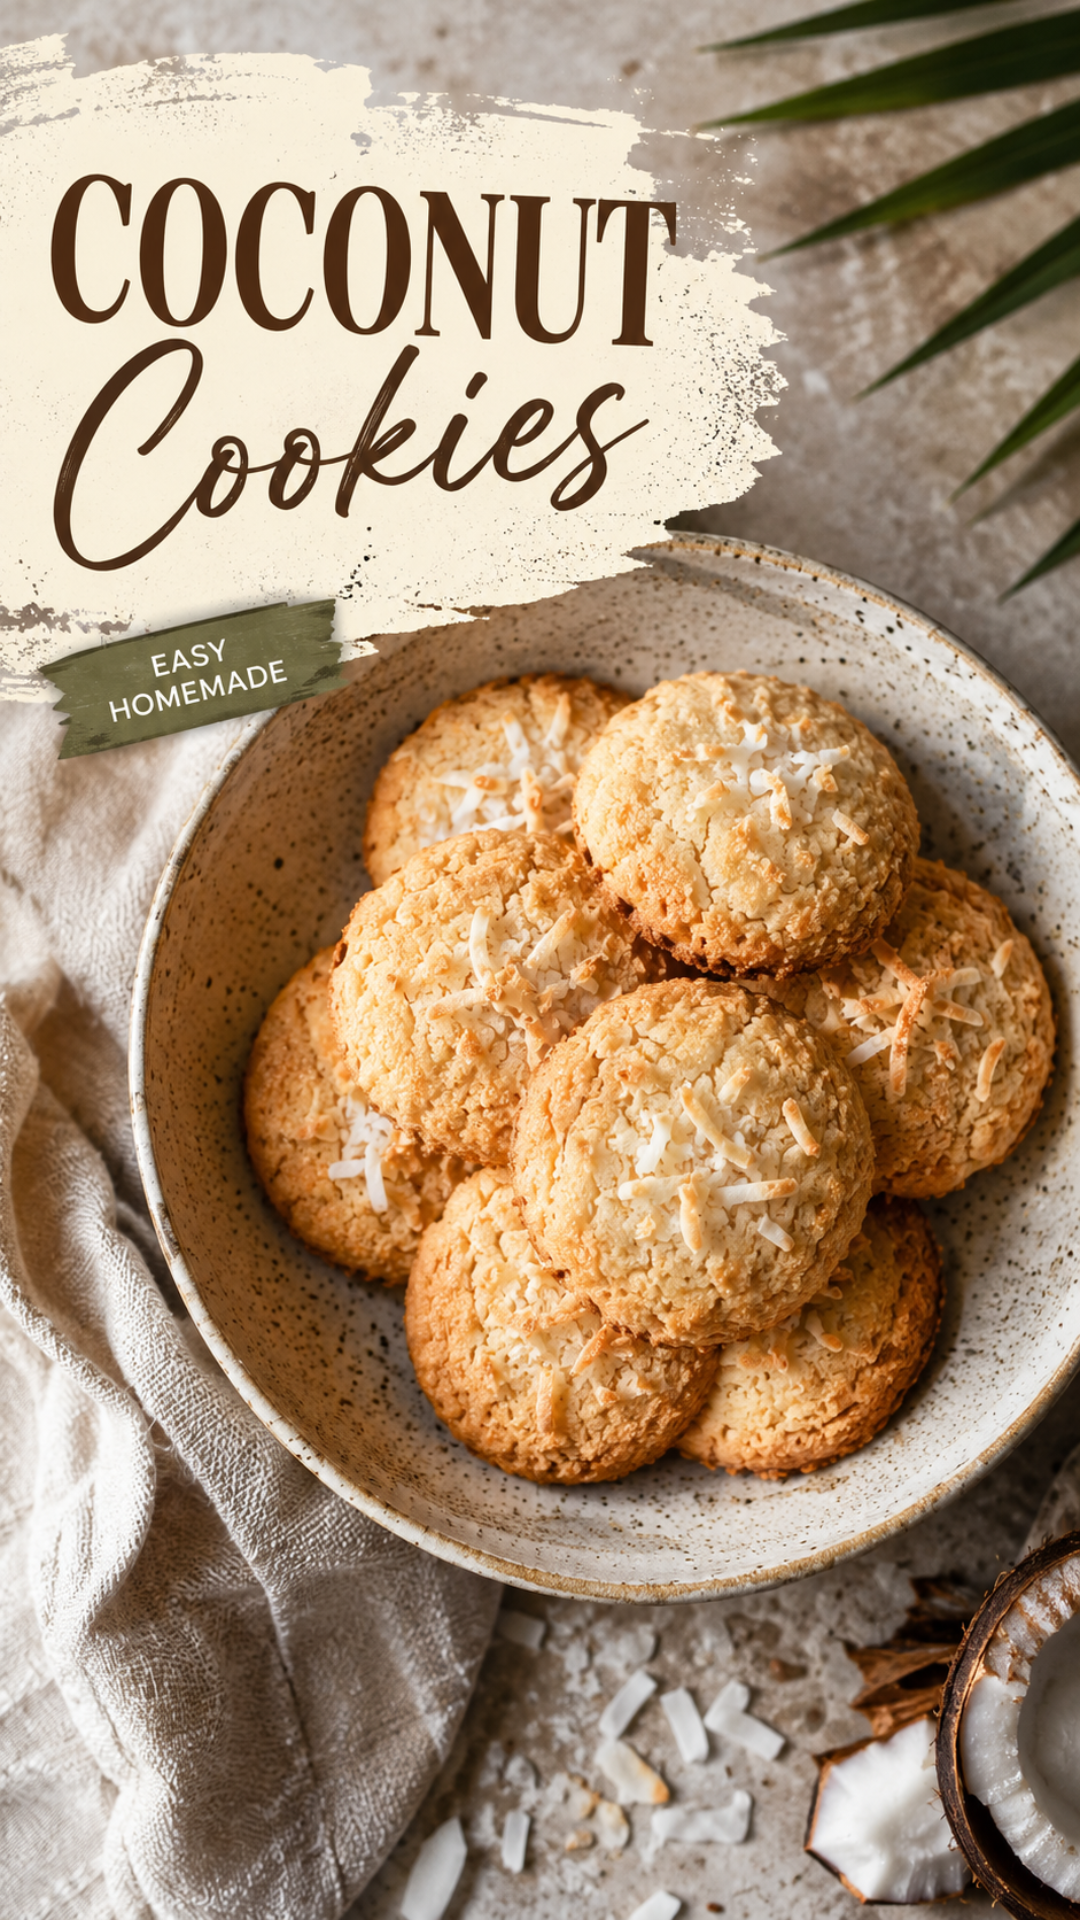
My neighbor knocked on my door last week just to ask what I was baking.
That’s never happened before. Not once in four years of living here.
That’s the power of these coconut cookies. The smell alone pulls people in, and the taste seals the deal.
I’ve made a lot of cookies in my kitchen. Chocolate chip, oatmeal, the works. But these coconut ones? They disappear the fastest, every single time.
They’re crispy on the edges, chewy in the middle, and packed with toasty coconut flavor in every bite. 🥥
And the good news is, they’re stupidly easy to make. No chilling the dough overnight, no fancy equipment, no stress.
Let’s get into it.
Recipe at a Glance
| Detail | Info |
|---|---|
| Prep time | 15 minutes |
| Cook time | 12 minutes per batch |
| Total time | About 45 minutes |
| Yield | 24 cookies |
| Difficulty | Easy |
| Best for | Snacking, gifting, freezing for later |
What You’ll Need
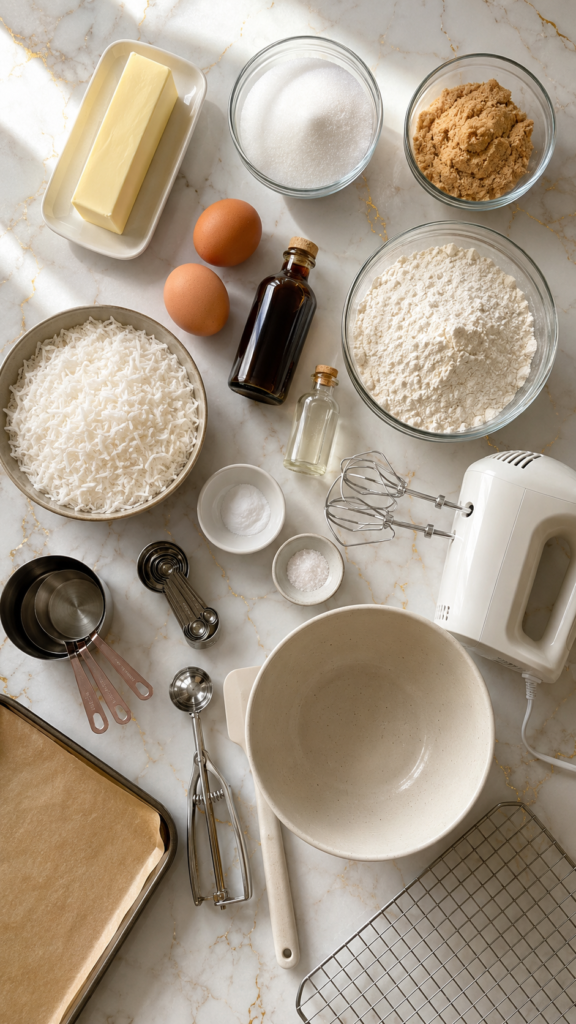
Here’s everything that goes into the dough:
- 1 cup unsalted butter, softened
- 3/4 cup granulated sugar
- 3/4 cup packed brown sugar
- 2 large eggs
- 1 teaspoon vanilla extract
- 1/2 teaspoon coconut extract (optional, but it makes a difference)
- 2 1/4 cups all-purpose flour
- 1 teaspoon baking soda
- 1/2 teaspoon salt
- 2 cups sweetened shredded coconut
That’s it. Nothing exotic, nothing you can’t find at a regular grocery store.
Tools You’ll Need
- Large mixing bowl
- Hand mixer or stand mixer
- Measuring cups and spoons
- Cookie scoop (or two spoons work fine)
- Baking sheet
- Parchment paper
- Wire cooling rack
- Rubber spatula
How to Make Coconut Cookies
Step 1: Preheat and prep.
Preheat your oven to 350°F. Line your baking sheet with parchment paper.
Step 2: Cream the butter and sugars.
In your mixing bowl, beat the butter, granulated sugar, and brown sugar together until it’s light and fluffy. This takes about 2 minutes.
Step 3: Add the eggs and extracts.
Mix in the eggs one at a time. Then add the vanilla and coconut extract if you’re using it.
Step 4: Mix the dry ingredients.
In a separate bowl, whisk together the flour, baking soda, and salt.
Step 5: Combine.
Slowly add the dry mix into the wet mix. Stir just until combined. Overmixing makes tough cookies, so stop as soon as you don’t see flour streaks.
Step 6: Fold in the coconut.
Add the shredded coconut and fold it in gently with a spatula.
Step 7: Scoop and space.
Scoop rounded tablespoons of dough onto your baking sheet, leaving about 2 inches between each one. They spread more than you’d think.
Step 8: Bake.
Bake for 10 to 12 minutes, until the edges turn golden brown. The centers will look slightly underdone, and that’s exactly what you want.
Step 9: Cool.
Let the cookies sit on the baking sheet for 5 minutes before moving them to a wire rack. This is when they finish setting up.
Pro Tips
- Toast your coconut first. Spread it on a baking sheet and toast at 325°F for 5 to 7 minutes before adding it to the dough. It turns the flavor from good to unforgettable.
- Don’t skip the cooling window. Pulling cookies straight off the hot pan is the number one reason they fall apart.
- Room temperature butter matters more than people think. Cold butter won’t cream properly, and melted butter makes flat, greasy cookies.
- Slightly underbake them. Cookies keep cooking on the hot pan even after you take them out of the oven. Pull them when they look just barely done.
- Use a light-colored baking sheet. Dark pans absorb more heat and can burn the bottoms before the tops are ready.
Substitutions and Variations
Want to switch things up? Here are some options that work well:
- Butter: Swap in coconut oil for an even stronger coconut flavor.
- Sugar: Use all brown sugar instead of a mix for a deeper, more caramel-like taste.
- Gluten-free: A 1:1 gluten-free flour blend works fine here.
- Add-ins: White chocolate chips, chopped macadamia nuts, or a handful of dried cranberries all pair beautifully with coconut.
- Dairy-free: Use a plant-based butter substitute and check that your coconut is dairy-free (most is, but double check the label).
Make-Ahead Tips
The dough freezes really well.
Scoop it into balls, freeze on a tray until solid, then transfer to a freezer bag. When you’re ready to bake, just add 1 to 2 extra minutes to the bake time. No thawing needed.
You can also make the dough up to 3 days ahead and store it in the fridge. Let it sit at room temperature for 10 minutes before scooping since cold dough is harder to work with.
A Few Extra Details
Nutrition (per cookie, approximate): 140 calories, 7g fat, 18g carbs, 1g protein, 12g sugar.
Meal pairing suggestions: These go great with a cup of coffee, a scoop of vanilla ice cream, or honestly just on their own with a glass of cold milk.
Time efficiency tip: Double the batch and freeze half. Future you will be thrilled when you want a cookie and don’t want to start from scratch.
Leftovers and Storage
Store cooled cookies in an airtight container at room temperature for up to 5 days.
They’ll stay soft if you toss a slice of bread into the container. Sounds strange, but it works.
For longer storage, freeze the baked cookies in a sealed container for up to 3 months. Let them thaw at room temperature for about 20 minutes before eating.
FAQ
Can I use unsweetened coconut instead of sweetened?
Yes, but the cookies will be less sweet and slightly less chewy. You may want to add an extra tablespoon of sugar to balance it out.
Why did my cookies turn out flat?
This usually means your butter was too warm, or your baking soda is old. Baking soda loses its strength over time, so if yours has been sitting in your pantry for a year, it’s probably time for a new box.
Can I make these into bars instead of individual cookies?
Definitely. Press the dough into a lined 9×13 pan and bake at 350°F for 20 to 25 minutes, then cut into squares once cooled.
Do I need the coconut extract?
No, it’s optional. The shredded coconut already brings plenty of flavor. The extract just intensifies it if you’re a serious coconut fan.
Can kids help make these?
Absolutely. Scooping the dough and folding in the coconut are both easy, mess-free tasks for little hands.
Wrapping Up
These coconut cookies are the kind of recipe that turns into a regular in your rotation without you even planning it that way.
They’re simple enough for a random Tuesday and good enough to bring to literally any gathering.
Give them a try this week and let me know how they turn out in the comments below. I’d also love to hear if you tried any of the variations, or if your neighbor ended up knocking on your door too. 🍪




