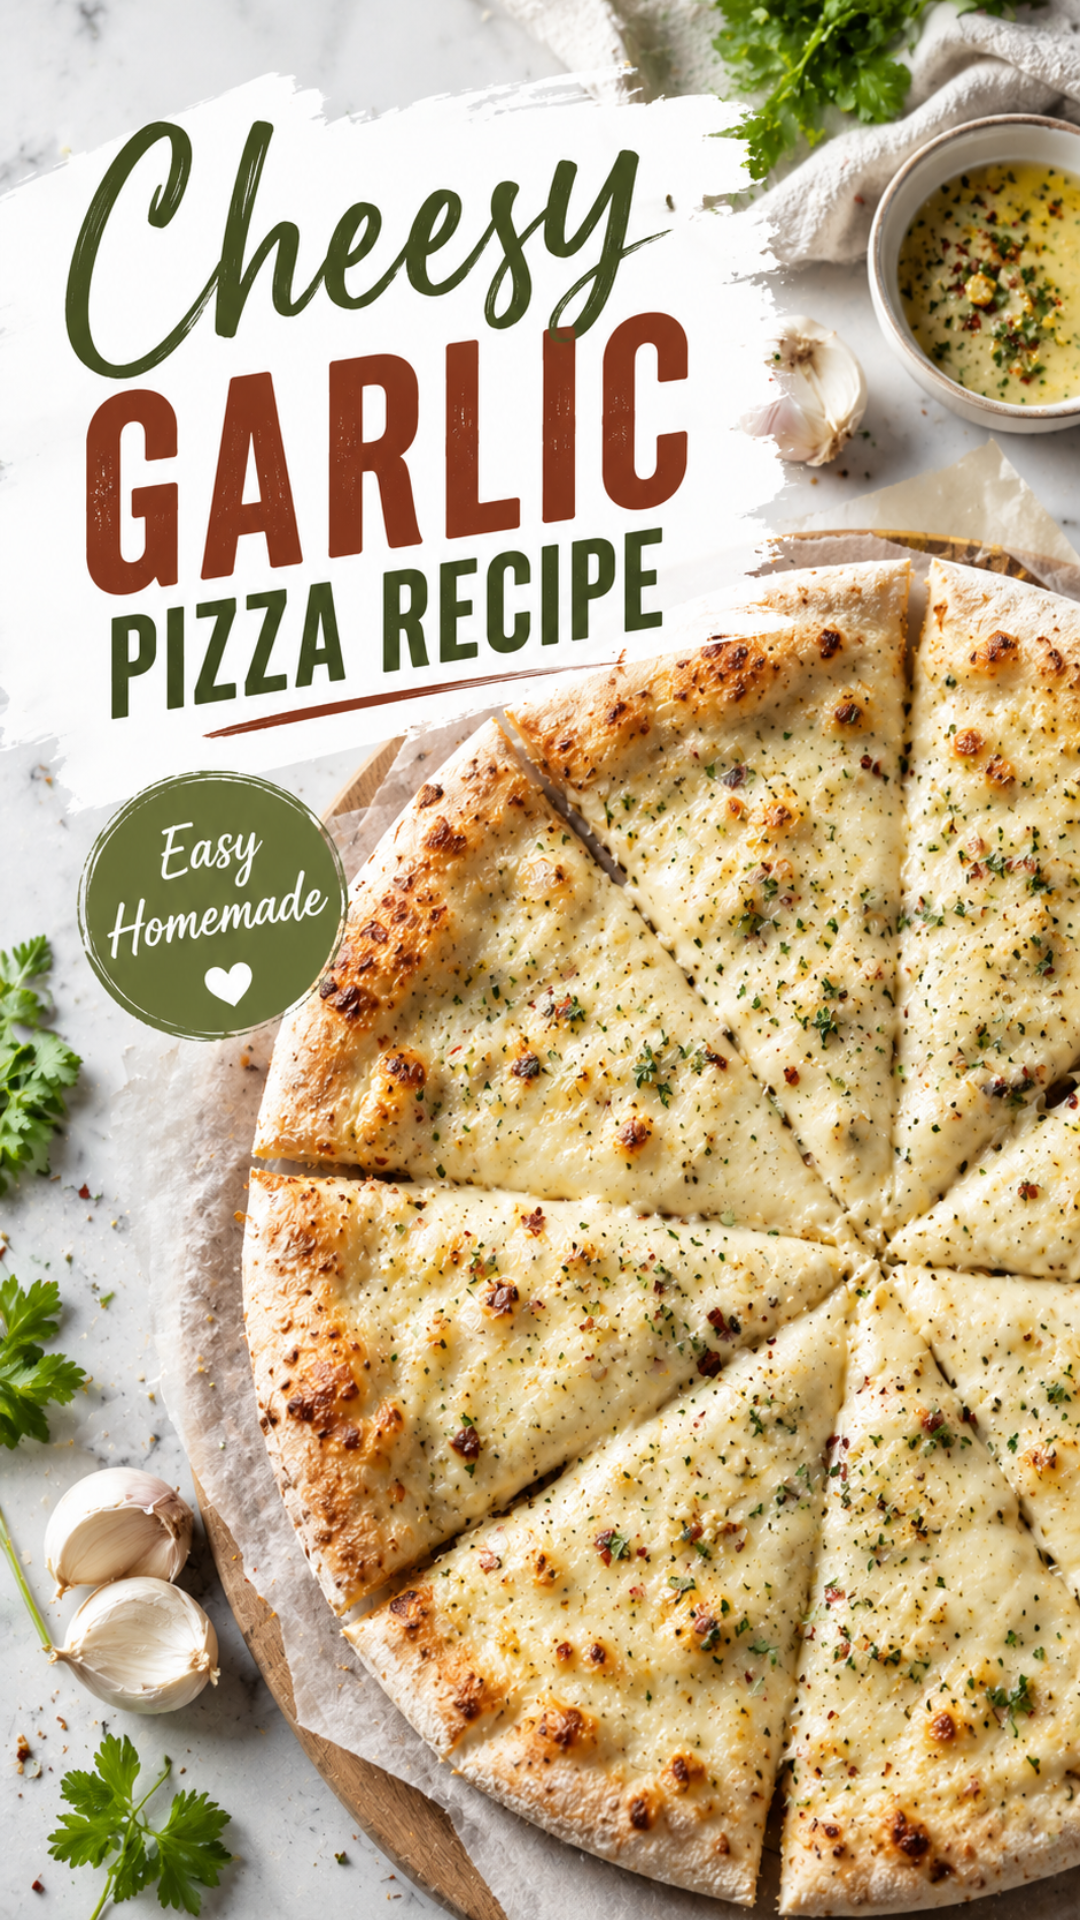
My neighbor has never once knocked on my door in three years of living next to her.
Then I made this pizza.
That’s the kind of smell we’re working with here. Melted garlic butter, bubbling mozzarella, and a crust that’s crispy on the bottom and soft enough to fold.
This isn’t a fancy restaurant pizza. It’s the one you make on a random Tuesday when you want something better than delivery, for less money and way less waiting.
Let’s get into it. 🍕
Recipe At A Glance
| Detail | Info |
|---|---|
| Prep time | 20 minutes |
| Rise time | 1 hour |
| Cook time | 12 minutes |
| Total time | About 1 hour 30 minutes |
| Servings | 4 people |
| Difficulty | Easy |
| Best for | Weeknight dinners, game day, feeding a hungry crowd |
What You’ll Need
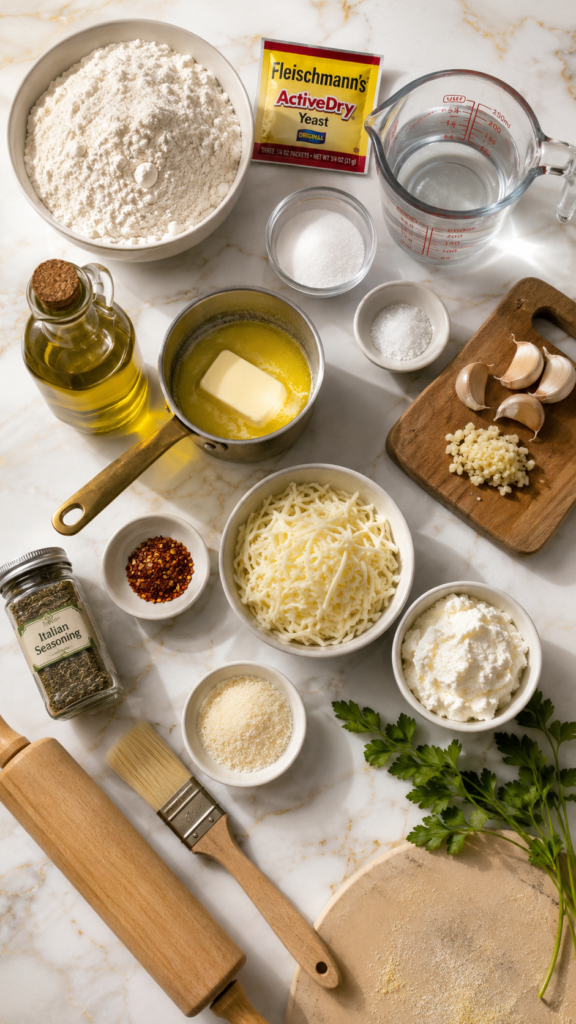
Here’s everything going into this pizza.
For the dough:
- 2 ¼ cups all-purpose flour
- 1 packet (2 ¼ tsp) active dry yeast
- 1 tsp sugar
- 1 tsp salt
- ¾ cup warm water
- 2 tbsp olive oil
For the garlic butter base:
- 4 tbsp unsalted butter, melted
- 6 cloves garlic, minced
- 1 tsp Italian seasoning
- ¼ tsp red pepper flakes (optional)
For the cheese layer:
- 2 cups shredded mozzarella
- ½ cup grated parmesan
- ½ cup ricotta, small dollops
- Fresh parsley, chopped, for topping
Simple ingredients. Nothing you can’t find at a regular grocery store.
Tools You’ll Need
- Large mixing bowl
- Measuring cups and spoons
- Pizza stone or baking sheet
- Rolling pin (optional, hands work fine)
- Pastry brush
- Oven thermometer (not required, but genuinely helpful)
How To Make Cheesy Garlic Pizza
Step 1: Make the dough
Mix warm water, sugar, and yeast in a bowl. Let it sit for 5 minutes until foamy.
Add flour, salt, and olive oil. Mix until a shaggy dough forms.
Knead for about 6 minutes until smooth and stretchy.
Cover the bowl and let it rise for 1 hour, or until doubled in size.
Step 2: Make the garlic butter
Melt butter in a small pan over low heat.
Add minced garlic and Italian seasoning. Cook for about 2 minutes, stirring constantly.
Remove from heat immediately once fragrant.
Step 3: Shape the crust
Preheat your oven to 475°F with your pizza stone or baking sheet inside.
Punch down the risen dough and stretch it into a 12 inch round on parchment paper.
Brush the entire surface with half the garlic butter.
Step 4: Add the cheese
Sprinkle mozzarella evenly across the dough.
Add parmesan on top.
Dollop ricotta in small spoonfuls across the pizza.
Step 5: Bake
Slide the pizza (parchment and all) onto the hot stone or pan.
Bake for 10 to 12 minutes, until the cheese is bubbling and the crust edges are golden.
Step 6: Finish it off
Brush the crust edges with the remaining garlic butter right out of the oven.
Sprinkle with fresh parsley and red pepper flakes if you’re using them.
Slice and serve immediately.
Pro Tips
1. Preheat your stone or pan for a full 30 minutes. A cold pan gives you a soggy crust. A hot one gives you that crackly bottom you actually want.
2. Don’t skip resting the dough. I know waiting is the worst part. But that hour of rise time is where the fluffy texture comes from. Rushing it gives you a dense, chewy crust instead.
3. Melt the garlic butter low and slow. Burnt garlic turns bitter fast. Keep the heat low and pull it off the second it smells fragrant.
4. Layer your cheese in this order: mozzarella first, then parmesan, then small dollops of ricotta on top. This keeps the ricotta from drying out in the oven.
5. Brush the crust edges with the leftover garlic butter before baking. This is the surprising step most recipes skip. It’s what makes the crust taste as good as the toppings
Substitutions And Variations
No yeast on hand? Use a store bought pizza dough or flatbread as your base.
Dairy free? Swap in a plant based mozzarella and skip the ricotta and parmesan, or use dairy free versions.
Want it spicier? Add extra red pepper flakes or a drizzle of hot honey after baking.
Craving more toppings? This crust holds up well with caramelized onions, roasted mushrooms, or thin slices of prosciutto added before baking.
Gluten free option: A 1 to 1 gluten free flour blend works here, though the texture will be slightly denser.
Make Ahead Tips
The dough can be made up to 2 days ahead. Just keep it covered in the fridge and let it come to room temperature for 30 minutes before shaping.
You can also freeze the shaped, unbaked crust for up to a month. Bake straight from frozen, adding a few extra minutes to the cook time.
A Few Extra Details
Nutrition per serving (roughly): Around 420 calories, 18g protein, 16g fat, 48g carbs. This will shift depending on exact brands and portion size.
Meal pairing ideas: A simple arugula salad with lemon vinaigrette cuts through the richness nicely. A cold glass of sparkling water with lime works too if you want something non-alcoholic.
Time efficiency tip: Make the garlic butter while the dough rises so you’re not doing everything back to back.
Leftovers And Storage
Store leftover slices in an airtight container in the fridge for up to 3 days.
Reheat in a skillet over medium heat for a few minutes to bring back the crispy bottom. Microwaving works in a pinch, but the crust turns soft.
This pizza also freezes well after baking. Wrap slices individually and freeze for up to 2 months.
FAQ
Can I use pre-shredded cheese? You can, but freshly shredded mozzarella melts smoother. Pre-shredded cheese has anti-caking agents that can make it slightly grainy.
Why did my crust turn out tough? This usually means the dough wasn’t rested long enough, or it was over kneaded. Give it the full hour.
Can I make this without a stand mixer? Yes. This dough is made entirely by hand in the instructions above.
Is this the same as garlic bread pizza? Similar idea, but this recipe builds the garlic flavor into the crust itself instead of just the topping.
Can kids help make this? Absolutely. Shaping the dough and adding cheese are both easy, low mess jobs for kids.
Wrapping Up
This pizza turns a normal weeknight into something people actually look forward to.
It’s cheap to make, it’s fast enough for a Tuesday, and it tastes like something you’d order from a restaurant and then wonder why you ever paid for delivery.
Make it once and I promise you’ll be making it again within the week.
Drop a comment below and let me know how yours turned out. And if you tried any of the substitutions, I want to hear about those too. 🧄




