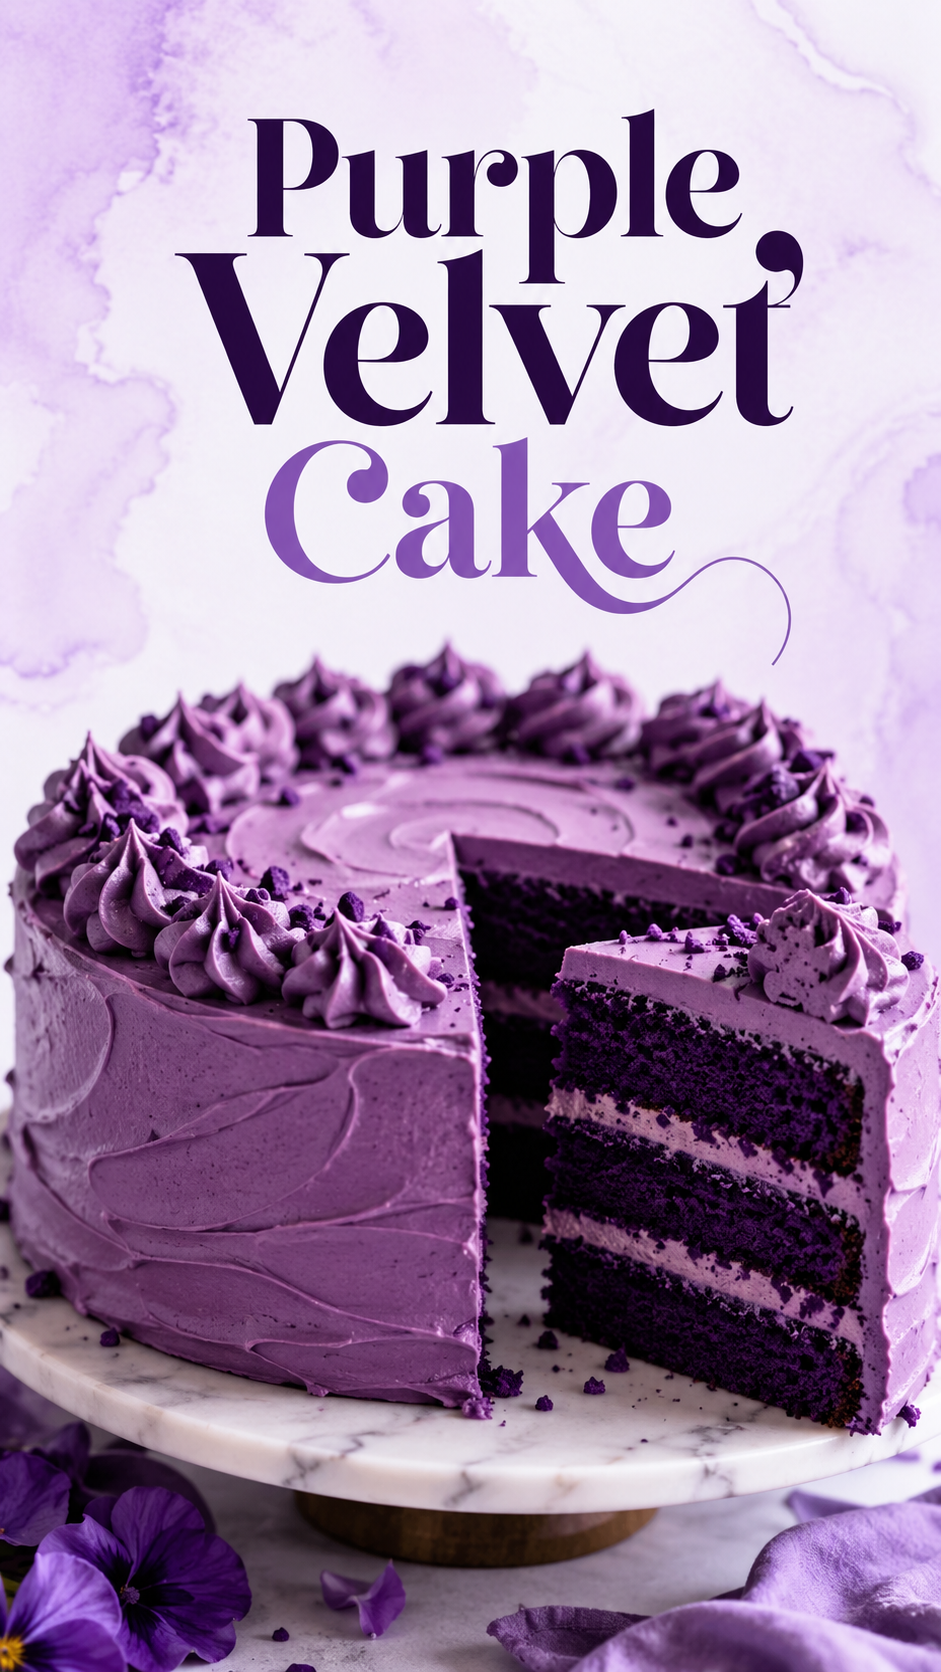
You cut into what looks like a normal cake.
And then the inside hits everyone at the table like a magic trick. 💜
That’s purple velvet cake for you. Same soft, tender crumb as classic red velvet. Same tangy cream cheese frosting. But the color makes people stop scrolling, stop talking, and ask “wait, how did you DO that?”
I started making this for birthdays a few years back, and it’s never once gone unnoticed. Not even at a table full of people who claim they “don’t really like cake.”
So if you’ve got an occasion coming up (or honestly, no occasion at all), let’s make this happen.
Recipe At a Glance
| Detail | Info |
|---|---|
| Prep time | 25 minutes |
| Bake time | 30 minutes |
| Cool + frost time | 1 hour |
| Total time | About 2 hours |
| Serves | 12 slices |
| Difficulty | Easy-ish, beginner friendly |
Why This Cake Works So Well
Purple velvet is basically red velvet’s cousin who skipped the gym and went to art school instead.
Same buttermilk tang. Same cocoa hint. Same melt-in-your-mouth texture.
The only real difference is a swap from red food coloring to purple, which somehow makes the entire cake feel more dramatic.
It’s not overly sweet either. The slight tartness from the buttermilk and cream cheese frosting keeps it from tasting like frosted sugar.
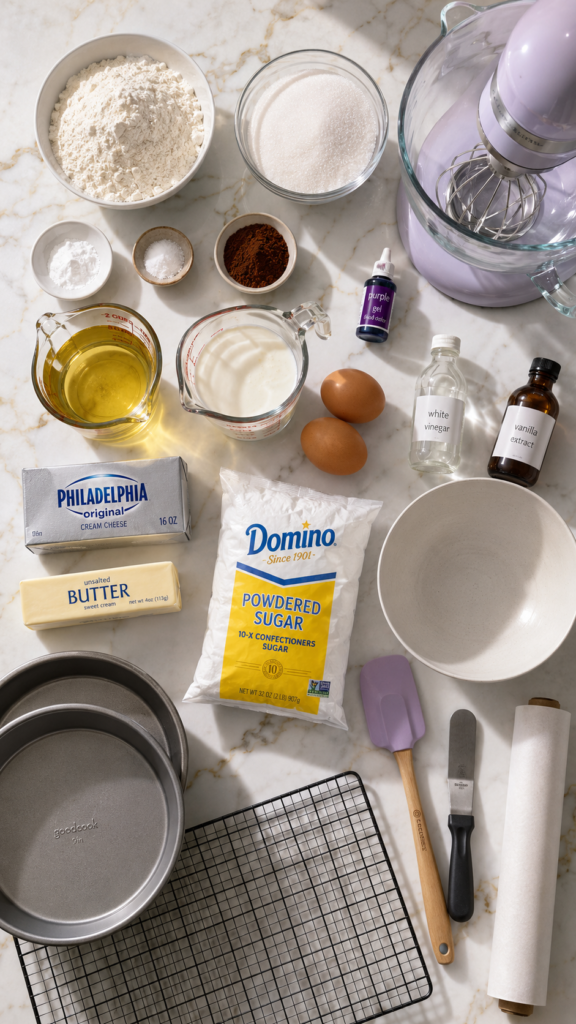
What You’ll Need
For the Cake
- 2 ½ cups all-purpose flour
- 1 ½ cups granulated sugar
- 1 tsp baking soda
- 1 tsp salt
- 1 tbsp cocoa powder (unsweetened)
- 1 ½ cups vegetable oil
- 1 cup buttermilk, room temperature
- 2 large eggs, room temperature
- 2 tbsp purple gel food coloring
- 1 tsp white vinegar
- 1 tsp vanilla extract
For the Cream Cheese Frosting
- 16 oz cream cheese, softened
- 1 cup unsalted butter, softened
- 4 cups powdered sugar
- 1 tsp vanilla extract
- Pinch of salt
Tools You’ll Need
- Two 9-inch round cake pans
- Stand mixer or hand mixer
- Mixing bowls (one large, one medium)
- Rubber spatula
- Cooling racks
- Offset spatula (for frosting, but a butter knife works in a pinch)
- Parchment paper
How to Make Purple Velvet Cake
Step 1: Prep Your Pans and Oven
Preheat your oven to 350°F. Grease two 9-inch round pans and line the bottoms with parchment paper. This step matters more than people think, nobody wants a cake stuck to the pan after all that work.
Step 2: Mix the Dry Ingredients
In a large bowl, whisk together the flour, sugar, baking soda, salt, and cocoa powder. Set this aside.
Step 3: Mix the Wet Ingredients
In a separate bowl, combine the oil, buttermilk, eggs, purple food coloring, vinegar, and vanilla. Whisk until it’s fully combined and the color is even throughout.
Step 4: Bring It Together
Pour the wet mixture into the dry ingredients. Mix on low speed just until combined. Overmixing is how you end up with a tough, chewy cake instead of a soft one, so stop as soon as you don’t see flour streaks.
Step 5: Bake
Divide the batter evenly between your two pans. Bake for 28 to 32 minutes, or until a toothpick comes out clean.
Step 6: Cool
Let the cakes sit in their pans for 10 minutes. Then transfer them to a cooling rack and let them cool completely. This is the step people rush, and it’s the one that matters most.
Step 7: Make the Frosting
Beat the cream cheese and butter together until smooth and creamy. Slowly add the powdered sugar, one cup at a time, mixing on low so you don’t end up wearing it. Add vanilla and salt, then beat on medium-high for about 2 minutes until it’s light and fluffy.
Step 8: Frost the Cake
Place one cake layer on your serving plate. Spread a generous layer of frosting on top. Add the second layer and frost the top and sides. Smooth it out with an offset spatula, or just go rustic and swoopy if that’s more your style.
Pro Tips From Someone Who’s Messed This Up Before
1. Use gel food coloring, not liquid. Liquid coloring waters down the batter and you’ll end up with a sad lavender instead of a bold purple. Gel gets you that deep, rich color without messing with texture.
2. Don’t skip room temperature ingredients. Cold eggs and buttermilk make the batter clump weird. Pull everything out 30 minutes before you start.
3. Measure your flour properly. Scoop and level, don’t pack it into the cup. Packed flour is the #1 reason velvet cakes turn out dense instead of fluffy.
4. Let the cakes cool COMPLETELY before frosting. I know it’s tempting. I’ve ruined more than one cake by frosting it warm and watching everything slide off. Give it the full hour, easily two if your kitchen runs warm.
5. Taste your batter color before baking (without raw egg concerns, just check visually). The color lightens slightly once baked, so go one shade darker than you actually want the final cake to be.
Substitutions and Variations
- No buttermilk? Add 1 tablespoon of white vinegar or lemon juice to 1 cup of regular milk and let it sit for 5 minutes.
- Gluten-free version: Swap the all-purpose flour for a 1:1 gluten-free baking blend.
- Dairy-free version: Use plant-based buttermilk, vegan butter, and dairy-free cream cheese.
- Cupcake version: This batter makes about 24 cupcakes. Bake at 350°F for 18 to 20 minutes.
- Different color: Same exact method works for blue, pink, or even black velvet cake. Just swap the gel coloring.
Make-Ahead Tips
The cake layers can be baked up to 2 days ahead. Wrap them tightly in plastic wrap and store at room temperature, or freeze for up to a month.
The frosting can be made a day in advance too. Store it covered in the fridge, then let it sit out for about 30 minutes before using so it’s easy to spread again.
Leftovers and Storage
This cake actually gets better on day two, the flavors settle and the frosting firms up a bit, making it easier to slice clean.
- Counter: Fine for up to 2 days if covered.
- Fridge: Up to 5 days in an airtight container.
- Freezer: Wrap individual slices and freeze for up to 2 months. Thaw in the fridge overnight.
FAQ
Why is my purple velvet cake more pink or grey than purple?
This usually comes down to the coloring used. Liquid food coloring tends to mute and shift in the oven. Stick with gel coloring for a true, deep purple.
Can I make this without cocoa powder?
You can, but you’ll lose that subtle velvet flavor that makes this cake different from a regular vanilla cake. A tablespoon really doesn’t add much chocolate taste, just depth.
Why did my cake sink in the middle?
This is almost always from opening the oven door too early, or underbaking. Give it the full bake time and resist peeking before the 25-minute mark.
Can I use a box mix and just add purple coloring?
You can, but the texture won’t be quite as soft or rich. Homemade really does make a noticeable difference here.
Does the vinegar make the cake taste sour?
Not at all. It reacts with the baking soda to help the cake rise and stay tender. You won’t taste it in the final product.
Wrapping Up
This cake has a way of turning a regular Tuesday into something worth remembering.
Bake it for a birthday, a holiday, or honestly just because you want to see people’s faces when you slice into it.
If you give this one a try, drop a comment below and let me know how it turned out. And if you’ve got questions before you start, ask away, I’m happy to help you troubleshoot.