You’ve grabbed that pre-made rotisserie chicken from the grocery store at least once. We all have. It smells incredible, it’s fast, and honestly, it does the job.
But here’s what nobody tells you: making it at home is shockingly easy. And the flavor? It hits completely different.
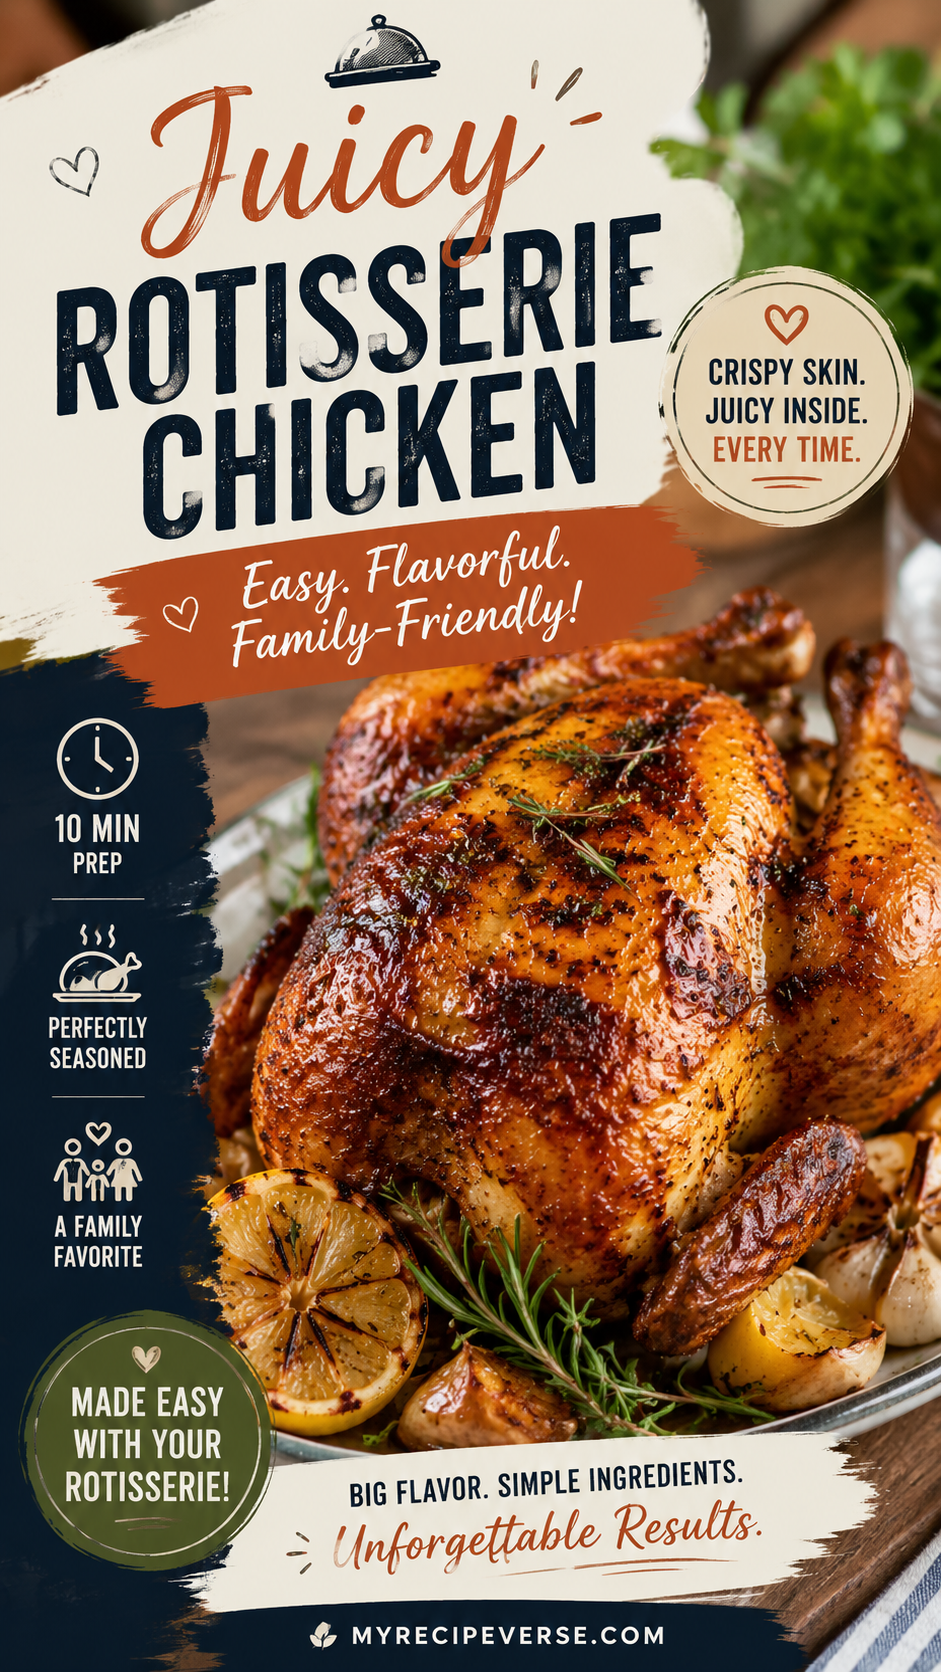
This recipe gives you golden, crackling skin, impossibly juicy meat, and a herb butter that soaks into every single bite. Once you try it, that plastic grocery store container is going to feel like a step down.
Recipe at a Glance
| Detail | Info |
|---|---|
| Prep Time | 15 minutes |
| Cook Time | 1 hour 20 minutes |
| Resting Time | 10 minutes |
| Total Time | 1 hour 45 minutes |
| Serves | 4-6 people |
| Difficulty | Easy |
| Best For | Sunday dinners, meal prep, weeknight leftovers |
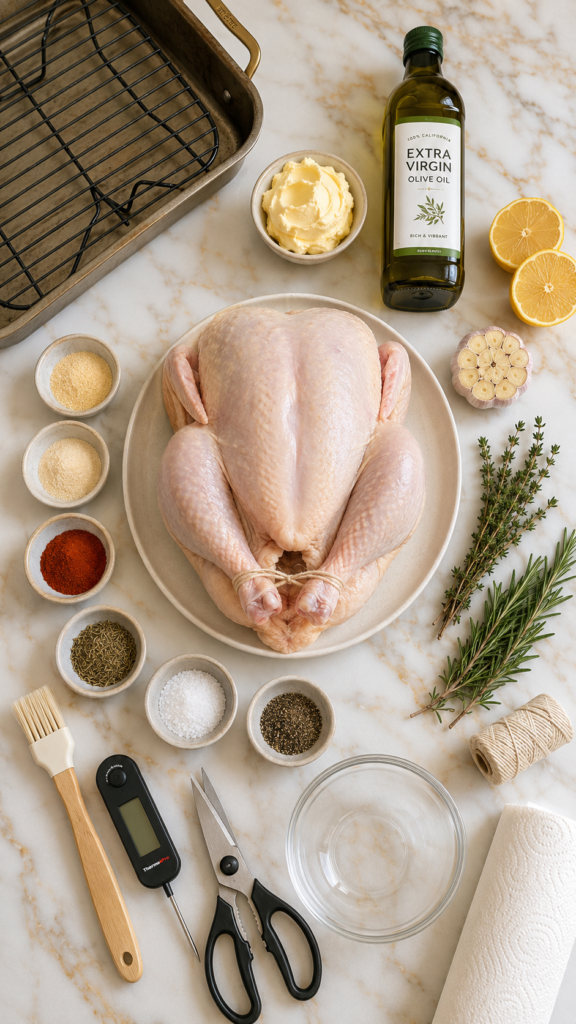
What You’ll Need
The Chicken
- 1 whole chicken (4-5 lbs / 1.8-2.3 kg)
- 4 tablespoons unsalted butter, softened
- 1 tablespoon olive oil
The Herb Rub
- 1 teaspoon garlic powder
- 1 teaspoon onion powder
- 1 teaspoon smoked paprika
- 1 teaspoon dried thyme
- 1 teaspoon dried rosemary
- 1/2 teaspoon dried oregano
- 1 teaspoon salt (plus more for inside the cavity)
- 1/2 teaspoon black pepper
The Aromatics (Inside the Cavity)
- 1 lemon, halved
- 1 whole head of garlic, sliced in half horizontally
- 4-5 fresh thyme sprigs
- 2 fresh rosemary sprigs
For Basting (Optional but Recommended)
- 2 tablespoons unsalted butter, melted
- Juice of half a lemon
Tools Required
- Roasting pan or cast iron skillet (large enough to hold your bird)
- Roasting rack (or you can prop the chicken up with vegetables)
- Kitchen twine (for trussing)
- Meat thermometer (non-negotiable, seriously)
- Basting brush
- Small mixing bowl
- Paper towels
- Sharp kitchen knife or kitchen shears
Pro Tips
1. Dry the chicken the night before. Pat it completely dry, then leave it uncovered in the fridge overnight. This pulls moisture from the skin so it crisps up beautifully instead of steaming. That crackling golden skin? This is how you get it.
2. Get butter under the skin. Don’t just rub it on top. Use your fingers to gently loosen the skin over the breast and push softened butter directly onto the meat. The fat bastes the chicken from the inside as it cooks. Game changer.
3. Trust your thermometer, not the clock. Ovens vary wildly. The only way to know your chicken is done is an internal temperature of 165°F (74°C) in the thickest part of the thigh, away from the bone. Pull it out at 160°F and let carry-over cooking do the rest.
4. Let it rest. Non-negotiable. If you cut into the chicken immediately, all those juices run straight out. Rest it for at least 10 minutes, tented loosely with foil. The meat stays moist, the juices redistribute, and you’ll actually taste the difference.
5. Don’t skip trussing. Tying the legs together and tucking the wings keeps the bird compact so it cooks evenly. Without it, the thinner parts (like the wings) overcook while the thick thighs are still catching up.
How to Make It
Step 1: Prep the Chicken
Pat your chicken completely dry with paper towels. Every bit of moisture is the enemy of crispy skin. Season the inside of the cavity generously with salt and black pepper.
Step 2: Make the Herb Butter
Mix the softened butter with the garlic powder, onion powder, smoked paprika, thyme, rosemary, oregano, salt, and pepper in a small bowl until fully combined.
Step 3: Apply the Butter
Gently slide your fingers under the skin of the breasts to loosen it. Push a generous amount of herb butter directly onto the meat underneath. Rub the remaining butter all over the outside of the chicken, including the legs and back.
Step 4: Stuff the Cavity
Squeeze the lemon halves inside the cavity, then push them in along with the garlic head (cut side in), fresh thyme, and rosemary sprigs. This perfumes the meat from the inside out.
Step 5: Truss the Bird
Cross the legs and tie them together with kitchen twine. Tuck the wings behind the back so they don’t burn. This takes about 60 seconds and makes a real difference.
Step 6: Roast It
Preheat your oven to 425°F (220°C).
Place the chicken breast-side up on a roasting rack in your pan. Roast for 15 minutes at this high heat to kickstart that golden skin, then reduce to 375°F (190°C) and continue roasting.
General timing guide:
- 3.5-4 lb chicken: about 1 hour total
- 4-5 lb chicken: about 1 hour 15-20 minutes total
- 5+ lb chicken: about 1 hour 30 minutes total
Step 7: Baste (Optional)
Around the halfway point, brush the chicken with the melted butter and lemon juice mixture. This adds color and an extra layer of flavor.
Step 8: Check the Temperature
Use your meat thermometer in the thickest part of the thigh. Pull the chicken out at 160-162°F. It’ll reach 165°F as it rests.
Step 9: Rest and Carve
Tent the chicken loosely with foil and rest for 10 minutes minimum. Then carve and serve.
Substitutions and Variations
No fresh herbs? Dried herbs work perfectly fine here. The rule of thumb is one-third the amount, so 1 tablespoon of fresh = 1 teaspoon of dried.
Dairy-free? Swap the butter for a good quality olive oil or a plant-based butter. The skin won’t be quite as rich, but it’ll still be delicious.
Add vegetables to the pan. Throw roughly chopped carrots, potatoes, and onions under the chicken. They’ll roast in the drippings and become the best side dish with zero extra effort.
Spice it up. Add 1/2 teaspoon of cayenne pepper and 1 teaspoon of chili flakes to the herb butter for a kick that’ll have people asking what’s in it.
Lemon herb vs. garlic parmesan. Instead of the smoked paprika blend, try softened butter mixed with parmesan, minced garlic, and Italian herbs for a completely different flavor profile.
Make-Ahead Tips
Night before: Make the herb butter, apply it to the chicken, stuff the cavity, truss it, and refrigerate uncovered on a rack overnight. This does double duty, the flavors deepen and the skin dries out for maximum crispiness.
Freeze the whole bird: Prep the butter and apply it to a raw chicken, then freeze it before cooking. Pull it out the night before and let it thaw in the fridge. Cook from there.
Leftovers and Storage
Storage: Leftover chicken keeps in an airtight container in the fridge for up to 4 days.
Reheating: Add a small splash of water or chicken broth to the container before reheating in the oven at 350°F to keep it from drying out. Avoid the microwave if you can.
What to do with leftovers:
- Shred it for chicken tacos or quesadillas
- Toss it into a Caesar salad
- Add it to pasta or a simple fried rice
- Use the carcass to make homemade chicken stock (just simmer with onion, celery, carrots, and peppercorns for 2+ hours)
That last one is a complete bonus meal for free. Don’t throw that carcass away.
Nutritional Information (Per Serving, approx. 6 servings)
| Nutrient | Amount |
|---|---|
| Calories | ~320 kcal |
| Protein | 38g |
| Fat | 17g |
| Saturated Fat | 6g |
| Carbohydrates | 2g |
| Sodium | 520mg |
Note: Values vary based on chicken size and how much butter is used.
Meal Pairing Suggestions
This chicken goes with almost everything, but here are a few combos that make the whole meal feel intentional:
- Classic: Roasted garlic mashed potatoes + steamed green beans
- Light: Arugula salad with lemon vinaigrette + crusty sourdough
- Comfort: Buttery egg noodles + roasted root vegetables
- Low-carb: Cauliflower mash + sautéed spinach with garlic
FAQ
Can I make this in an air fryer?
Yes. Use a smaller chicken (under 4 lbs to fit most air fryer baskets). Cook at 360°F (182°C) for about 60-70 minutes, flipping halfway. Check temp at 50 minutes.
Why is my chicken skin not crispy?
Two main culprits: the chicken wasn’t dry enough before going in, or your oven temperature dropped when you put the cold bird in. Always start at high heat and make sure the chicken is as dry as possible.
Can I use salted butter instead?
You can, just cut back on any added salt in the recipe so it doesn’t become overpowering.
Should I cover the chicken while it roasts?
No. Covering it traps steam and makes the skin soft. Keep it uncovered the entire time.
My chicken is browning too fast on top. What do I do?
Tent just the breast area loosely with a small piece of foil partway through cooking. The legs and thighs can handle the heat; the breast tends to brown faster.
Do I need to wash the raw chicken?
Actually, no. The USDA actively advises against washing raw poultry. It spreads bacteria around your sink and countertops. Cooking to the right internal temperature kills anything that needs to be killed.
Can I roast it without a rack?
Yes. Prop it up on a bed of thickly cut onions, carrots, and celery. They act as a natural rack, add flavor to the drippings, and make a great side dish.
Wrapping Up
If you’ve been putting off making a whole roast chicken because it seemed complicated, I want you to know it genuinely is not. The prep takes 15 minutes, the oven does the rest, and the result is something that tastes like you put in way more effort than you actually did.
This is the kind of recipe that becomes a Sunday ritual. You make it once, and then you find yourself planning the week’s meals around the leftovers.
Give this a try and come back to drop a comment below. I want to hear how yours turned out, what vegetables you threw in the pan, or any tweaks you made along the way. And if you have questions at all, ask away. 👇