I burned my first three batches of these cookies.
Not “a little too dark on the edges” burned. I’m talking smoke alarm, open-the-windows, husband-asking-if-dinner-is-cancelled burned.
But batch four? That’s the one taped to my fridge right now.
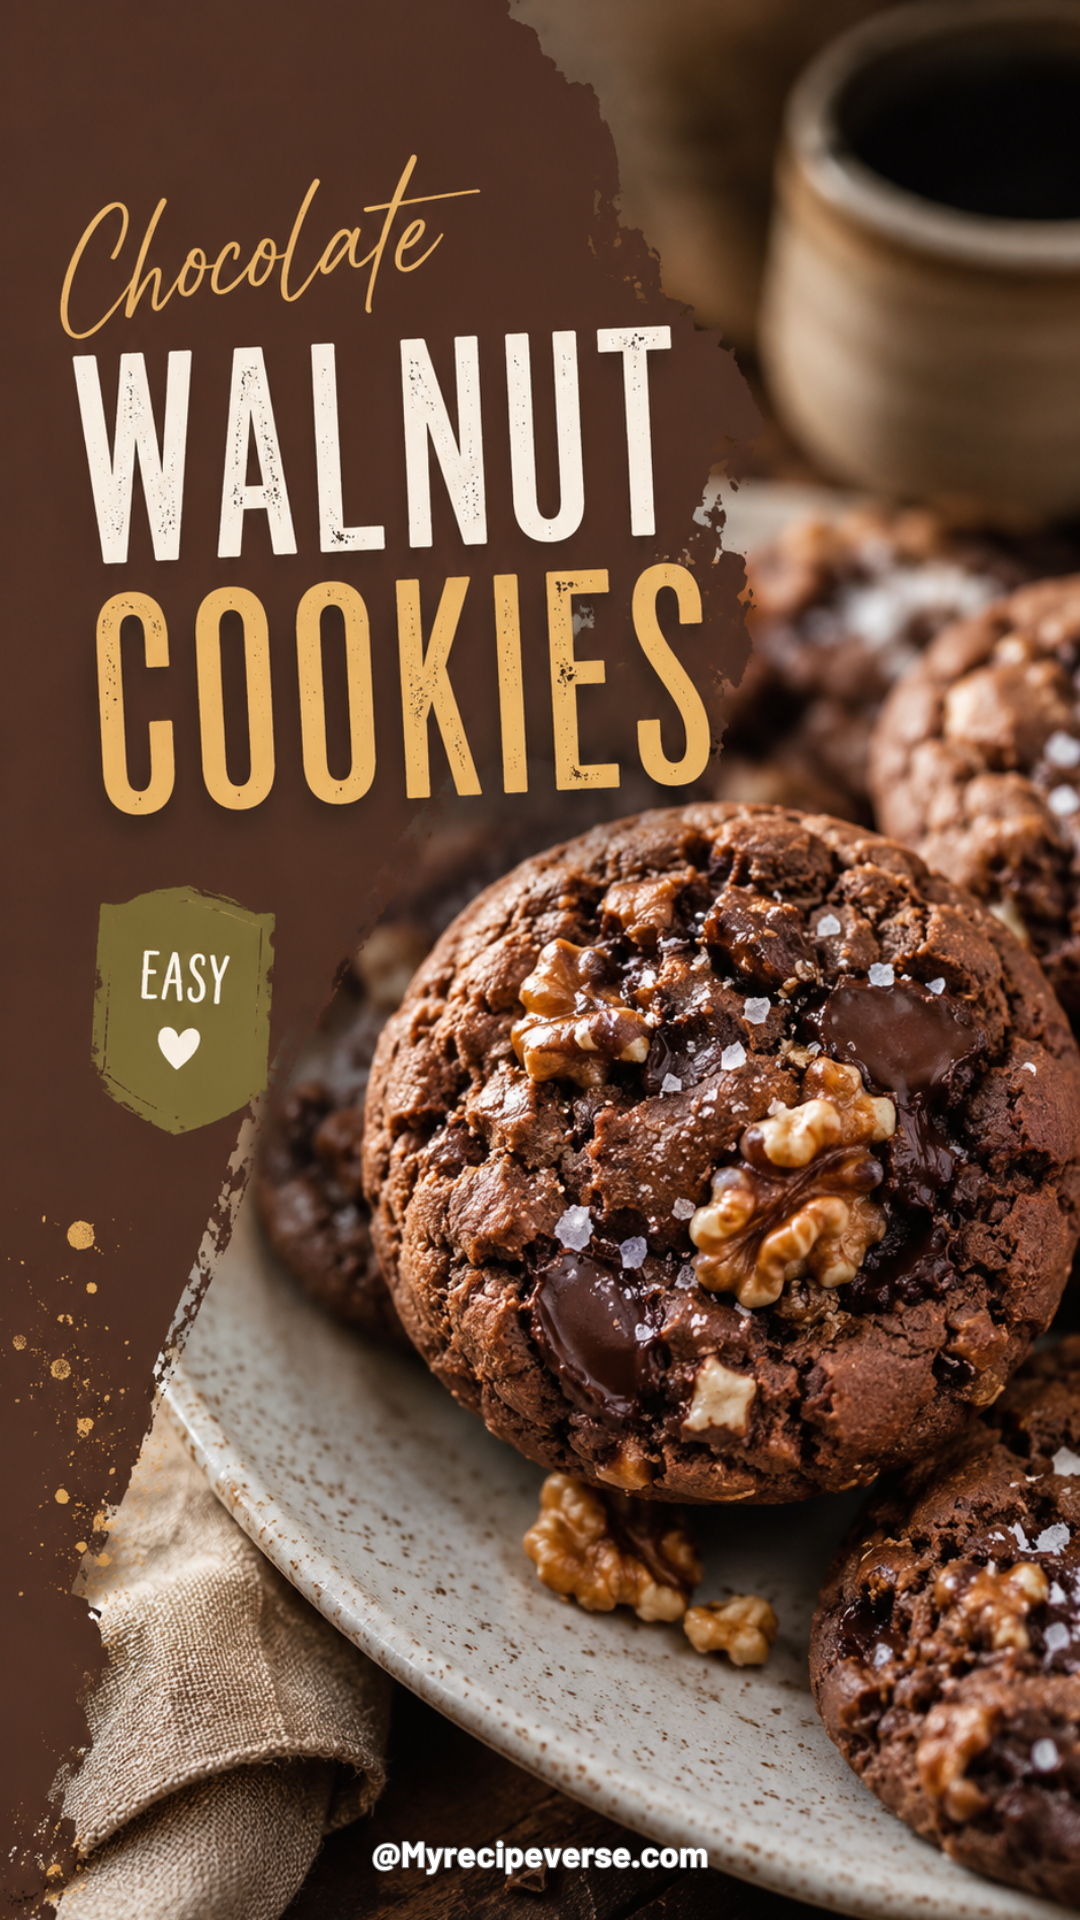
These chocolate walnut cookies have this deep, almost caramel-like flavor from browned butter, pockets of melty chocolate in every bite, and just enough crunch from toasted walnuts to keep things interesting. 🍪
They’re chewy in the middle, slightly crisp on the edges, and they disappear faster than I can photograph them for this blog.
Let’s get into it.
Recipe at a Glance
| Detail | Info |
|---|---|
| Prep time | 20 minutes |
| Chill time | 30 minutes (don’t skip this) |
| Bake time | 11-13 minutes per batch |
| Total time | About 1 hour |
| Yield | 24 cookies |
| Difficulty | Easy, but a few tricks matter |
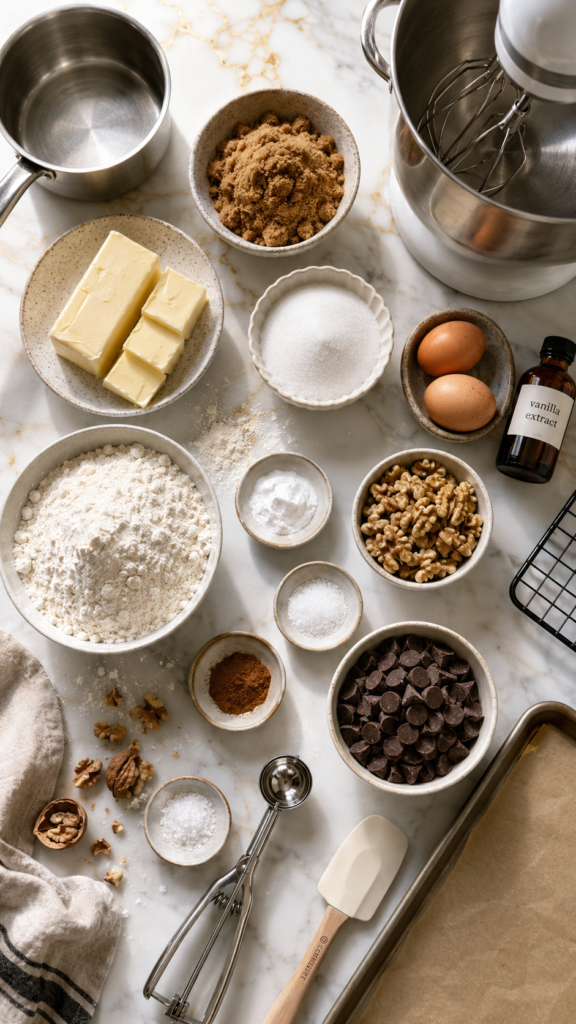
What You’ll Need
- 1 cup unsalted butter (2 sticks)
- 1 cup packed brown sugar
- ½ cup granulated sugar
- 2 large eggs
- 2 teaspoons vanilla extract
- 2 ¼ cups all-purpose flour
- 1 teaspoon baking soda
- ½ teaspoon salt
- ½ teaspoon cinnamon (this one’s not optional, trust me)
- 1 ½ cups chocolate chunks or chips
- 1 cup walnuts, roughly chopped
- Flaky sea salt for topping
That cinnamon might feel random. It’s not there to taste like cinnamon. It’s there to make the chocolate taste more like chocolate. Weird trick, works every time.
Tools You’ll Need
- Medium saucepan (for browning the butter)
- Stand mixer or hand mixer
- Mixing bowls
- Rubber spatula
- Cookie scoop (or two spoons if you don’t have one)
- Baking sheets
- Parchment paper
- Wire cooling rack
How to Make Chocolate Walnut Cookies
- Brown the butter. Melt butter in a saucepan over medium heat, stirring often. It’ll foam, then smell nutty, then turn golden brown with little brown flecks at the bottom. Pull it off the heat right there. This takes about 5-7 minutes.
- Cool it slightly. Pour the browned butter into a heatproof bowl and let it sit for about 10 minutes. You don’t want to scramble your eggs later.
- Mix the wet ingredients. Add both sugars to the browned butter and whisk until combined. Add the eggs and vanilla, whisking until the mixture looks glossy.
- Combine the dry ingredients. In a separate bowl, whisk together flour, baking soda, salt, and cinnamon.
- Bring it together. Add the dry ingredients to the wet ingredients and mix until just combined. Don’t overmix, or your cookies will turn out tough.
- Fold in the good stuff. Add the chocolate chunks and toasted walnuts, folding gently with a spatula.
- Chill the dough. Cover the bowl and refrigerate for at least 30 minutes.
- Preheat and prep. Preheat your oven to 350°F and line your baking sheets with parchment paper.
- Scoop and space. Scoop the dough into balls (about 2 tablespoons each) and place them a few inches apart on the sheets.
- Bake. Bake for 11-13 minutes, until the edges are golden and the centers still look a little soft.
- Salt and rest. Sprinkle flaky sea salt on top immediately, then let the cookies cool on the pan for 5 minutes before moving them to a wire rack.
Pro Tips
1. Brown the butter, don’t just melt it. This is the step that separates “good cookie” from “why does this taste like a bakery” cookie. Melted butter is fine. Browned butter is a flavor bomb.
2. Chill your dough. Actually chill it. I know waiting is the worst part. But 30 minutes in the fridge stops your cookies from spreading into flat, sad discs.
3. Underbake by about a minute. Pull them when the edges are set but the centers still look slightly underdone. They’ll finish cooking on the hot pan. This is the difference between chewy and crunchy-all-the-way-through.
4. Toast your walnuts first. Raw walnuts taste fine. Toasted walnuts taste like something a professional pastry chef made on purpose.
5. Salt the tops right when they come out of the oven. That flaky sea salt won’t stick once the cookies cool. Timing matters here more than you’d think.
Substitutions and Variations
- No walnuts? Pecans work great here too.
- Dairy-free? Swap the butter for a plant-based butter stick (not the tub kind, it has too much water).
- Gluten-free? A 1:1 gluten-free flour blend works, though the texture will be slightly more delicate.
- Want it darker and richer? Add 2 tablespoons of cocoa powder to the dry ingredients.
- Feeling extra? Add a splash of espresso powder. It won’t make the cookies taste like coffee, it’ll just make the chocolate hit harder.
Make-Ahead Tips
You can make the dough up to 3 days ahead and keep it covered in the fridge.
Or freeze the scooped dough balls on a tray, then transfer them to a freezer bag once solid. Bake straight from frozen, just add 2 extra minutes to the bake time.
This is honestly how I always do it now. Fresh cookies whenever I want them, without starting from scratch.
Leftovers and Storage
Store cooled cookies in an airtight container at room temperature for up to 5 days.
They also freeze beautifully. Layer them between sheets of parchment paper in a freezer bag, and they’ll keep for up to 3 months.
Want that fresh-baked feeling again? Microwave one for 10 seconds. It brings the gooey center right back.
FAQ
Why did my cookies turn out flat? Your butter was probably too warm, or you skipped the chilling step. Both cause spreading.
Can I use regular butter instead of browning it? You can, but you’ll lose that deep, nutty flavor that makes these cookies stand out. It only adds a few extra minutes.
What kind of chocolate works best? Chopped chocolate bars melt into better pockets than chocolate chips, since chips are designed to hold their shape. Both work, but chopped chocolate wins if you want that molten look.
Can I make these smaller for a party? Yes. Use a smaller scoop and reduce the bake time to around 9 minutes.
Why chill the dough instead of just baking right away? Chilling firms up the fat, which slows down spreading in the oven. It also gives the flour time to absorb moisture, which makes the flavor deeper.
Wrapping Up
There’s a reason these cookies keep making a comeback in my kitchen.
They’re simple enough for a random Tuesday, but special enough that people ask for the recipe.
If you make these, come back and drop a comment. Tell me how they turned out, what you swapped, or if that cinnamon trick surprised you as much as it surprised me the first time.
I’ll be here, probably eating cookie dough straight off the spatula. No regrets. 🍪